4-strand plaiting is a very old way of making cord. I first encountered 4-strand plaits when I was studying the Skjoldehamn hood, with a view towards re-creating it. I taught myself the plaiting pattern from the diagram in Chapter 8 “Braiding and Sprang” of Margrethe Hald’s _Ancient Danish Textiles from Bogs and Burials_, p. 241. You can also see a diagram online in this excellent paper, Nye tanker om Skjoldehamnfunnet, most of which is in Norwegian, but which has English captions on pictures and diagrams. (It was extremely useful in my reconstruction of the hood.)
Hald describes the bobbin method of 4-strand plaiting, but its practical implementation eluded me until I was passing a whipcording demo outside the children’s tent at Pennsic, where a kind stranger whose name I have utterly forgotten taught me the two-person bobbin passing method in a few moments. Brilliant! Thank you, kind stranger. (Please comment if you are she!)
The one-person method continued elusive until I found Eithni’s marvelous Whipcording demo which has many pictures and a link to a short video. The pictures were helpful, and the documentation superb, but I needed the video to be able to replicate the hand motions myself.
Another resource I would commend to your attention is this page and accompanying pdf by Ásfríðr Úlfvíðardóttir. The web page gives helpful instructions on winding bobbins. The pdf is a lovely & concise handout, which I used to teach a class on whipcording at our Schola in the Solar, Oct. 2017.
My beloved husband kindly made me a whipcording stick (a long, thick dowel, with a short, thin dowel inserted through one end to form a crossbar), and I have since made yard upon yard of cord, primarily in service to my province and to the youth combat marshalry, for use as medallion cord.
In the interests of furthering this knowledge, I present photos of my own process, as I make a new cord for a Very Old Medallion (the house of which I was a member when I first joined the SCA, back in 1981[?]).
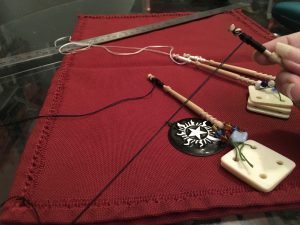
I begin by assembling black and white silk thread, weighted bobbins, and the medallion itself.
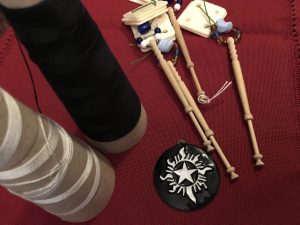
The original cord length was 32”; I wanted a cord no longer than that, so I cut 72” lengths of thread, for 36” lengths of doubled-thread. I wound each doubled-thread onto a bobbin, securing the thread with a full hitch at the top of the bobbin.

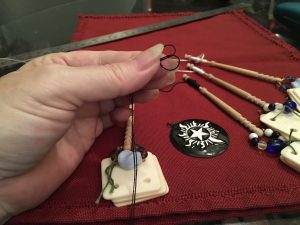

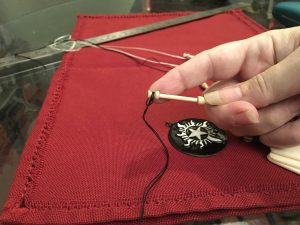

Then I wound the thread onto the bobbin until I had about 8” left, I secured the wound thread with a half hitch around the bobbin.

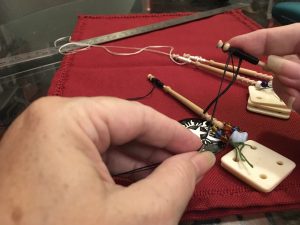
Knot the 4 bobbin ends together (8 threads total, because they are doubled).
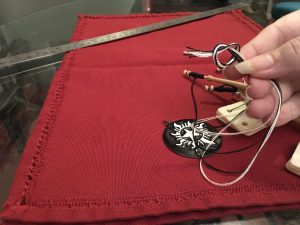
To reduce waste, secure the knot near the ends of the thread.

Use waste yarn to tie the knotted bobbins to your stick. I like to use a full hitch, as I did when securing the thread to the bobbin initially.

And tighten the full hitch against the overhand knot securing the ends.
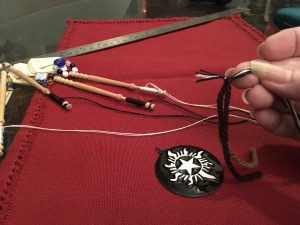
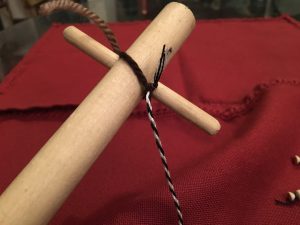
Now, tie the waste yarn to your overhead tensioning device. I use a stick with a crossbar on the end of it, wedging the end of the stick under my arm and behind my chair.
Assume the starting hand position. For a spiral thread, I want black/black/white/white threads. For a vertical lines thread, I would alternate black/white/black/white threads. I put my hands in between the 4 threads, pulling them apart to form a trapezoid, with threads running over my thumbs and over my little (pinky) fingers. The black threads are on my left hand, the white threads on my right.
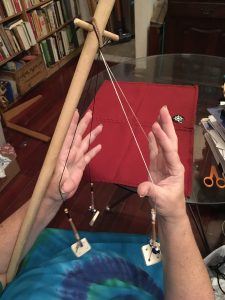
Work progresses via alternating swapping the threads from thumb of one hand to little finger of the other, and vice versa. For the first swap, I drop the right thumb and left pinky threads, using my index (and other) fingers to manage the swap.
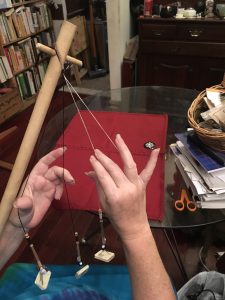
I pick up the black thread from my left pinky with my right thumb, and the white thread from my right thumb with my left pinky.
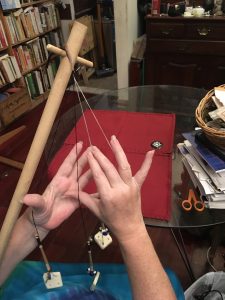
Now I am back to my starting hand position, with the black threads on both thumbs, and the white threads on my little fingers.
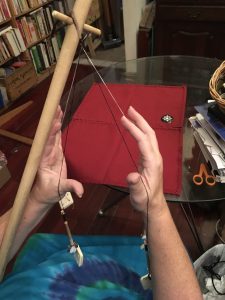
The second swap is between my left thumb and my right little finger, as always using my index fingers to control the swap, so they don’t swing wildly and tangle with each other.

After the 2nd swap, both black threads are on my right hand.
Third swap is between right thumb and left pinky, swapping a black thread for a white, so both black threads end up on my little fingers.
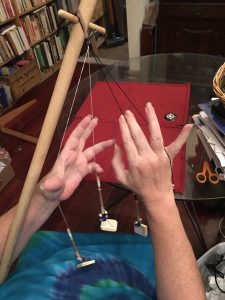
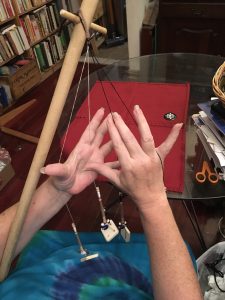

As we begin our 4th swap, both black threads are in the back, running across little fingers. The white threads are in front, running across the thumb.
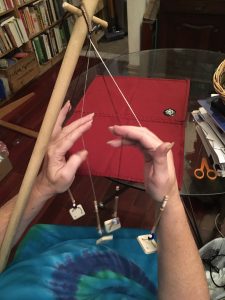


Now we are back where we started, all threads having moved around the cord and back to their initial positions.
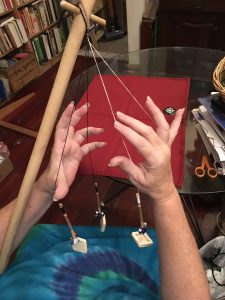
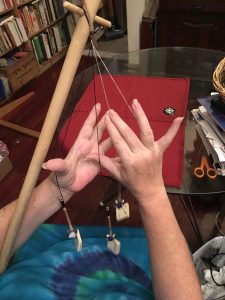
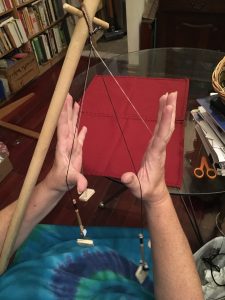
You can see the cord forming at the top of the stick. Here is a short video of the process.
Tension will vary while forming this cord, primarily controlled by the shape of the trapezoid you form with your hands, and the weights of the bobbins that you use.
As you work, you will need to unwind more thread off the bobbin. Here is where the securing half hitch comes in handy. You do not have to undo the hitch. Instead, simply hold the bobbin sideways and rotate it away from the work, in the opposite direction that you wound it on. The half-hitch will loosen as you rotate.
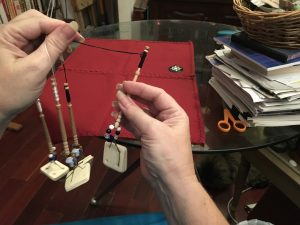
When you have unwound enough cord to continue working, tug to re-secure the half hitch, and drop the bobbin to continue as before. (I maintain my grip on the other threads as I unwind thread on each bobbin. I find this easier than securing them over a stick and picking them up again when I re-start my work. Your mileage may vary.)
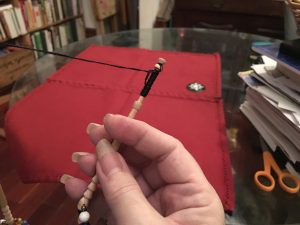
When you have worked enough cord that the work begins to hang too low in your lap, simply hook the finished work over the cross bar at the top of your stick.

Without releasing the work in progress, reach up and grab the finished cord. Wrap it over a sidearm, then drop back to your starting position and continue working.
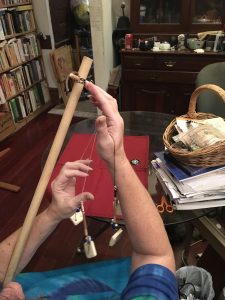
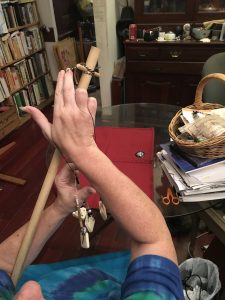

Continue until you run out of thread on your bobbins. When you have rotated in as much thread as possible, you can undo the securing half-hitch and work to the very top of the bobbins.

Now, snip off the bobbins, and over-hand knot the end, to secure it.


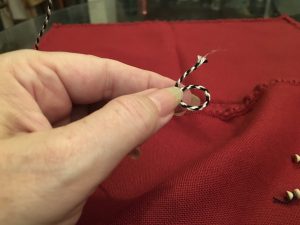
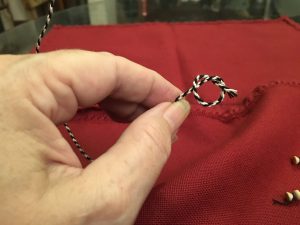

Unwind the finished cord from the stick, and cut off the waste yarn to release your work.

Thread your new cord onto your medallion! You may find a crochet hook useful in this process.
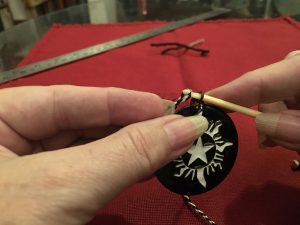
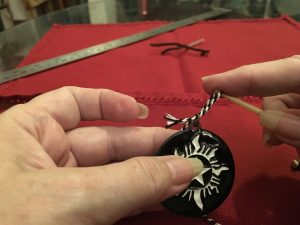
Use an overhand knot to secure both ends together. Snug it up towards the ends of the work. Snip the end for neatness.
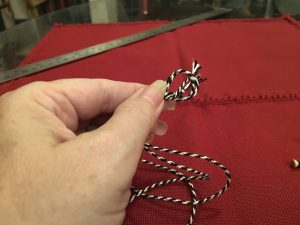
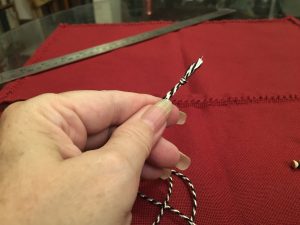
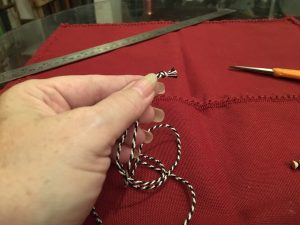
I ended up with 30.5” of cord, which was a tiny bit shorter than my original goal of 32”. I should have used a higher takeup percentage. Eithni recommends 25%. I used 12.5%. 25% would have been too long, but I also work very close to both ends of my thread. I had a (36 – 30.5) / 36 = 15% takeup. You may find it easier to work less closely, and have more waste, so 25% is a good place to start.
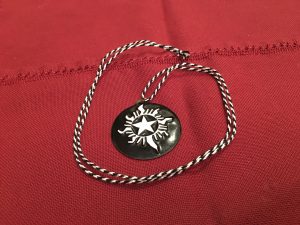
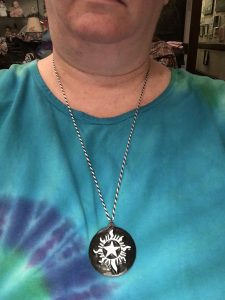
Wear and enjoy!
Wow, Piglet, that is so neat! Thank you 🙂 Your hands look like they are doing ballet! Poetry in motion!