I am in desperate need of a new chemise. I want it to be short enough that it doesn’t show or need hiking up under my tunic / cote / peplos / overdress. I need it to be comfortable, not fitted too closely to my body (which changes shape on an irritatingly regular basis), and luxurious. I’ve been reading about the fabric quality of linen and wool around the turn of the millennium, and am convinced I have been working with fabrics that are much too coarse.
I begin with a handkerchief(?) weight sheer linen.

For maximum adjustability, I am going with a drawstring neckline. Since my persona is Irish-influenced, I think I can get away with it. Also, no one should be seeing it, so it shouldn’t matter if I’m DOING IT WRONG.
I begin by cutting 2 large rectangles for the front and back pieces, front 42” x 50”, back 44” x 56”. The back is longer than the front, to account for my preference in having the shoulder seams forward, and to accommodate my dowager’s hump. The neckline will be lower in front than in back. The front shoulder seam will fall in the hollow below my shoulder joint, the back shoulder seam should sit just behind my shoulder ridge.
My garment construction preference is to finish the edges of the pieces as I cut them, then whip the finished pieces together. The hems of the edges go on the outside of the garment, for interior comfort.
Conventional wisdom says to use linen thread on linen, but even the 100/3 linen Londonderry that I have feels entirely too coarse. My last chemise, I made the mistake of using linen thread on the linen, and it freaking hurts — I end up with welts from the seams, because the thread is just too large. I am opting for silk thread, in this case, Gütermann sewing silk.

I don’t normally wax my silk thread, but have been convinced to try it by a friend whose tailoring is impeccable. And who recently got her Laurel. :-). She also irons her waxed thread, which I also try if I weren’t so eager to get sewing already… and had room to leave the iron set up without inconveniencing the rest of the household. Someday…
My preferred needle is a small needle with a large eye and a blunt tip, intended for cross-stitch. It’s perfect for fine fabrics because it passes through rather than pierces the threads of the fabric.
My past habit has been to start with a repeated small stitch in the same place, rather than a knot, but recent research has led me to believe that this is a modern invention, and that the common technique of my time period is to knot the end. So I knot, then take a tiny stitch to secure the knot in place.
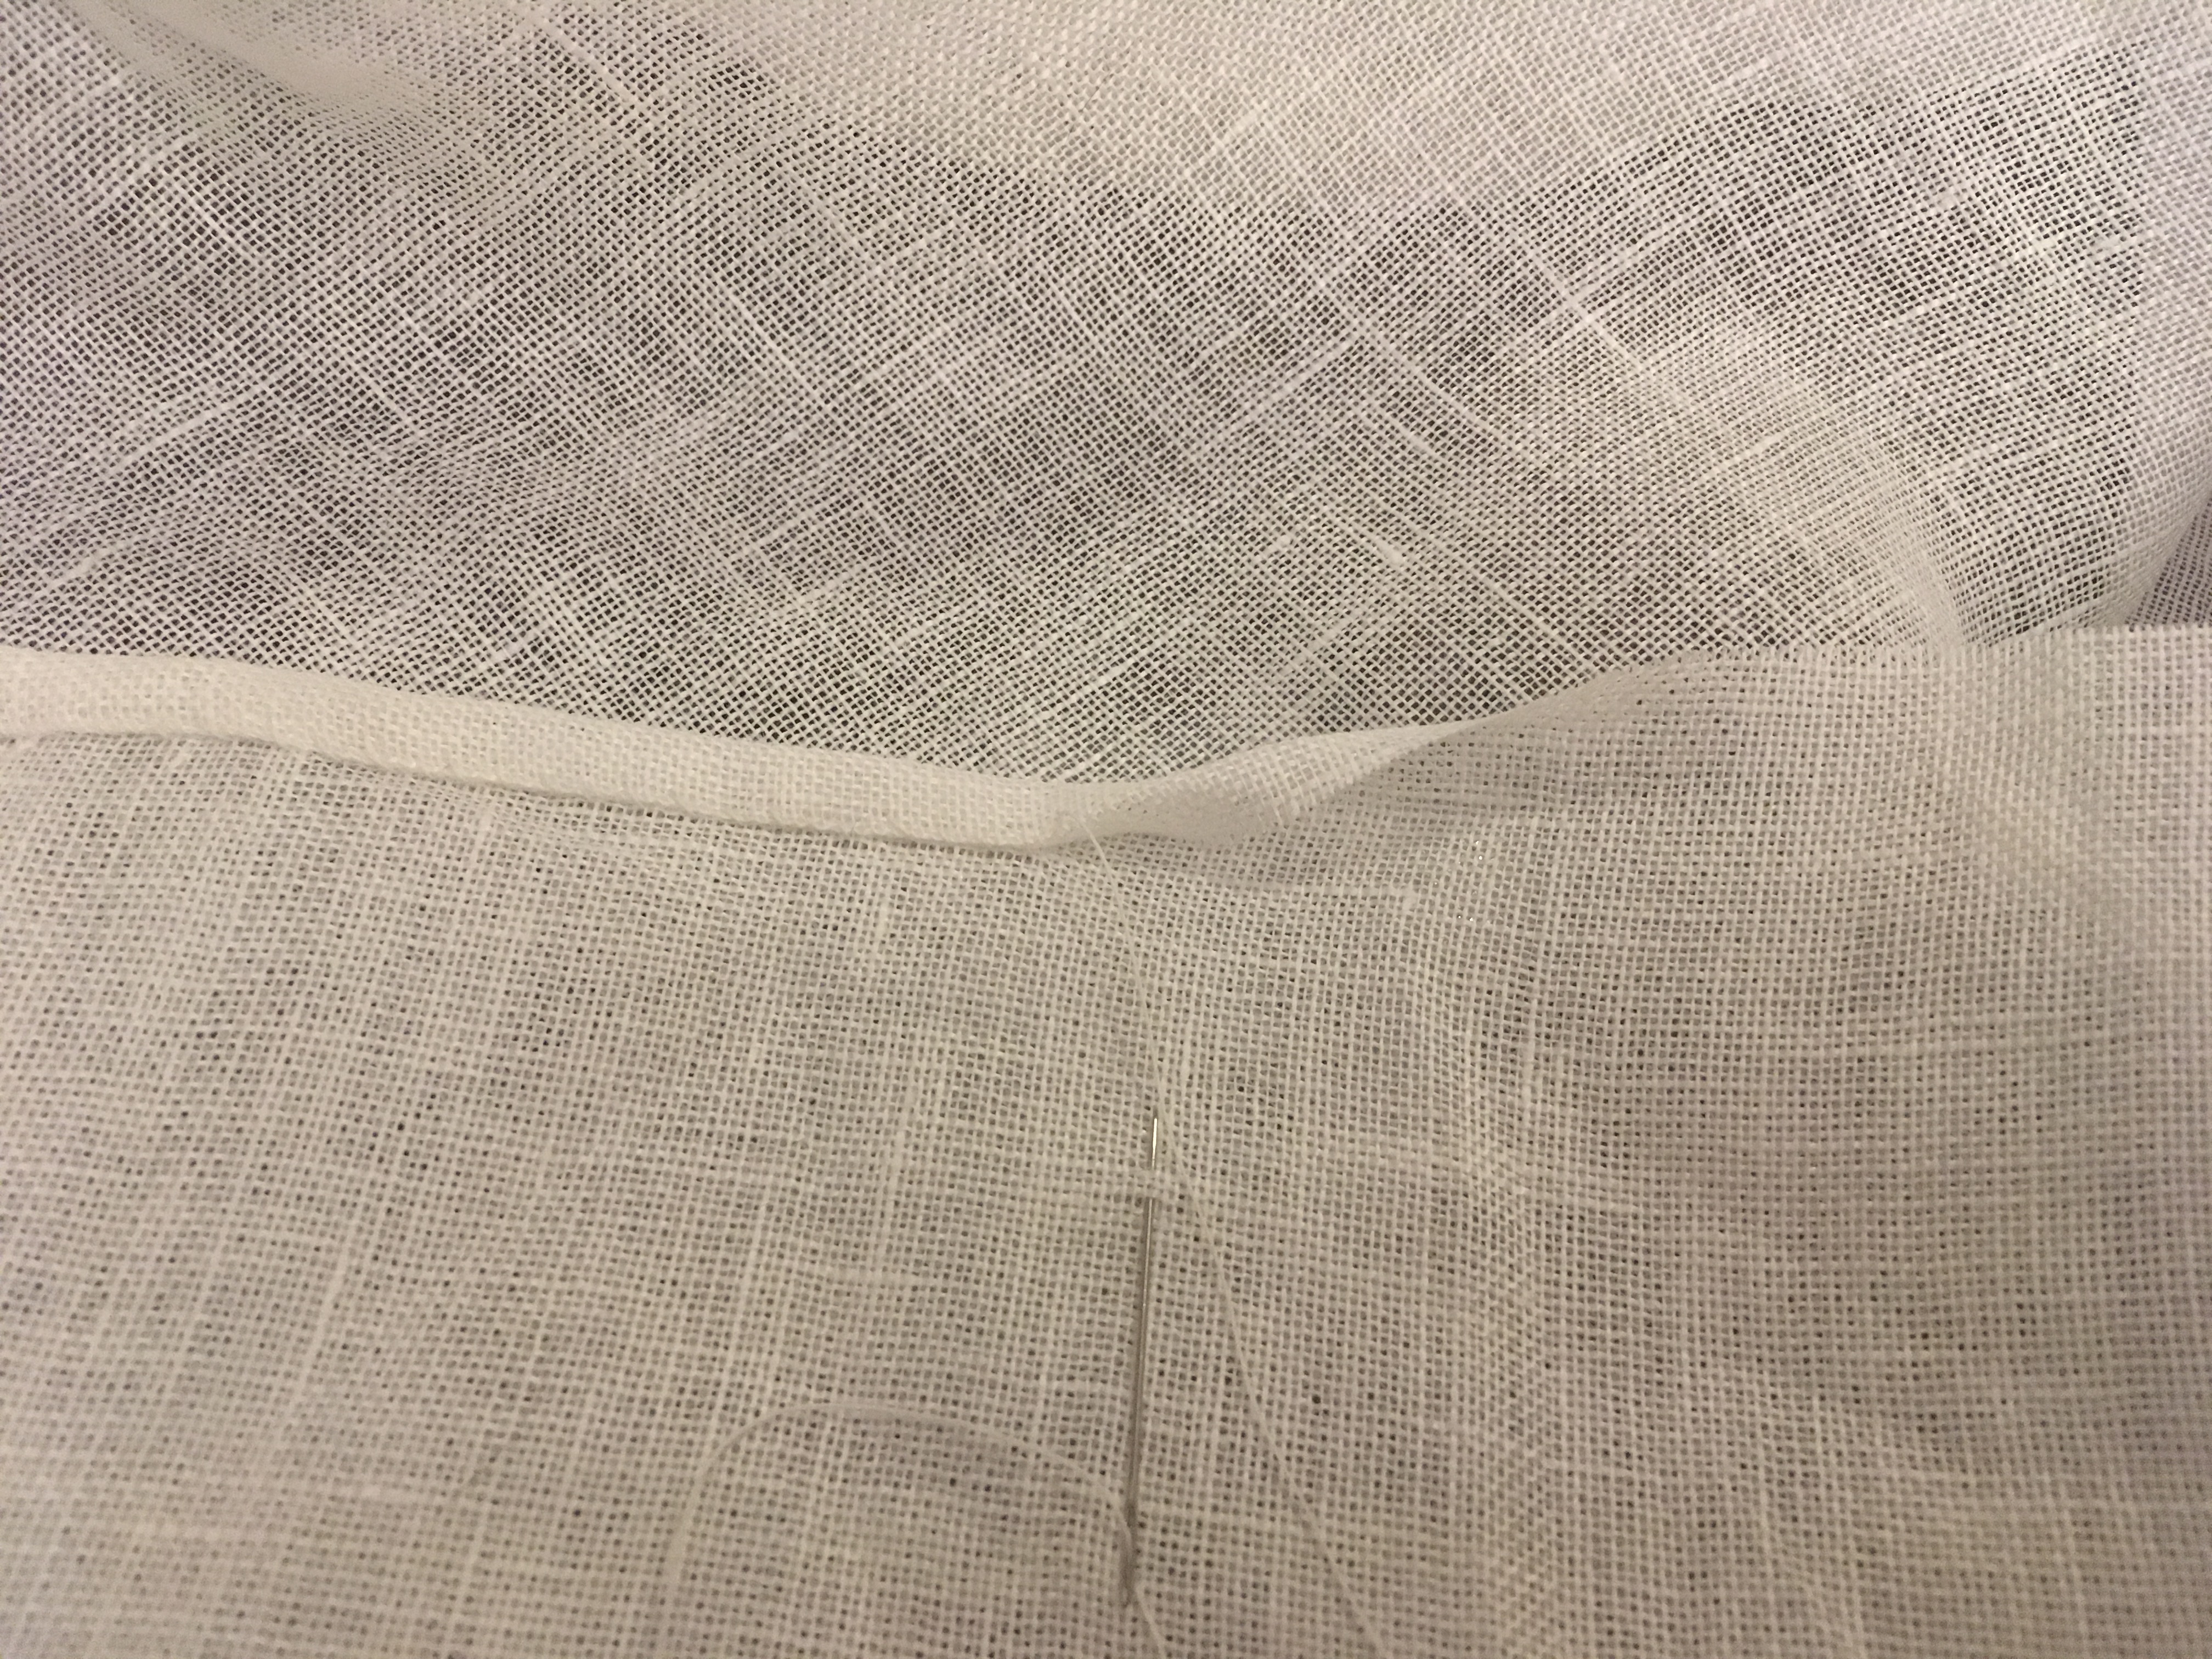
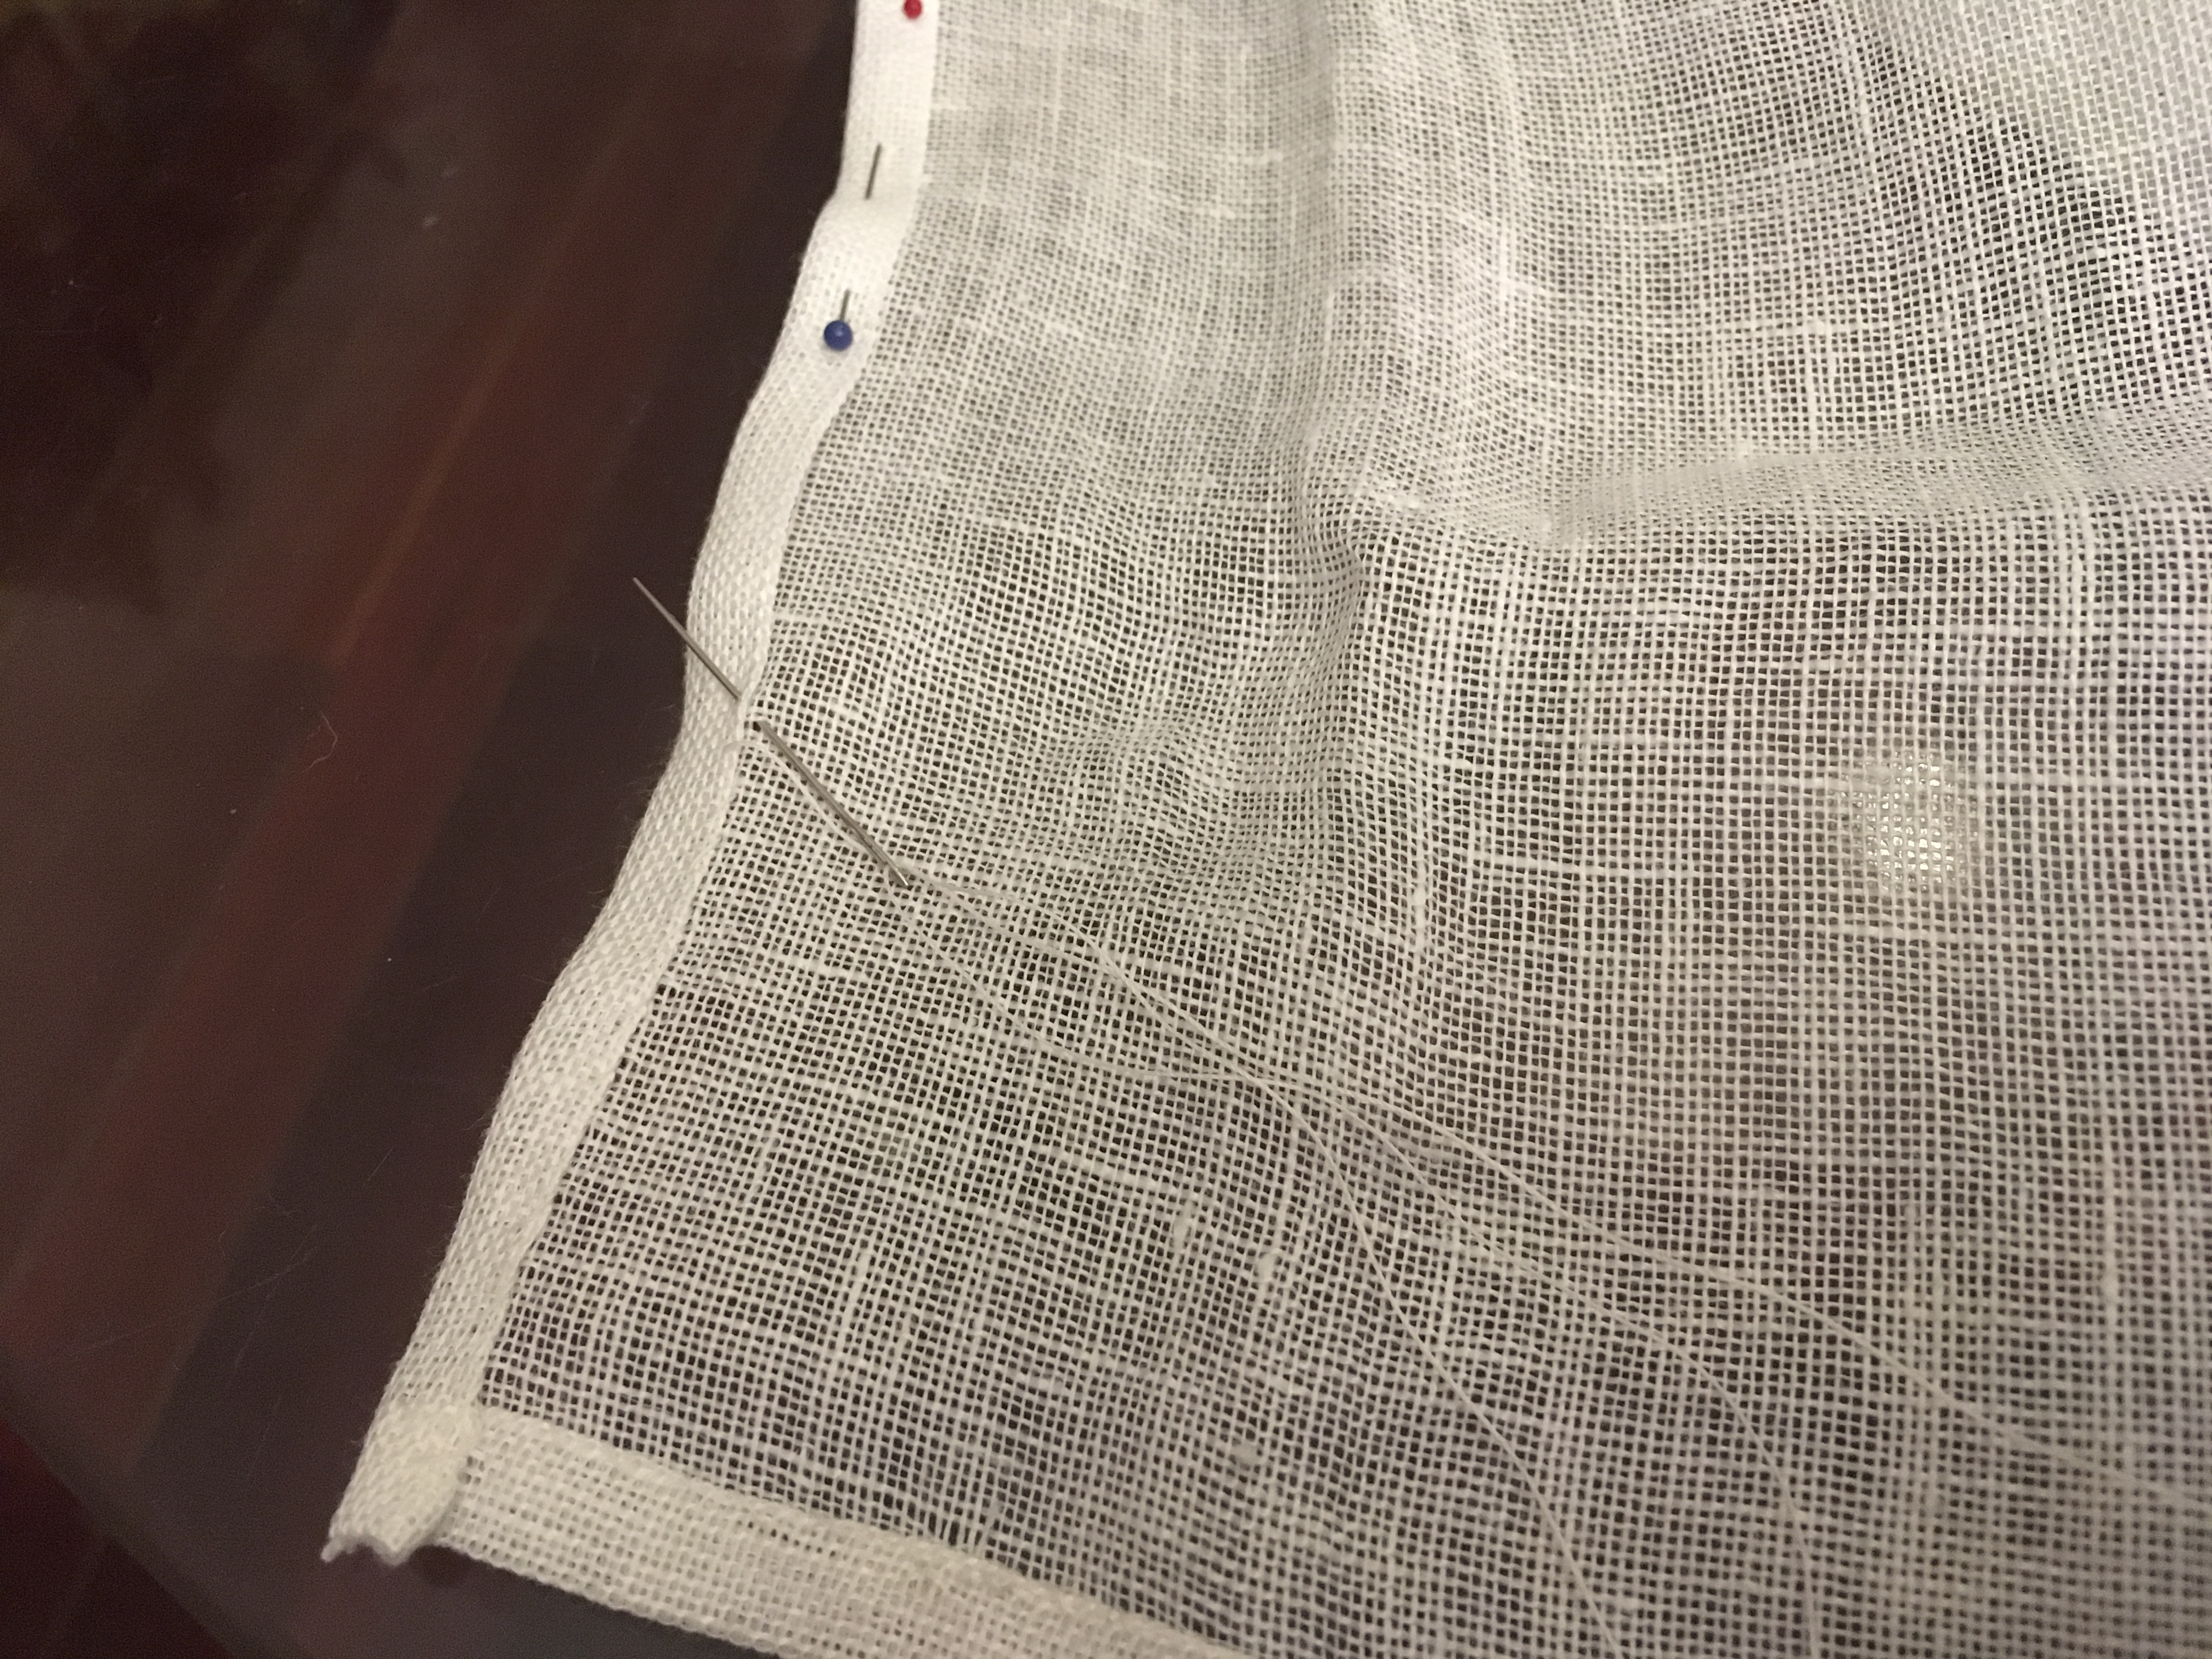
I am folding the edge over twice, then whipping it in place.
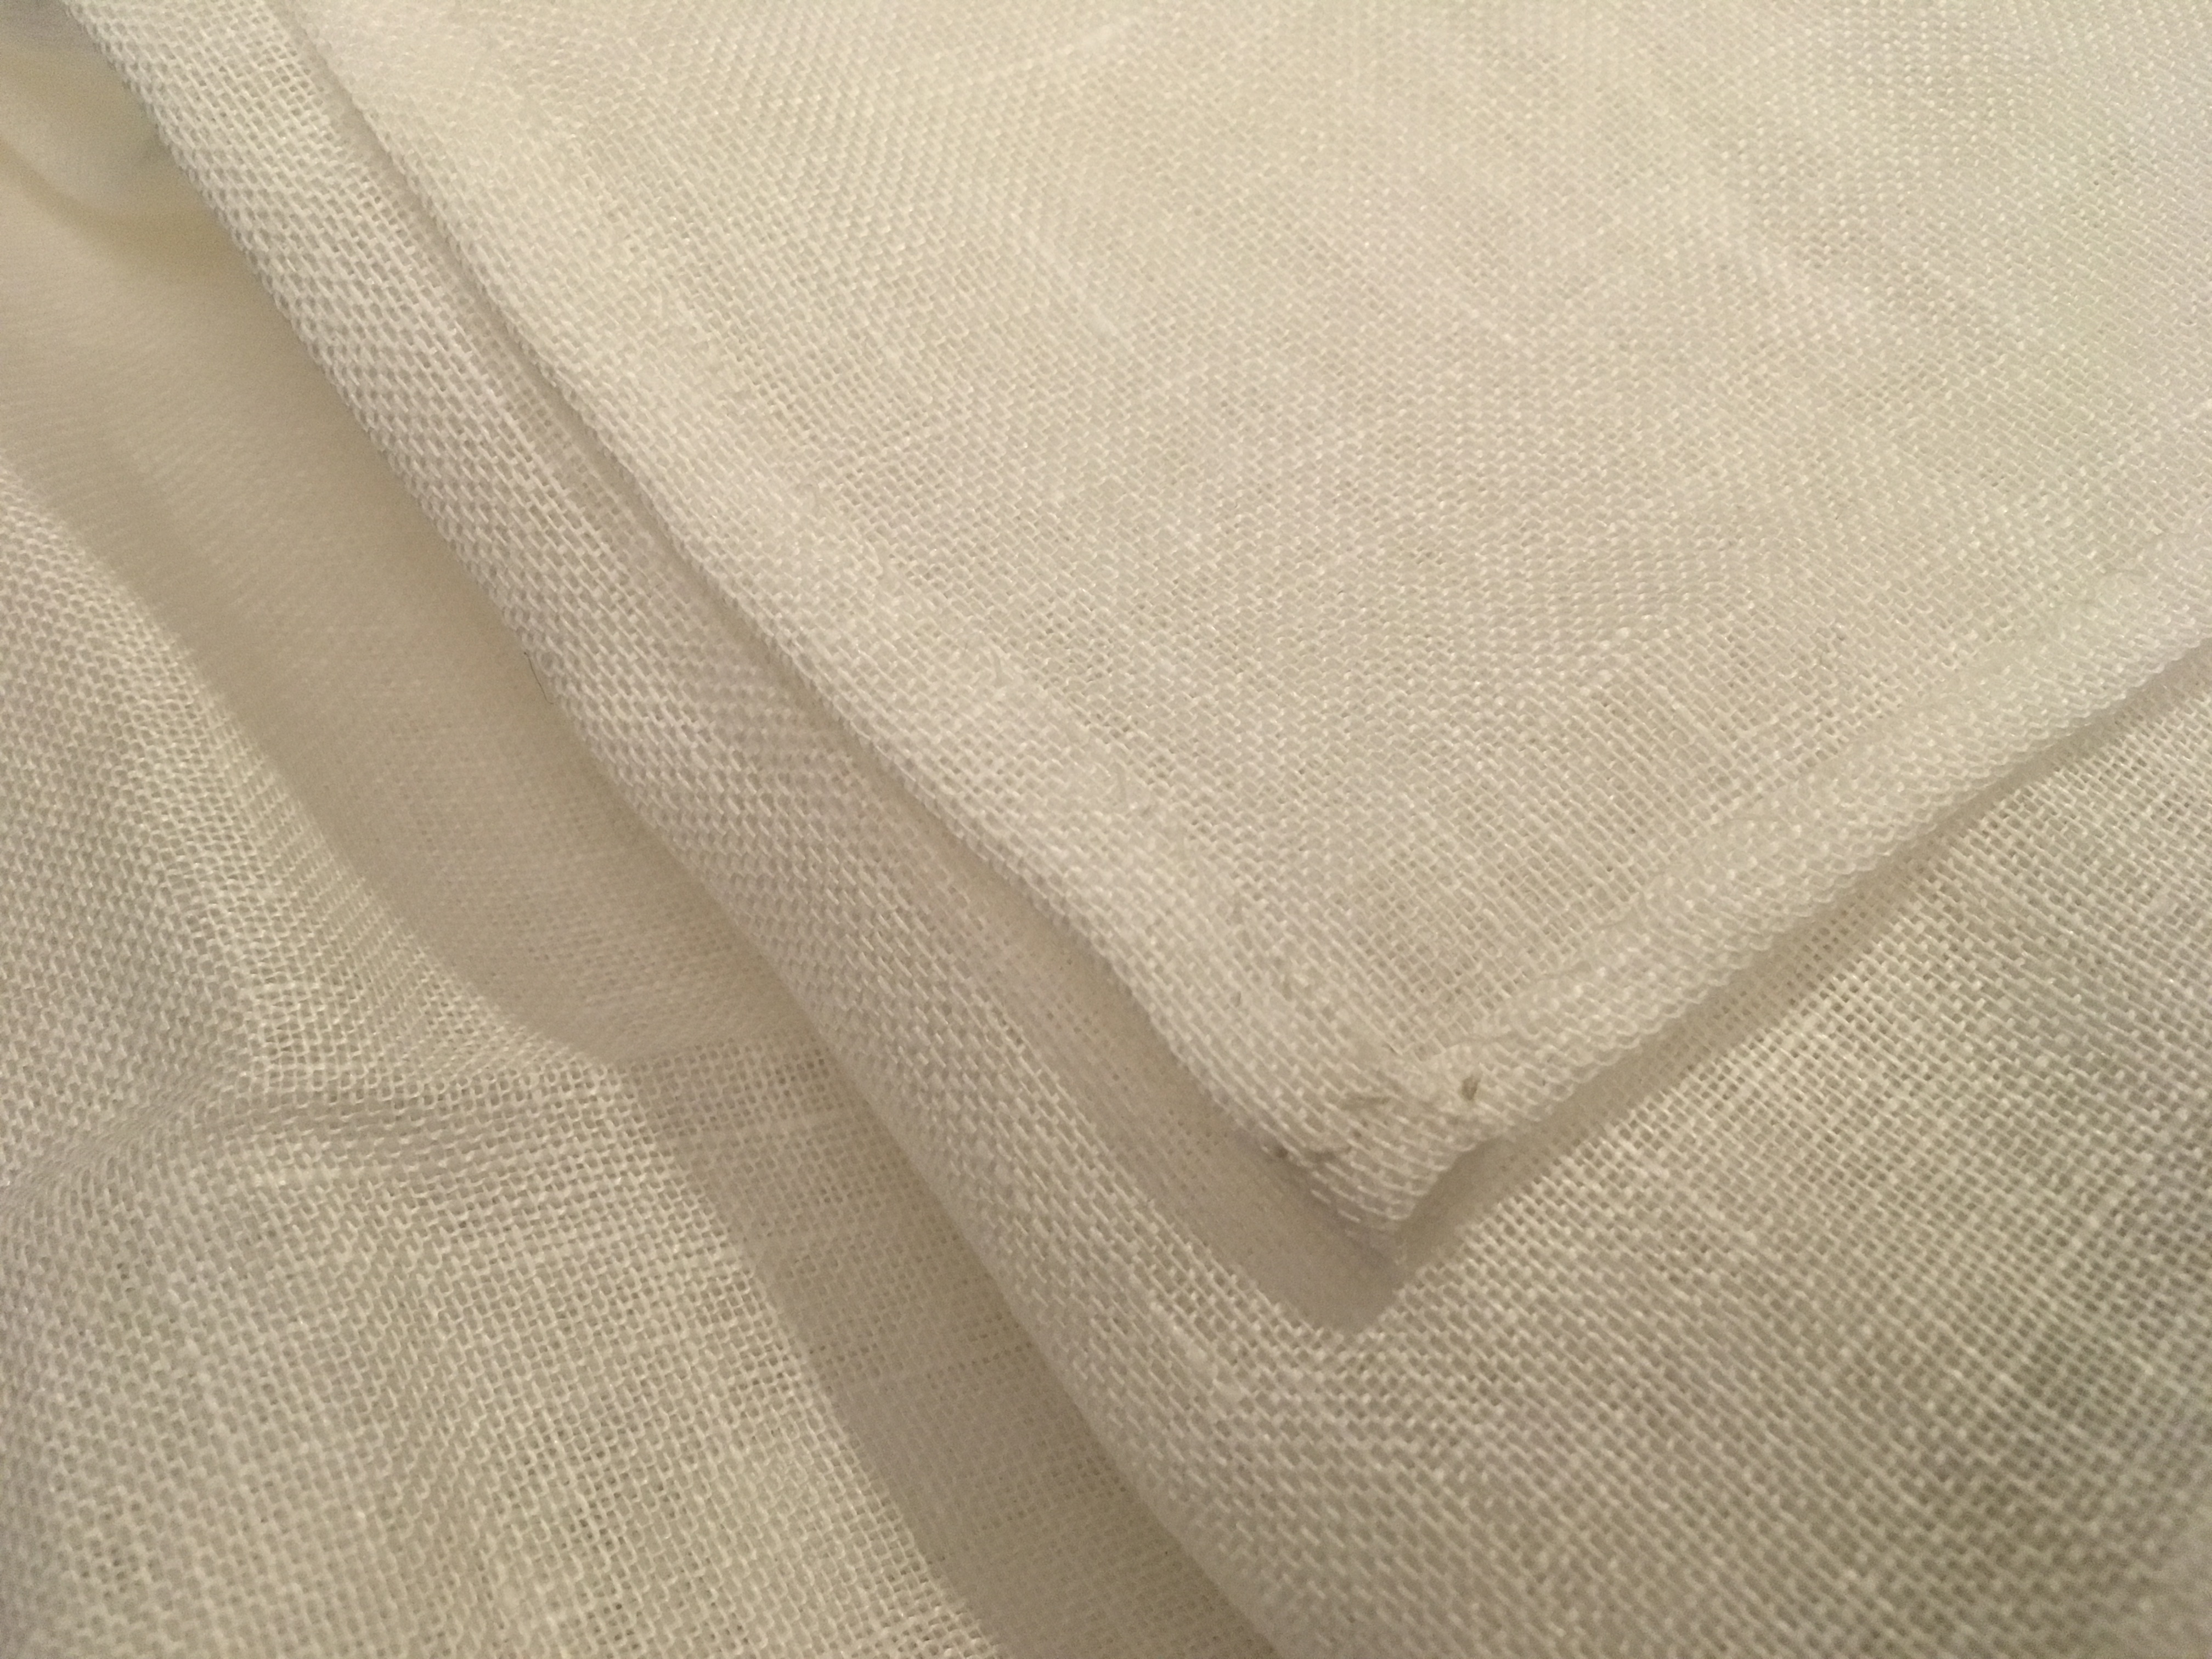
Piece #1 is complete, 3 raw edges hemmed. The fabric is so sheer, it’s hard to tell which side is up in the photo. Finished piece is 40.5” wide, 49” long.
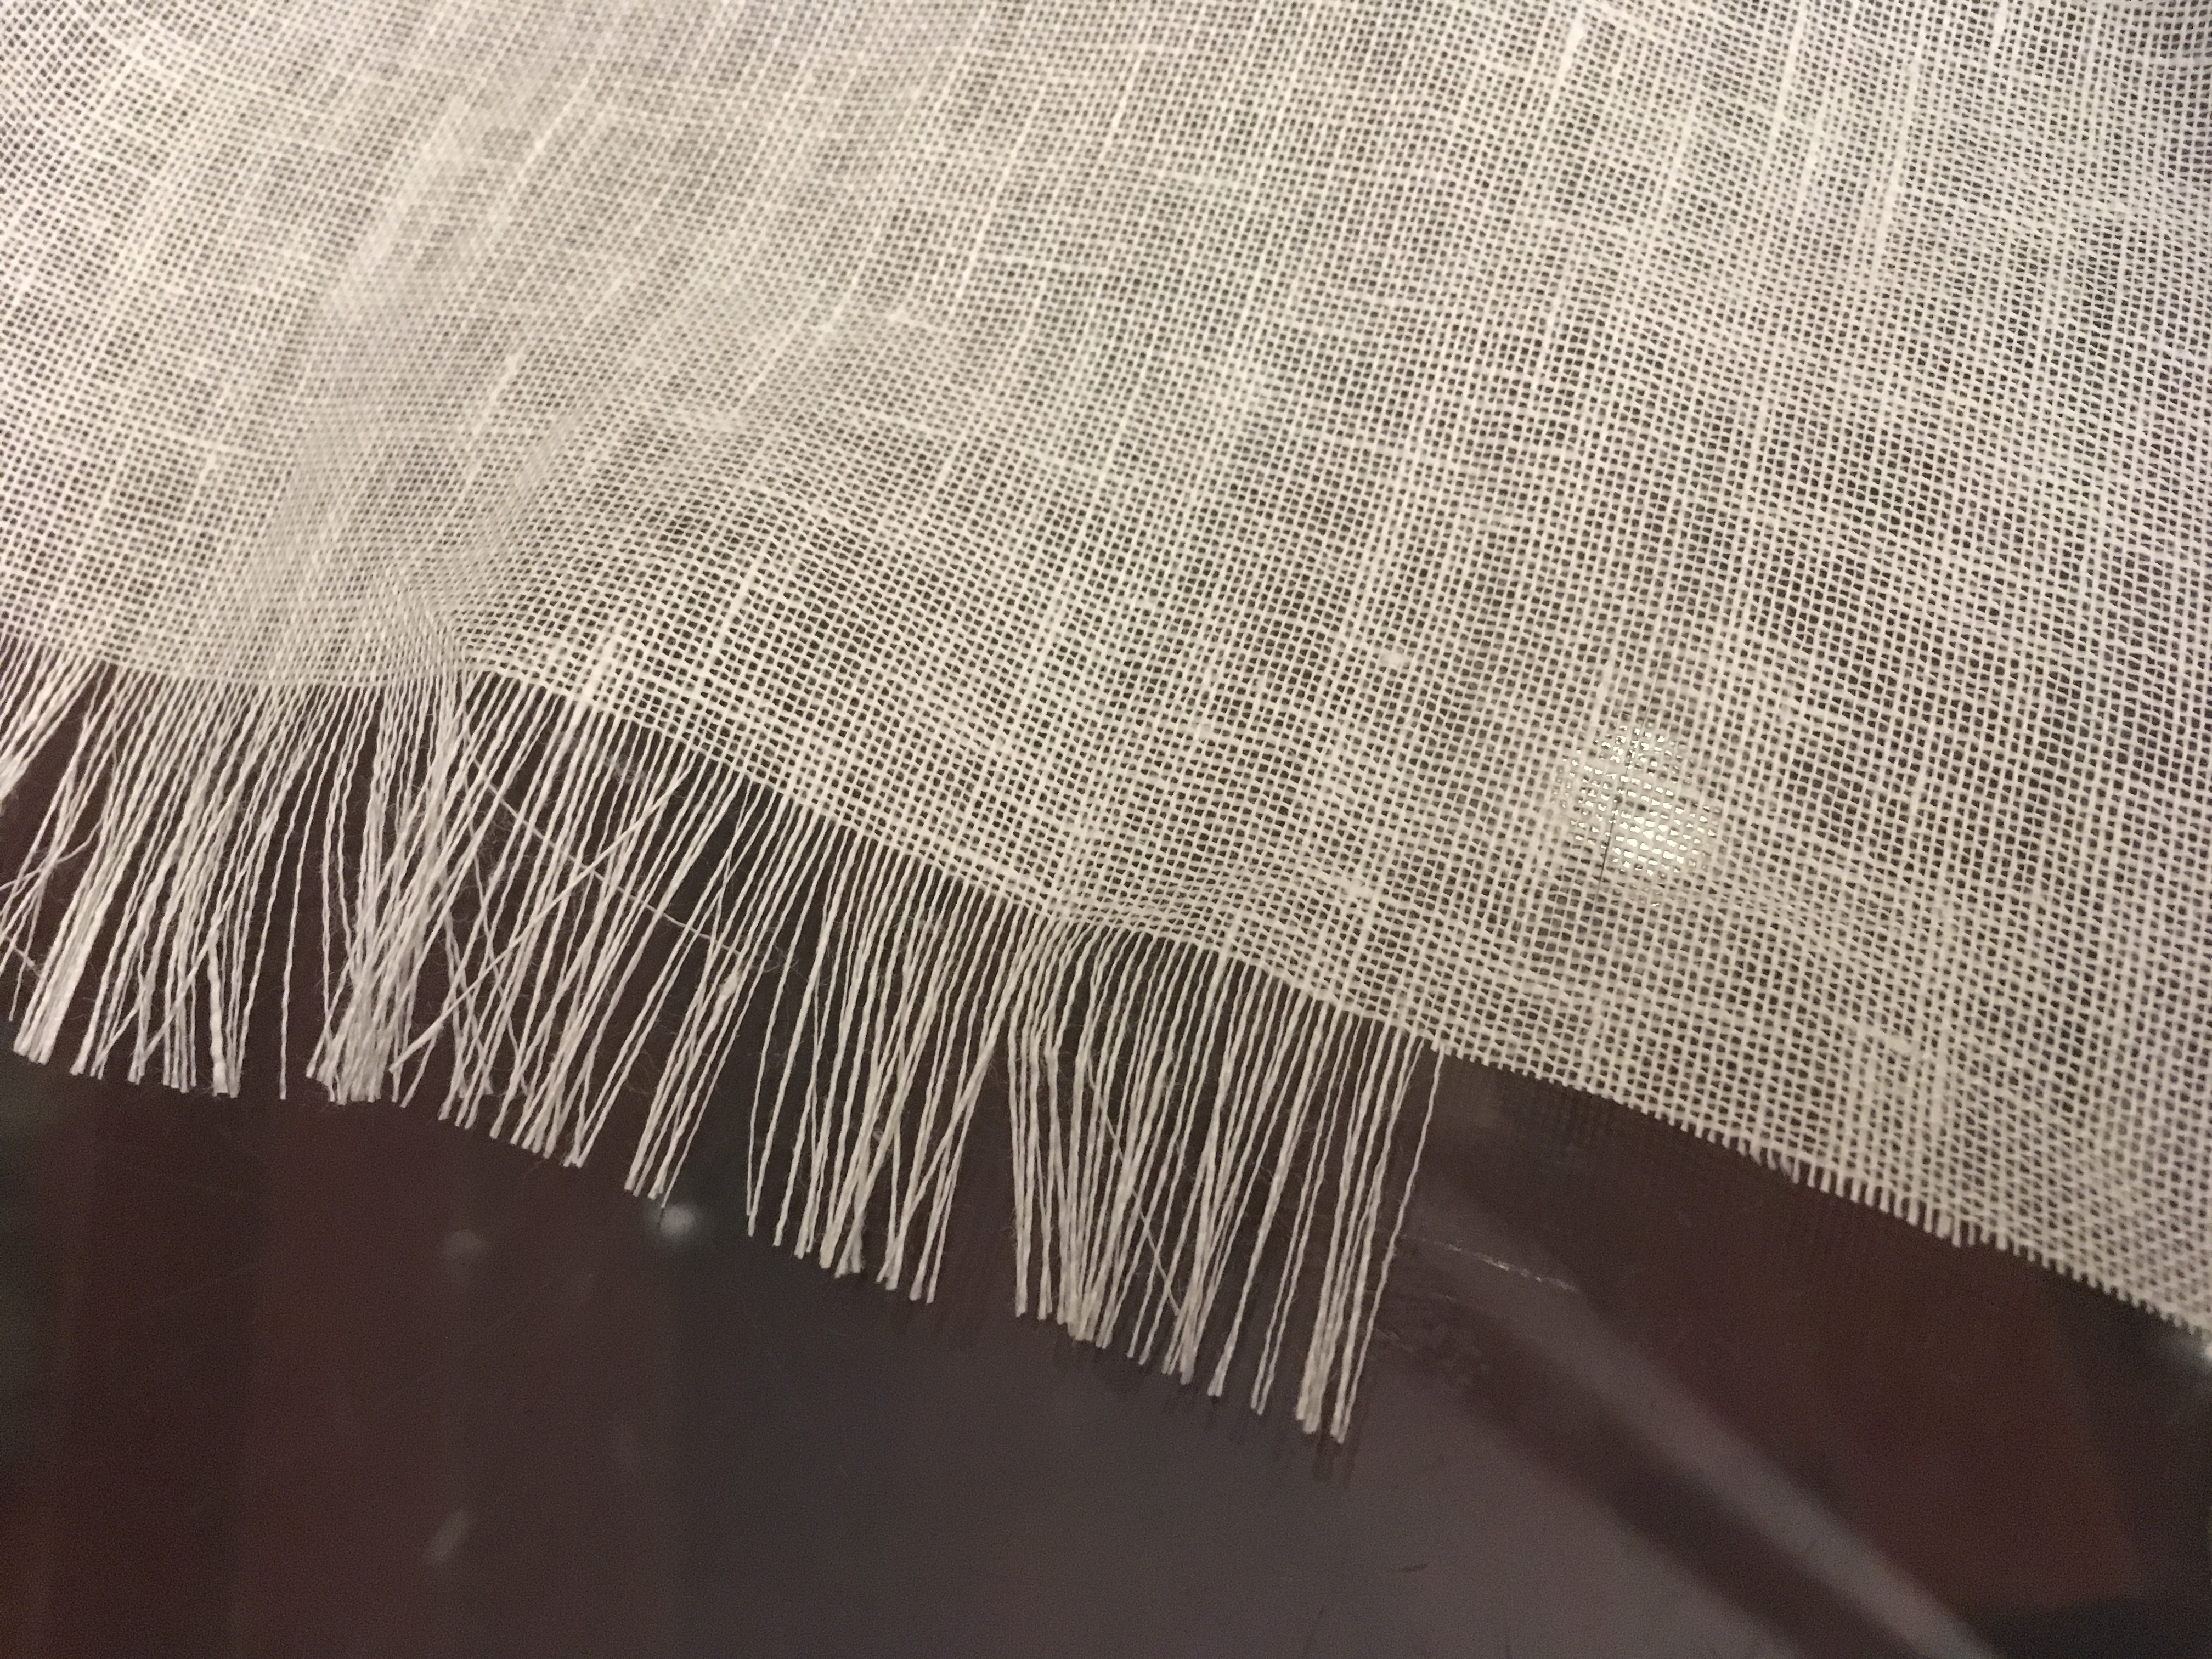
Before hemming, I square up each edge by removing partial threads, then trimming the excess warp / weft where exposed.
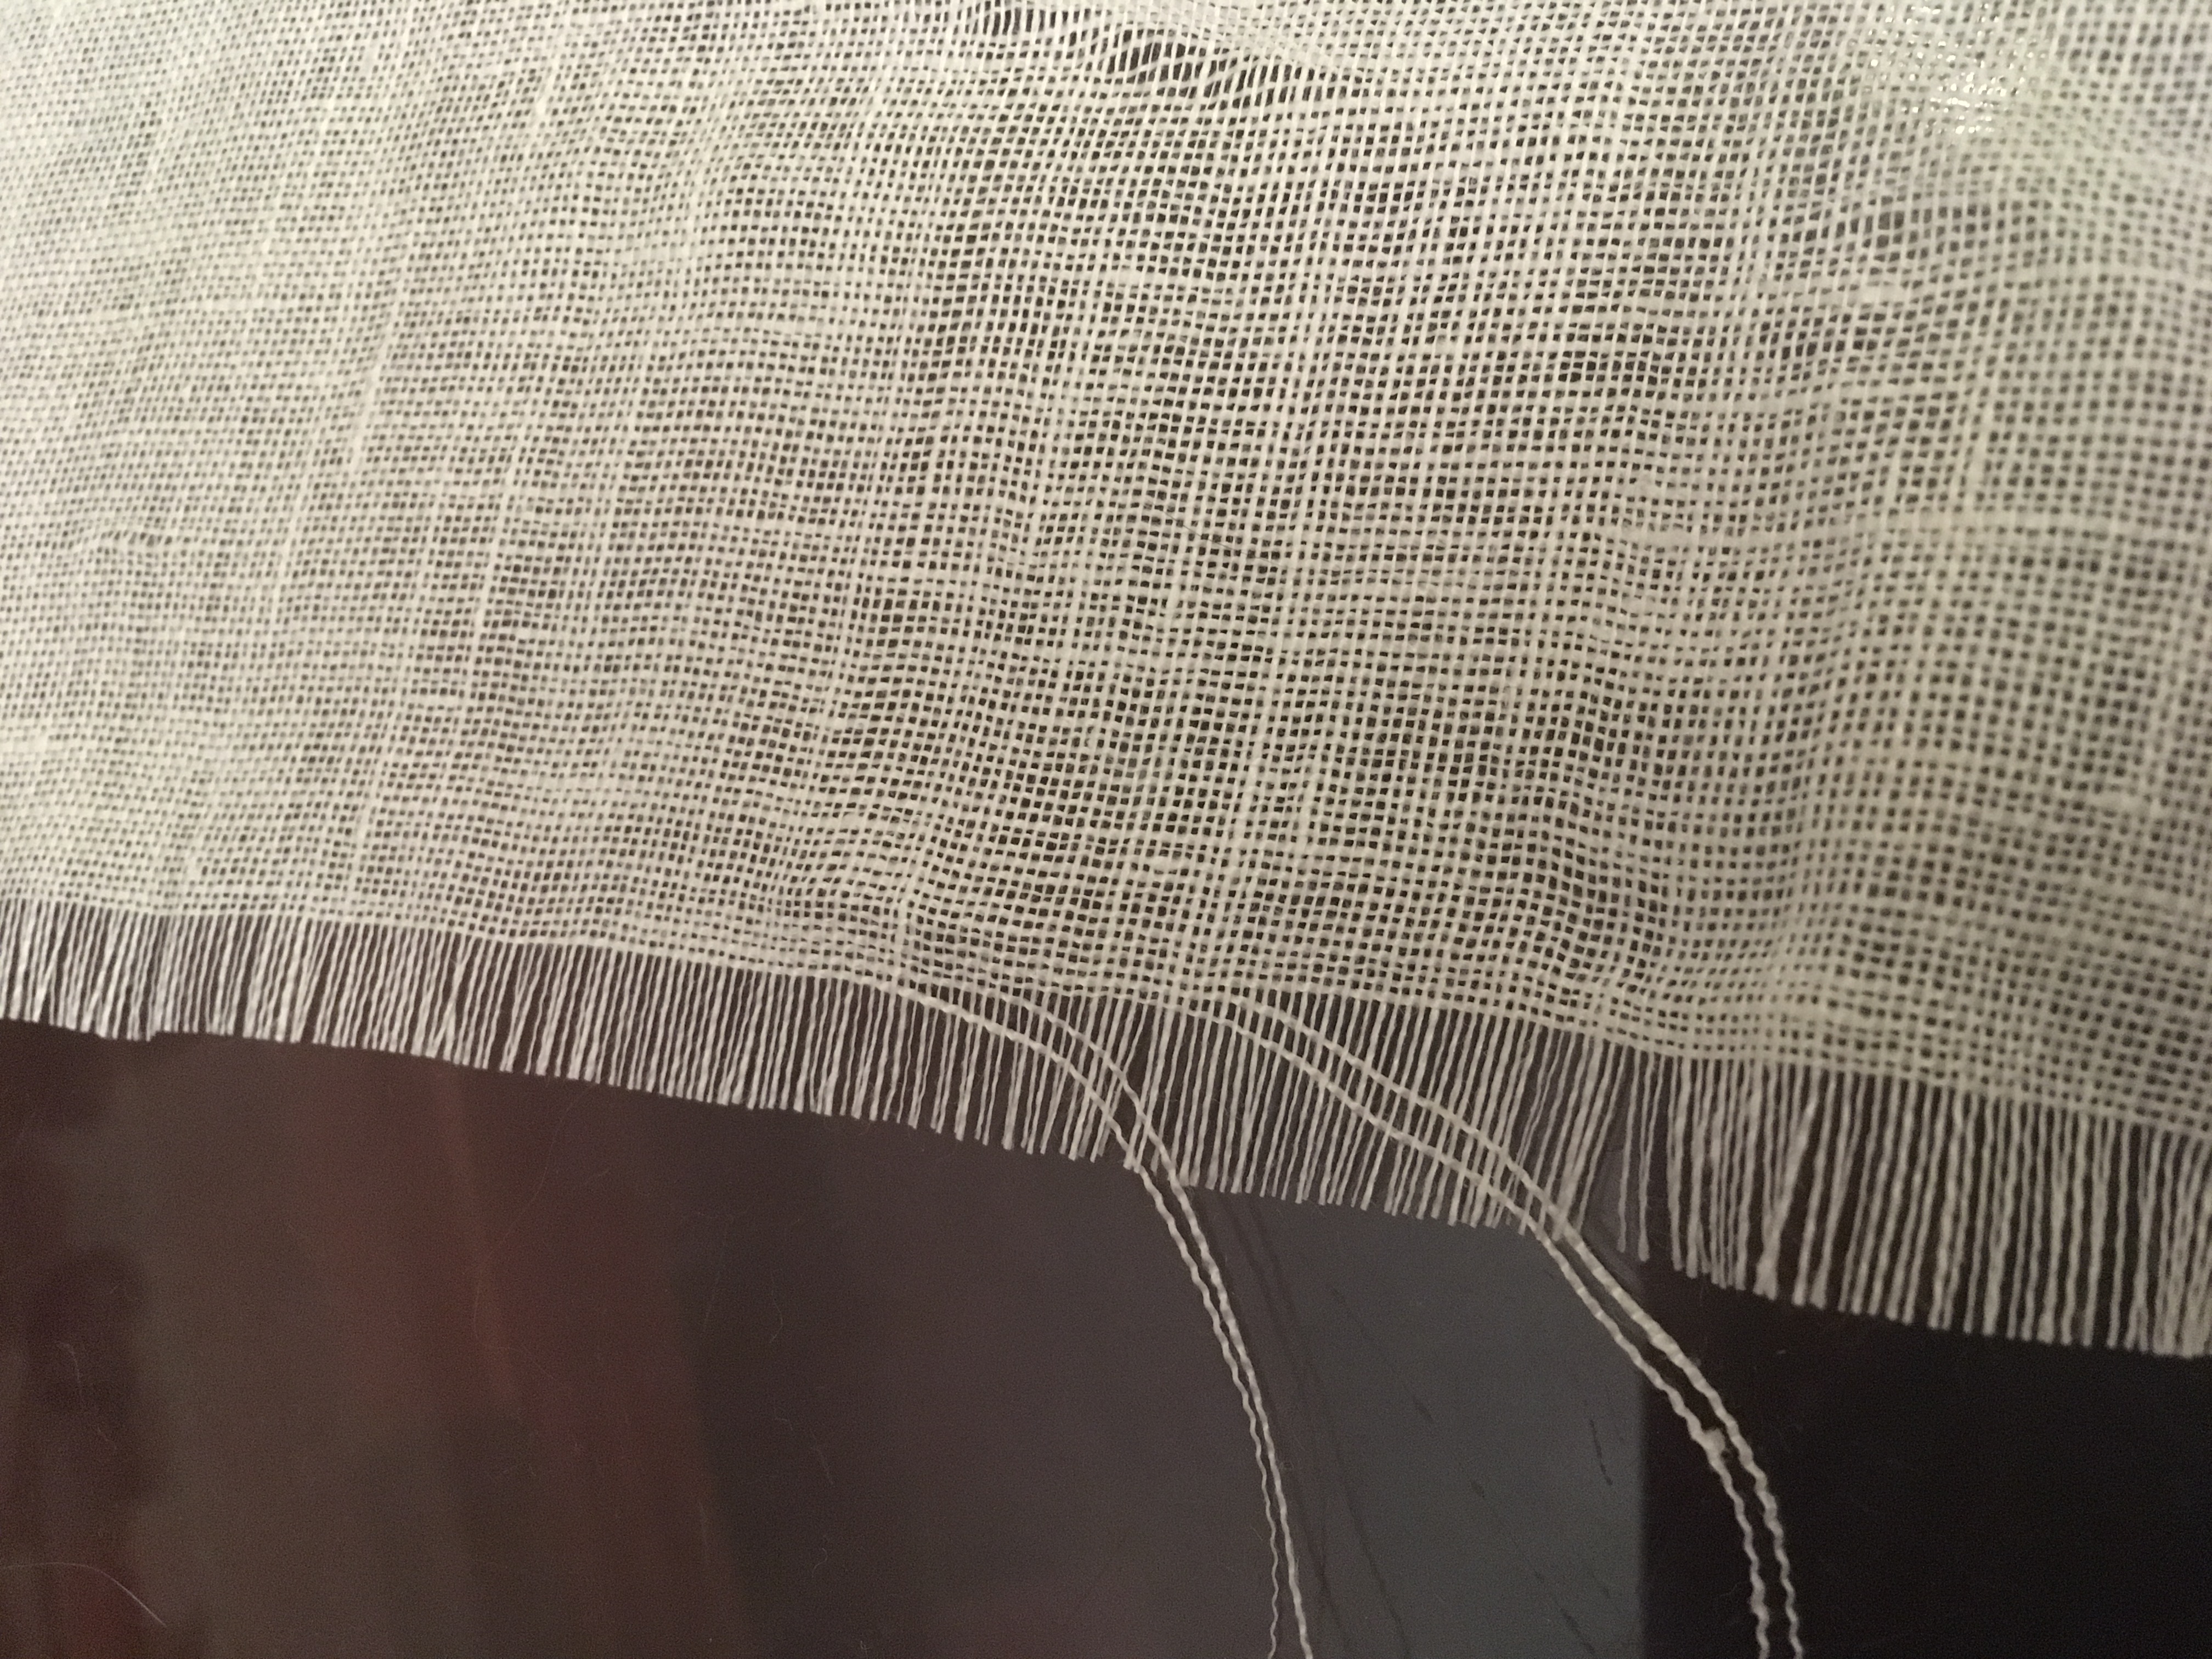
I trim the excess threads very close, being careful not to snip any of the rest of the weave. I turn & pin immediately after snipping, so as not to lose any more of the long threads to fraying.
Finger-pressing to crease the fold, I pin the daylights out of it to reduce hand strain while whip-stitching.

Here I am, about to stitch the top of the back piece, the final edge of the body pieces. You can see how straight the work is, having been squared by removing partial threads, pressing the double fold, and pinning with careful attention to the grain of the fabric. It may seem like a lot of prep work, but it makes the sewing way more comfortable. And for this, it’s not so much the time investment as it is enjoying the process. I will wear the chemise a long damn time. And doing it right means I will enjoy the end result as much as I will the process.
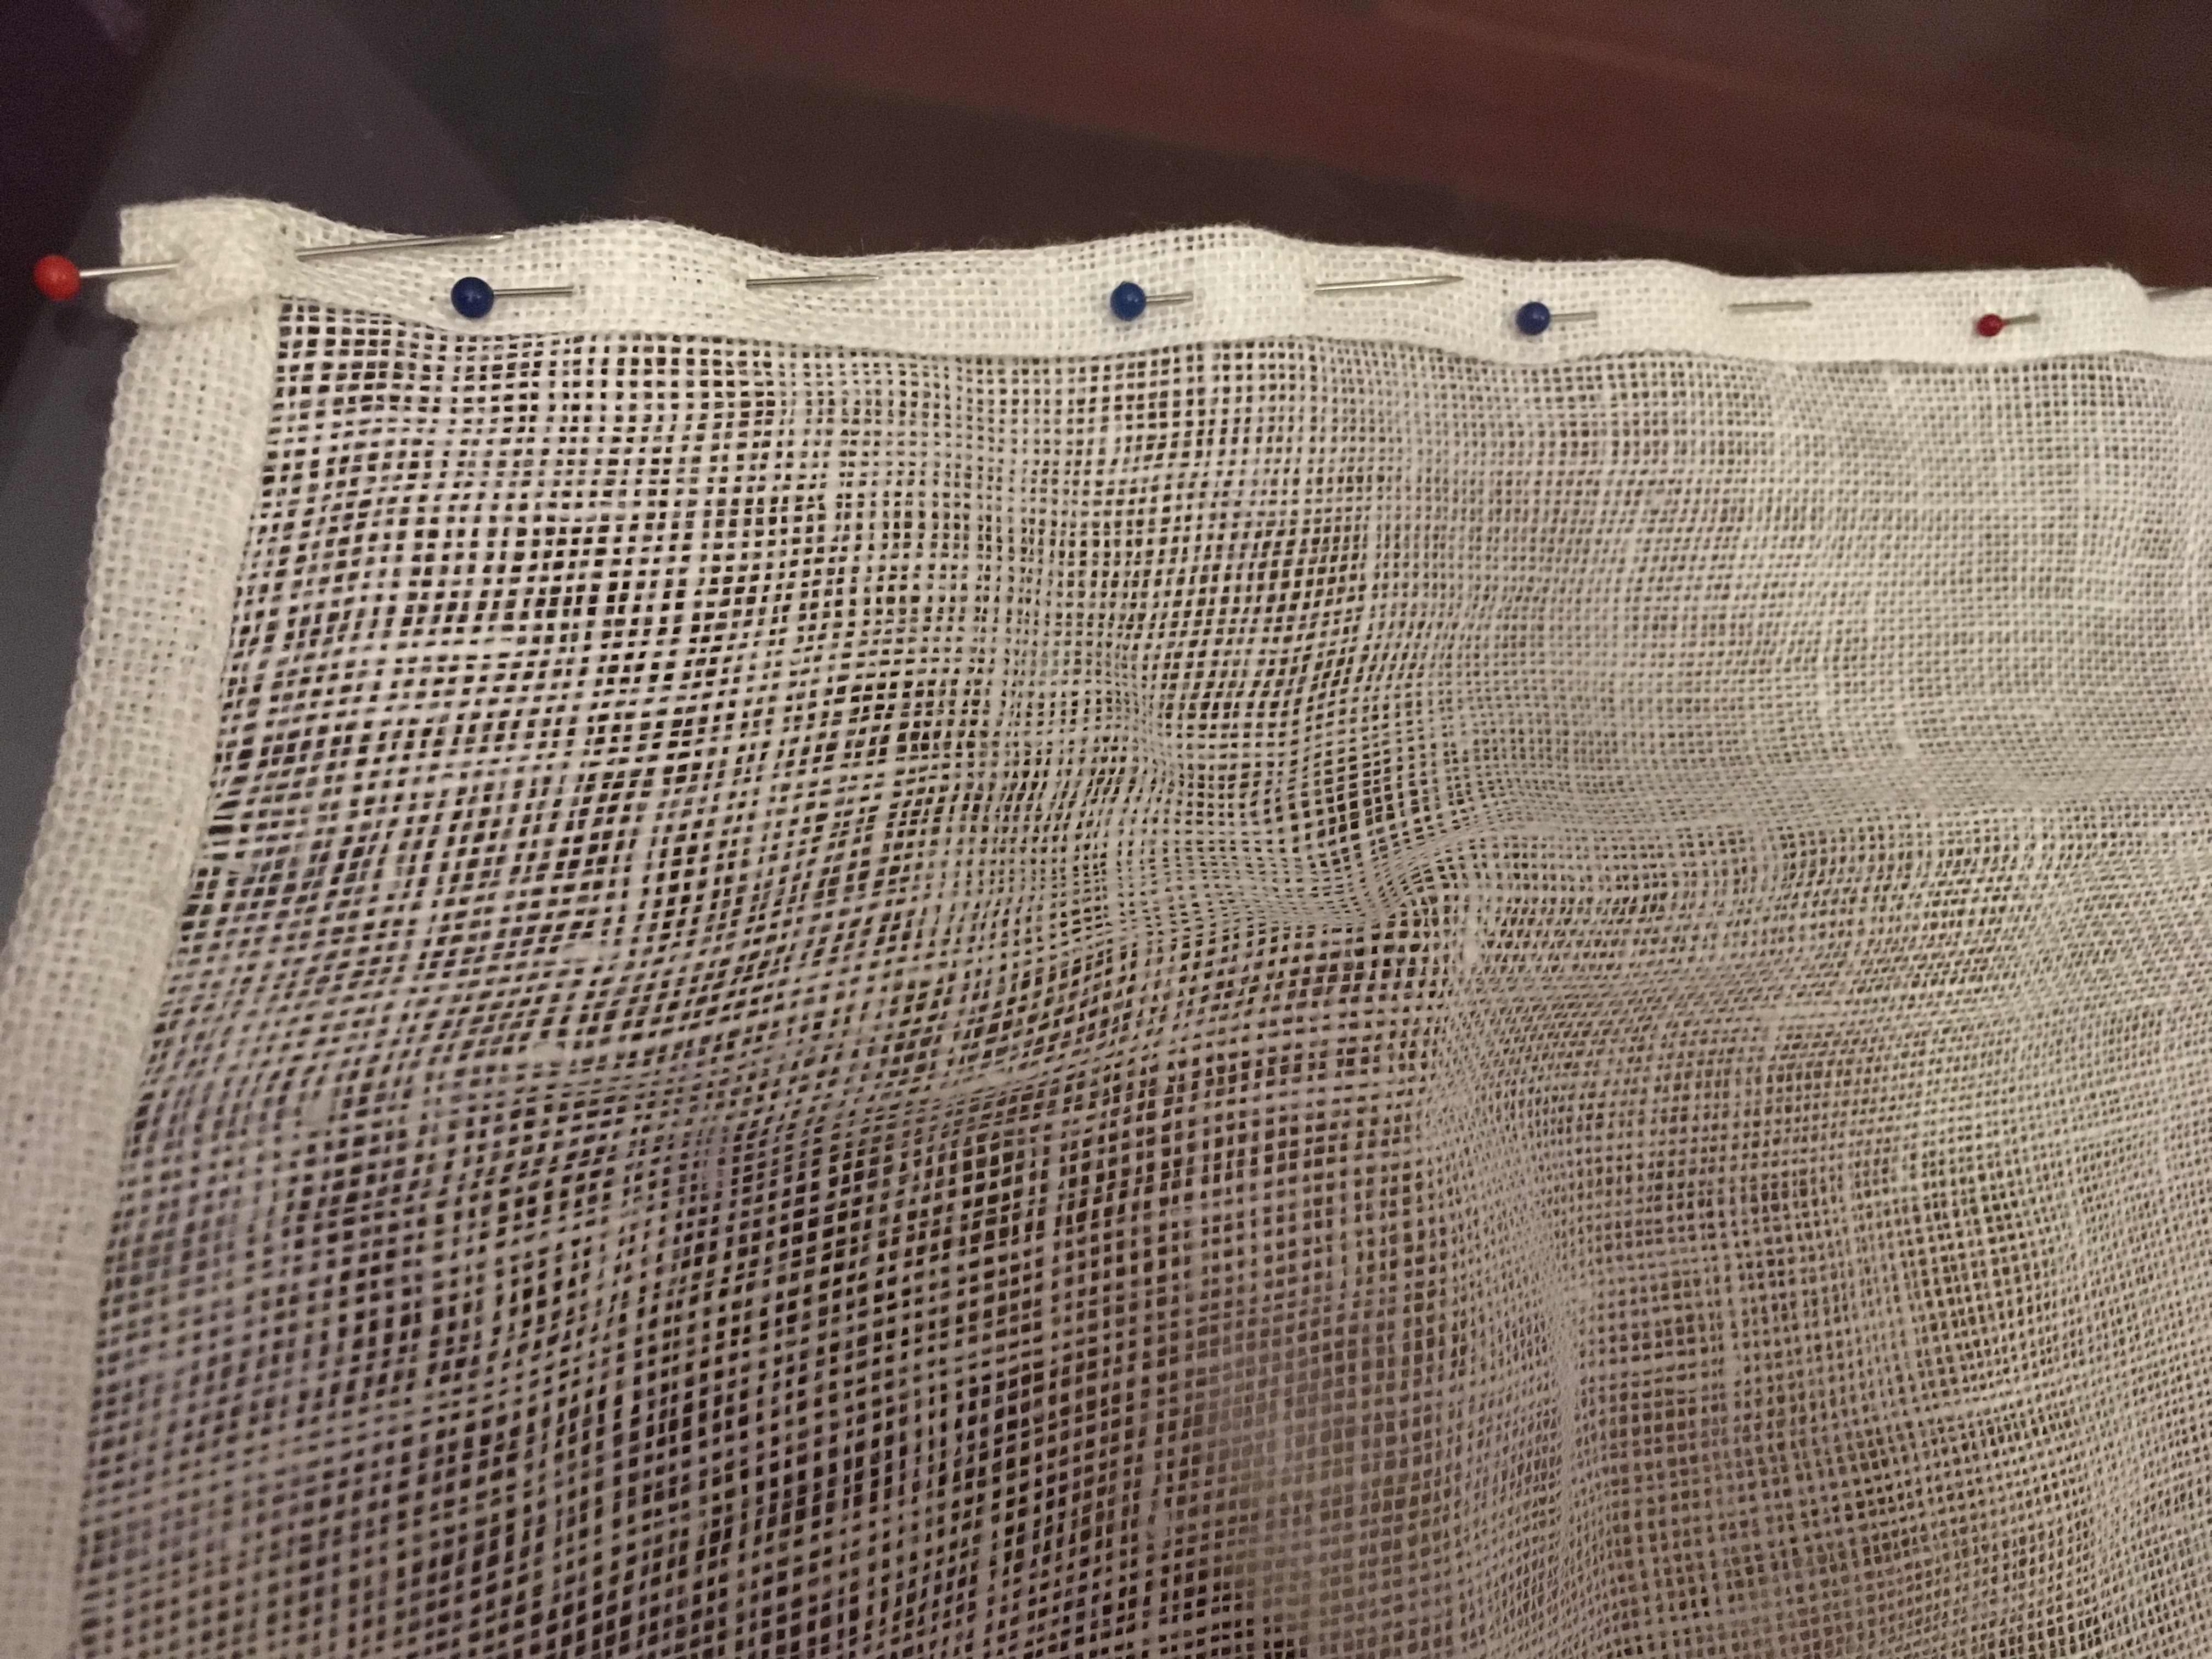
I maintain a strong angle on my whipstitch, to ensure I catch 2 crossways & 2 longways threads on each stitch, reducing fabric strain.
Piece #2 comes out 42.5” x 55.5”. This will be the back; the 40.5” x 49” piece will be the front.
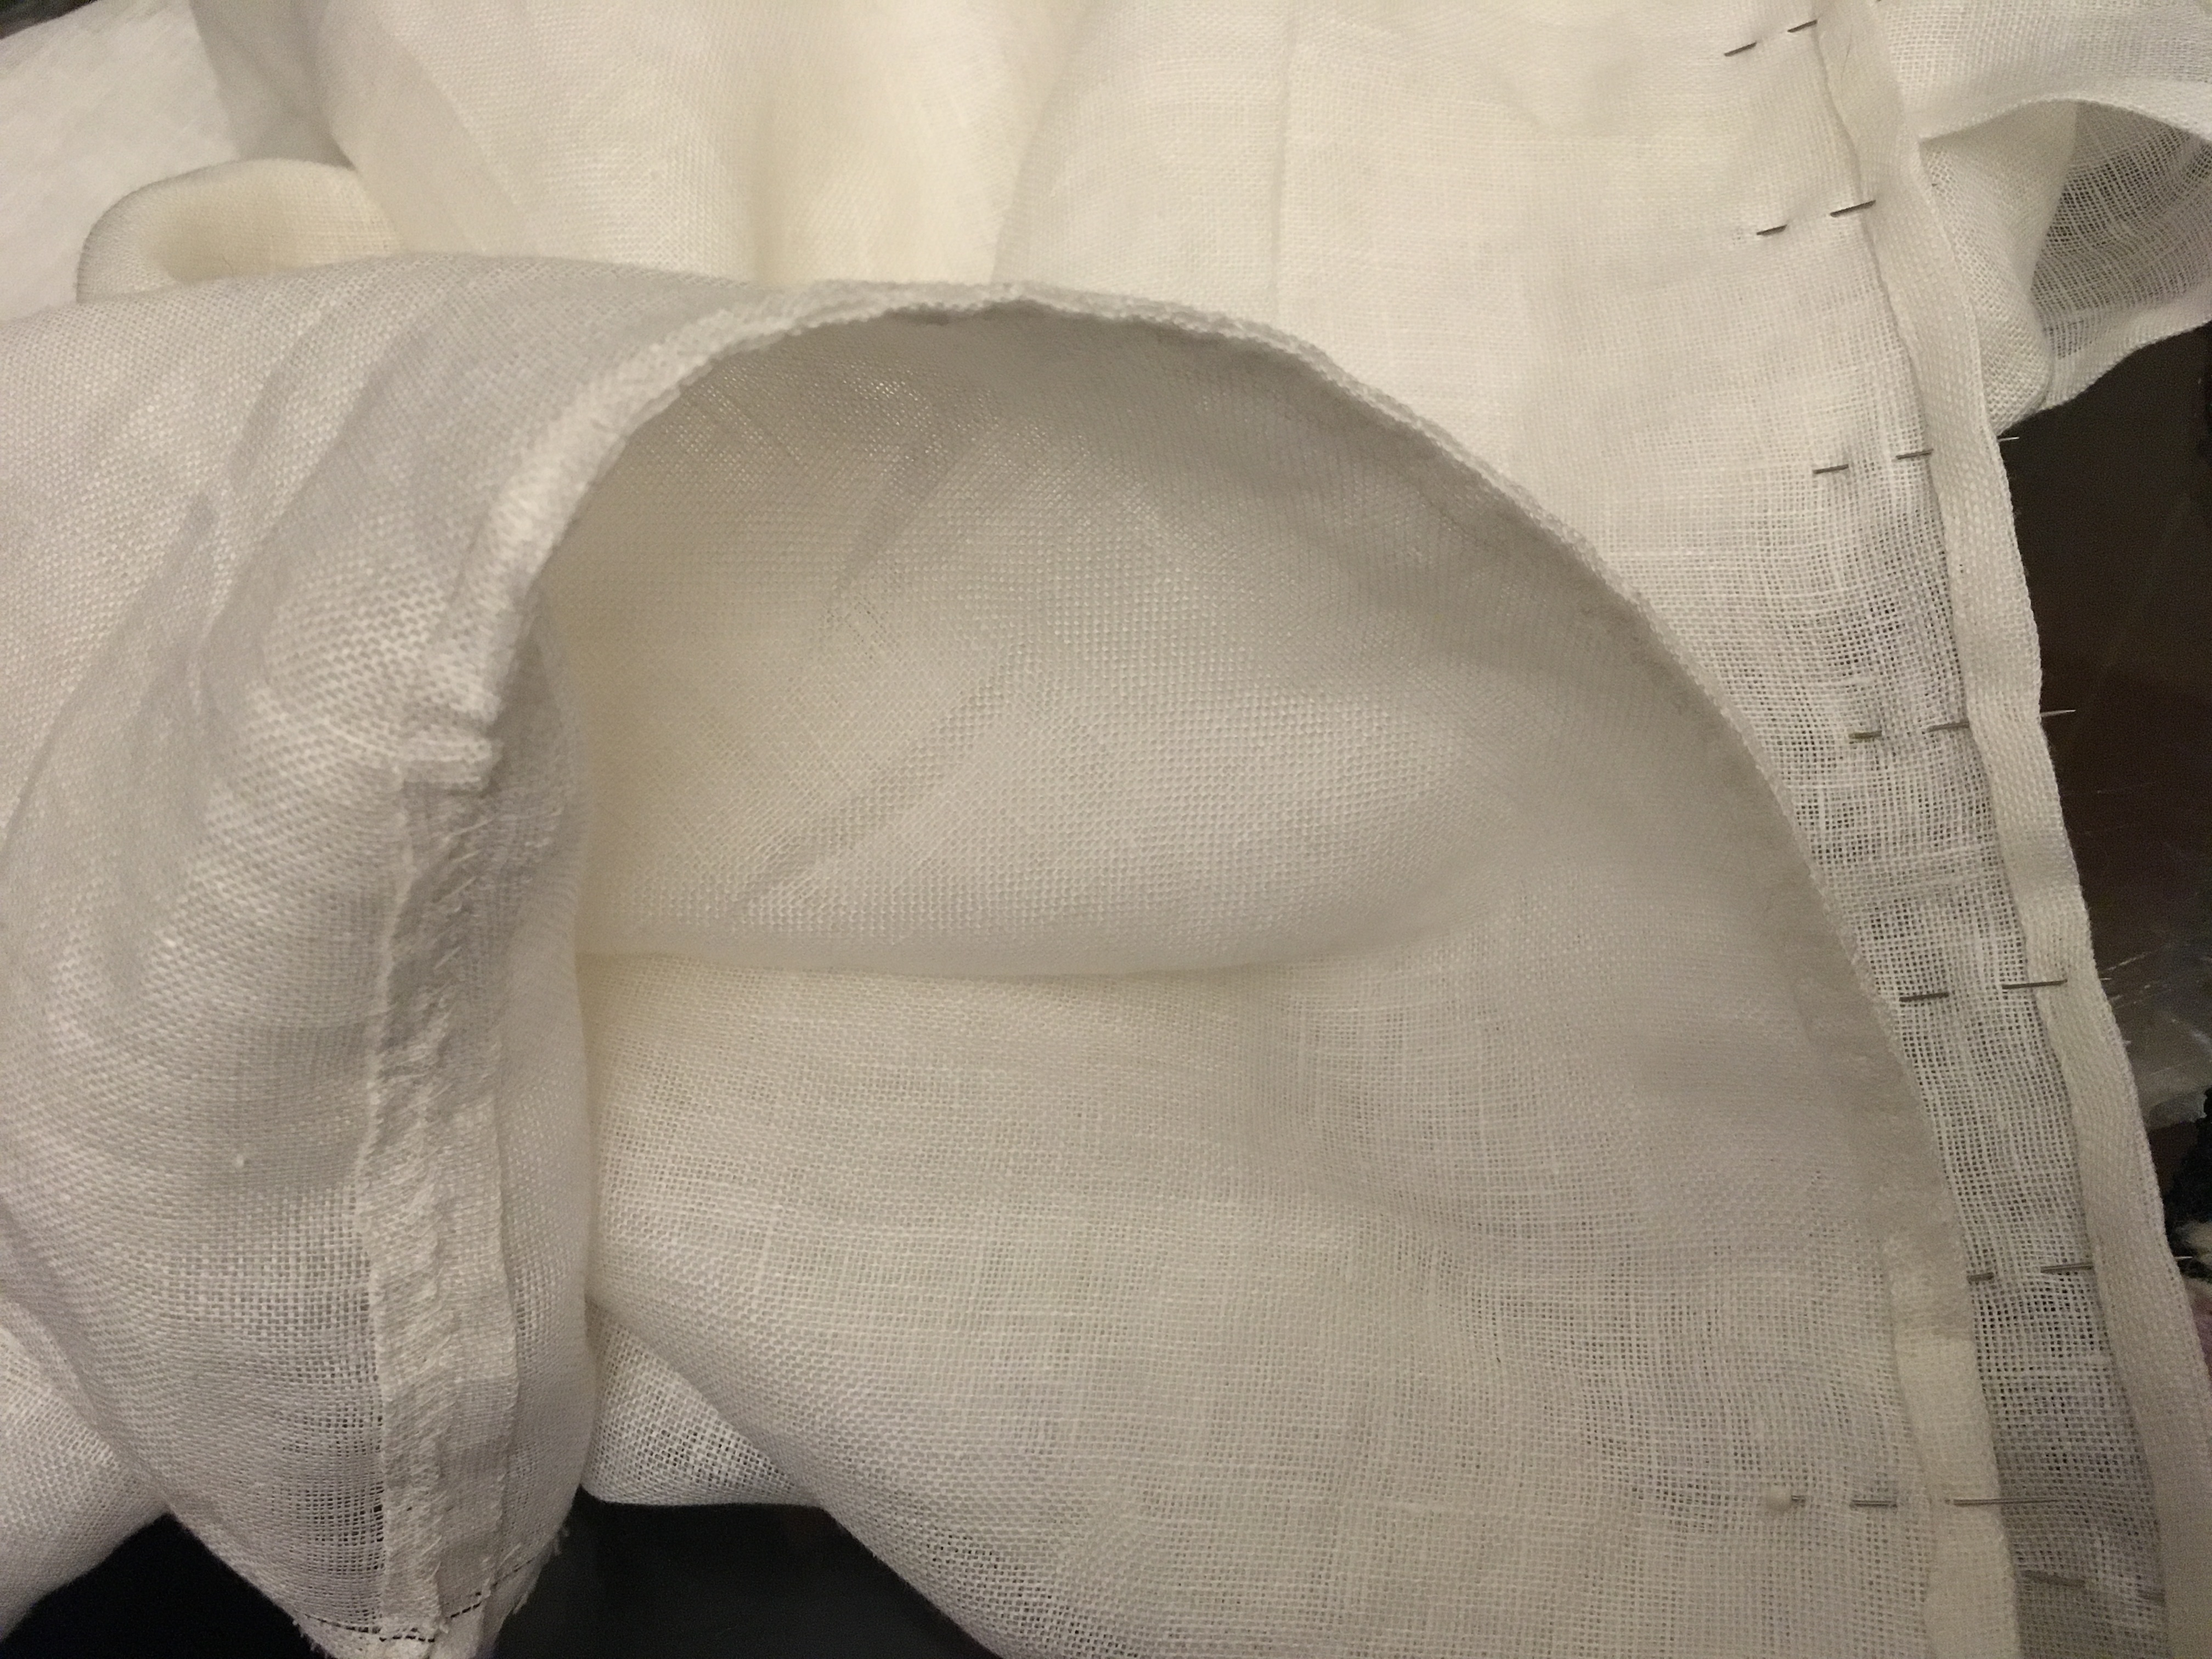
Now I whip the sides together, starting at the hem. I hold the wrong sides (insides) together (remember, the hems go on the outside, in this construction method), and whip them all along the edge. When I finish, I will flatten the seam, pulling the pieces apart so the whipstitching settles like a spiral book binding.
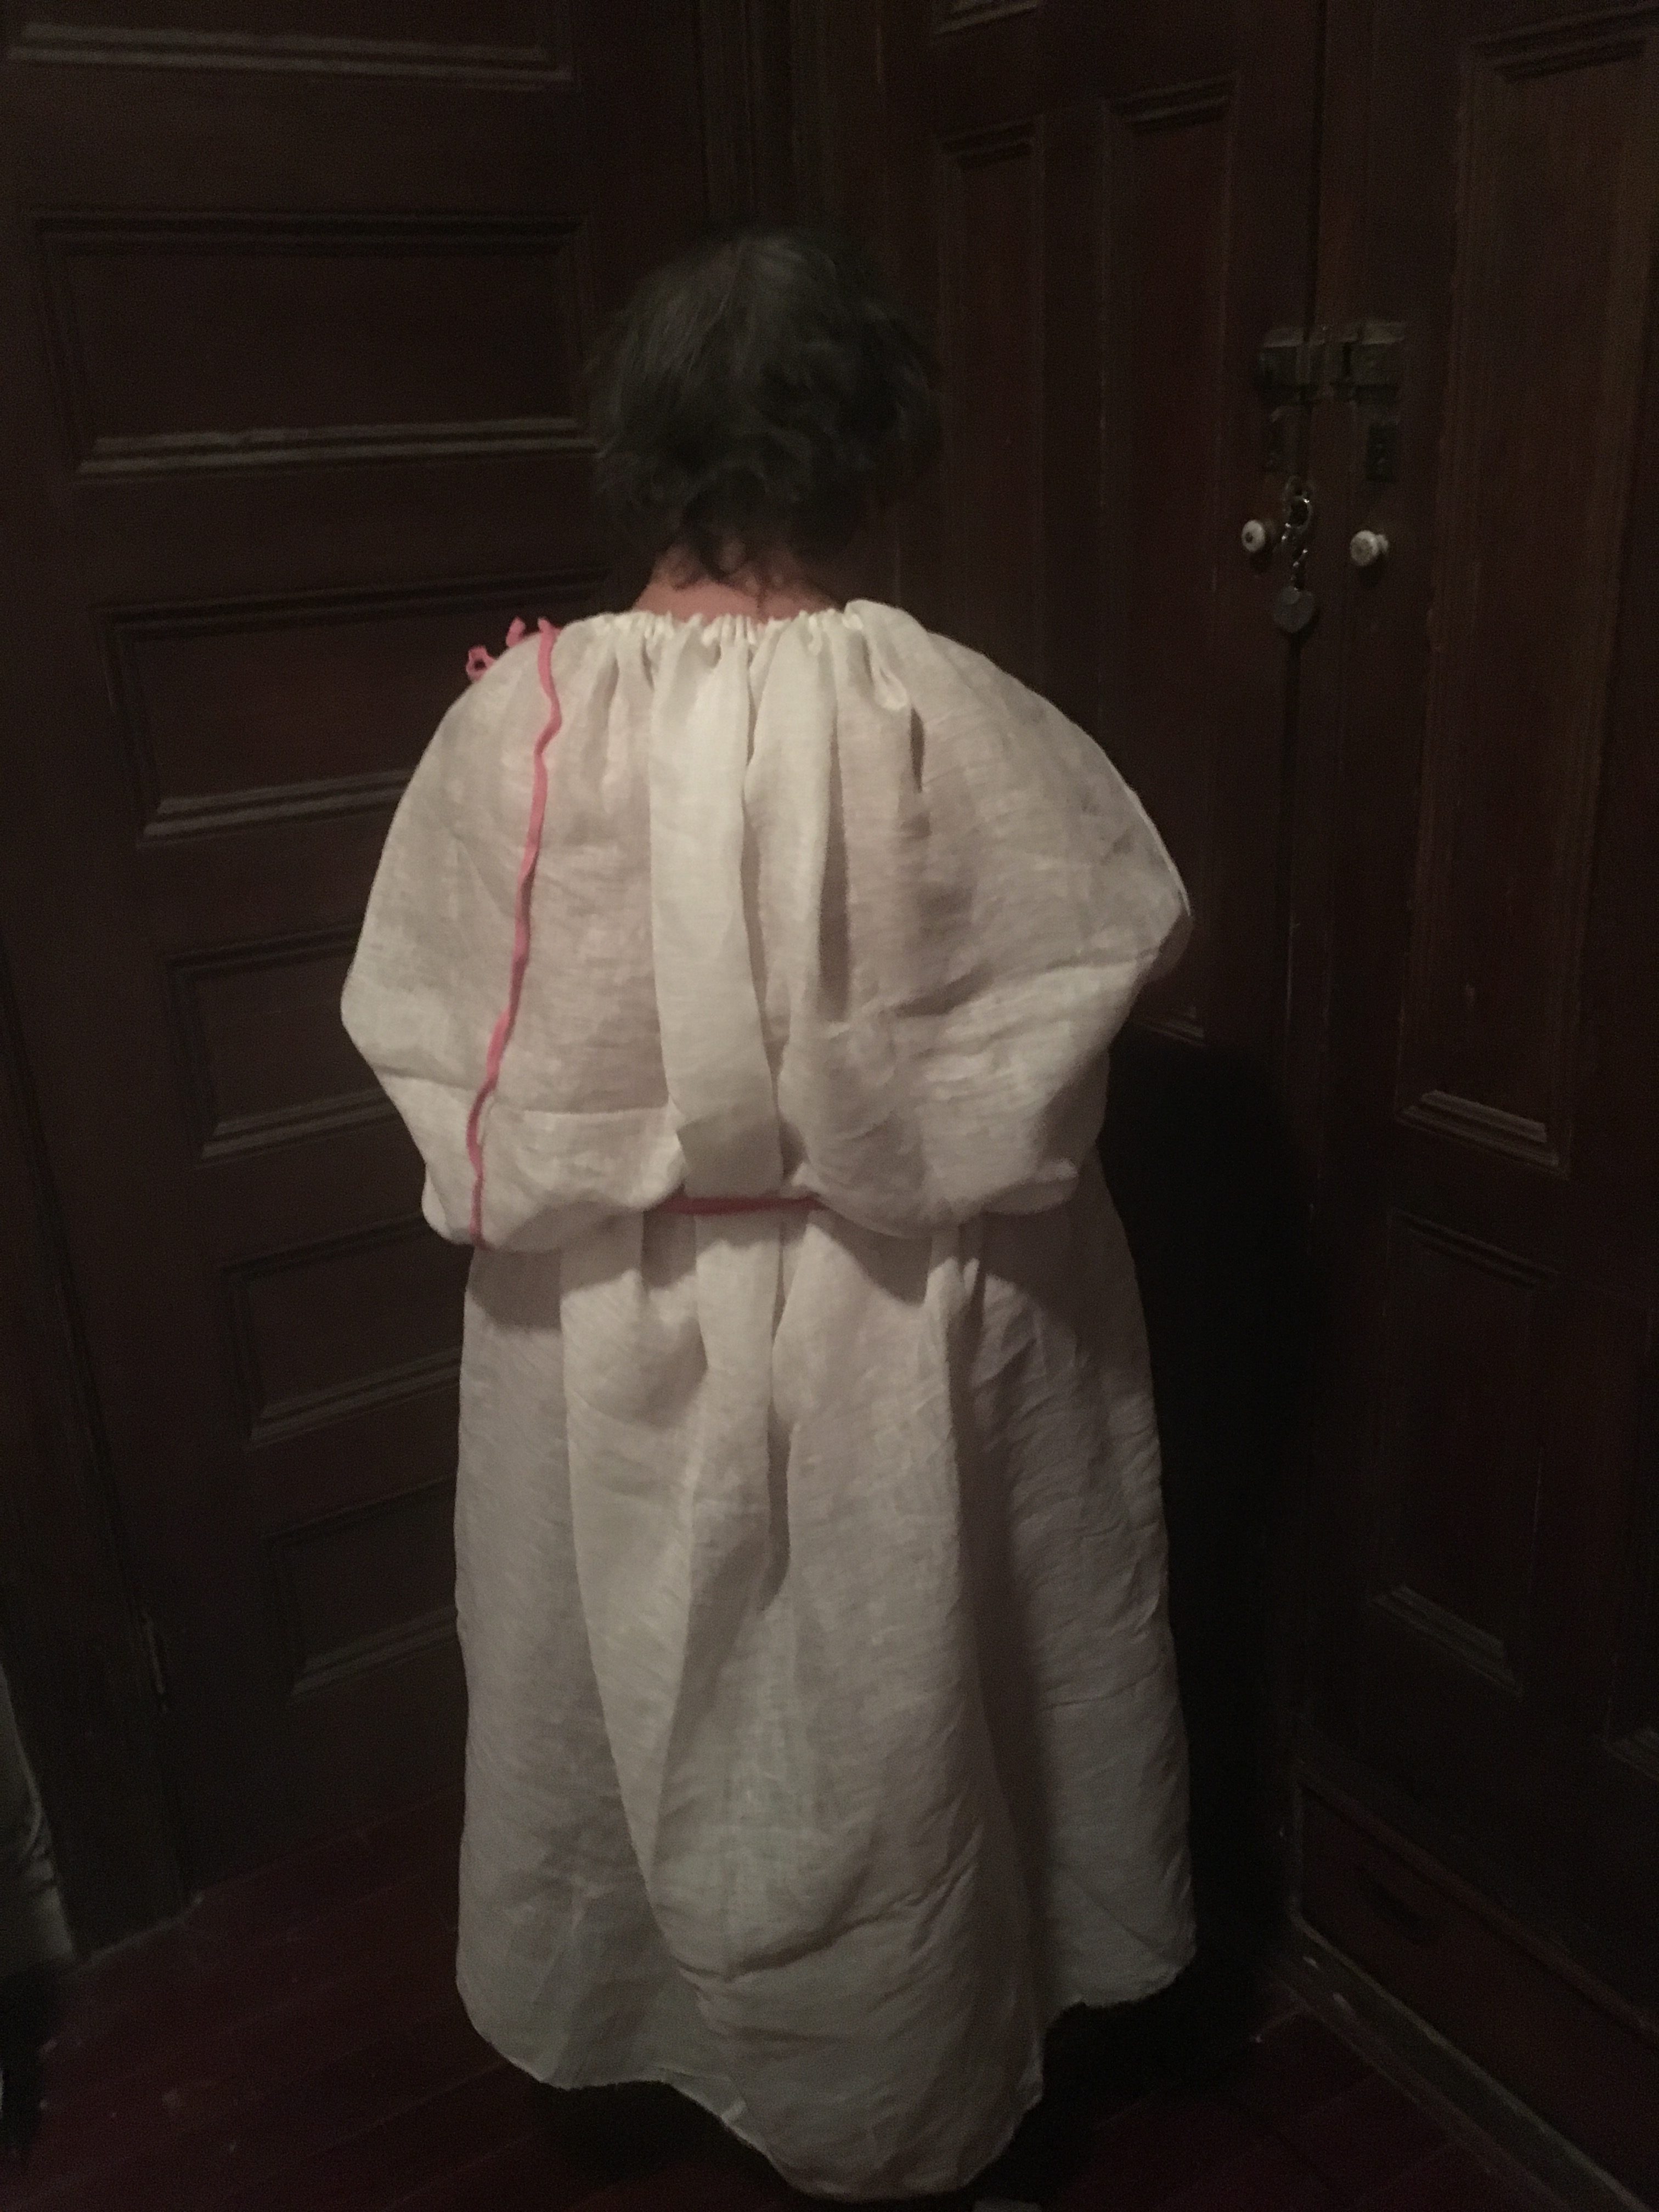
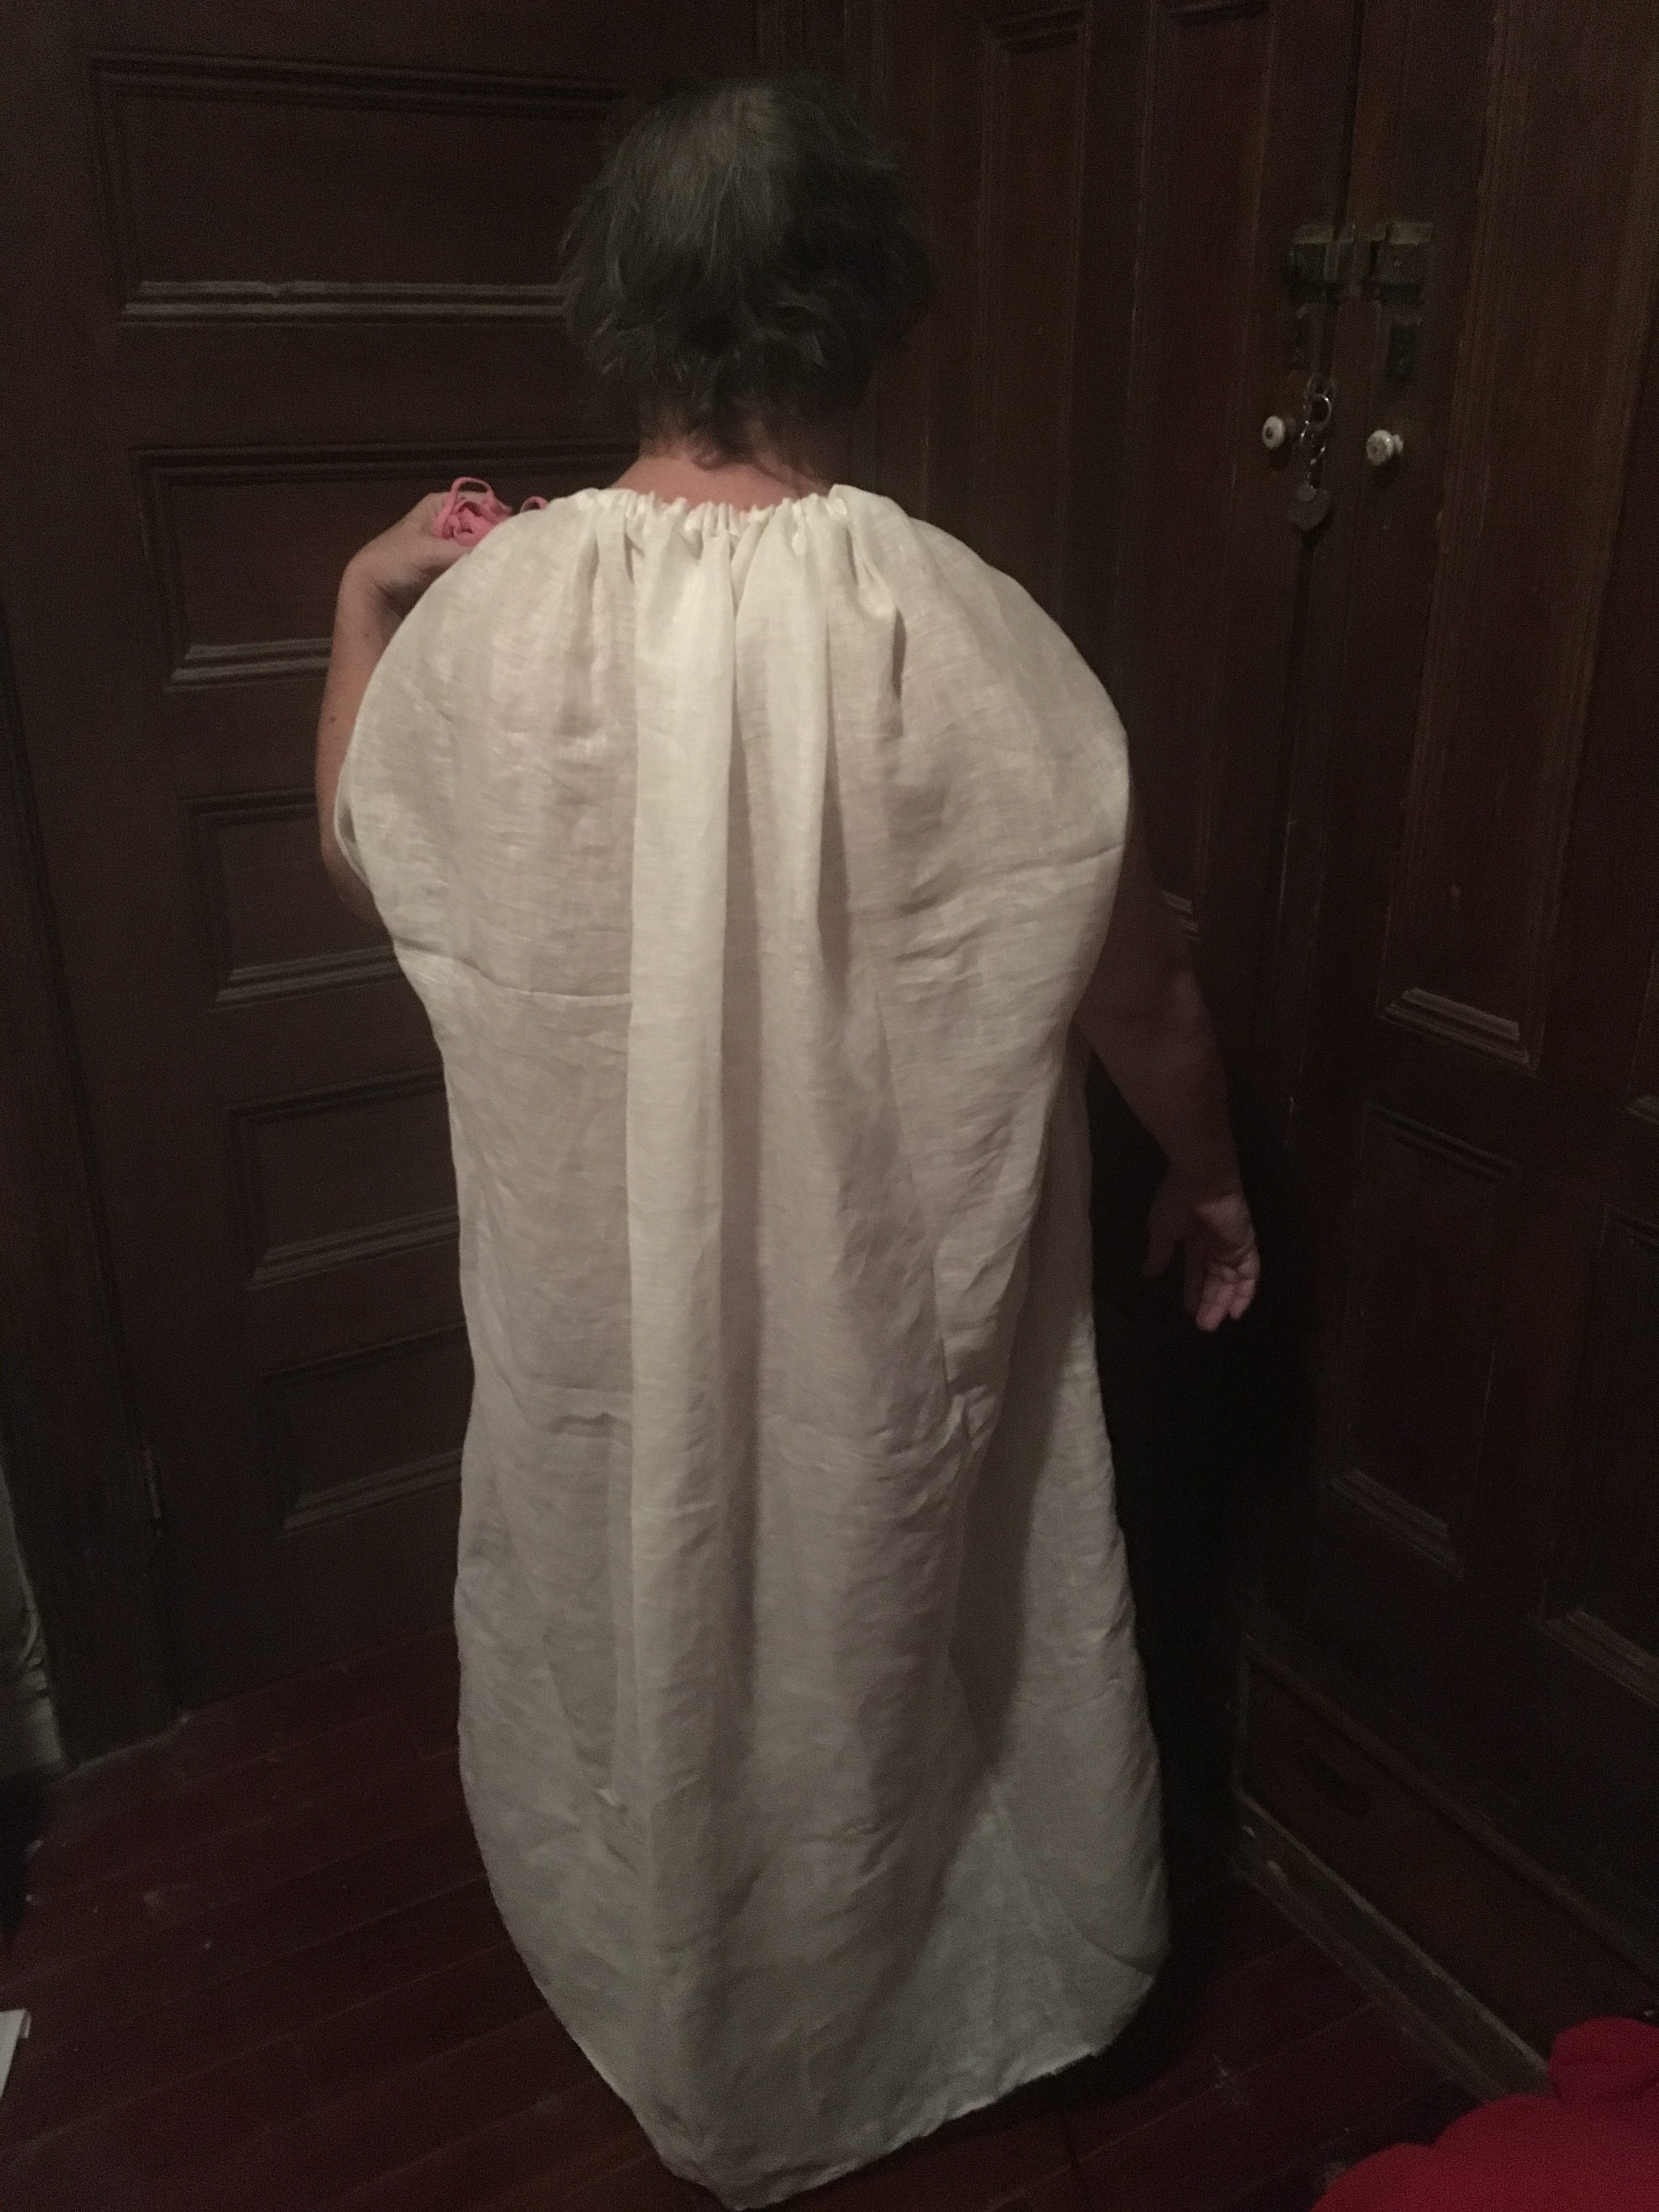
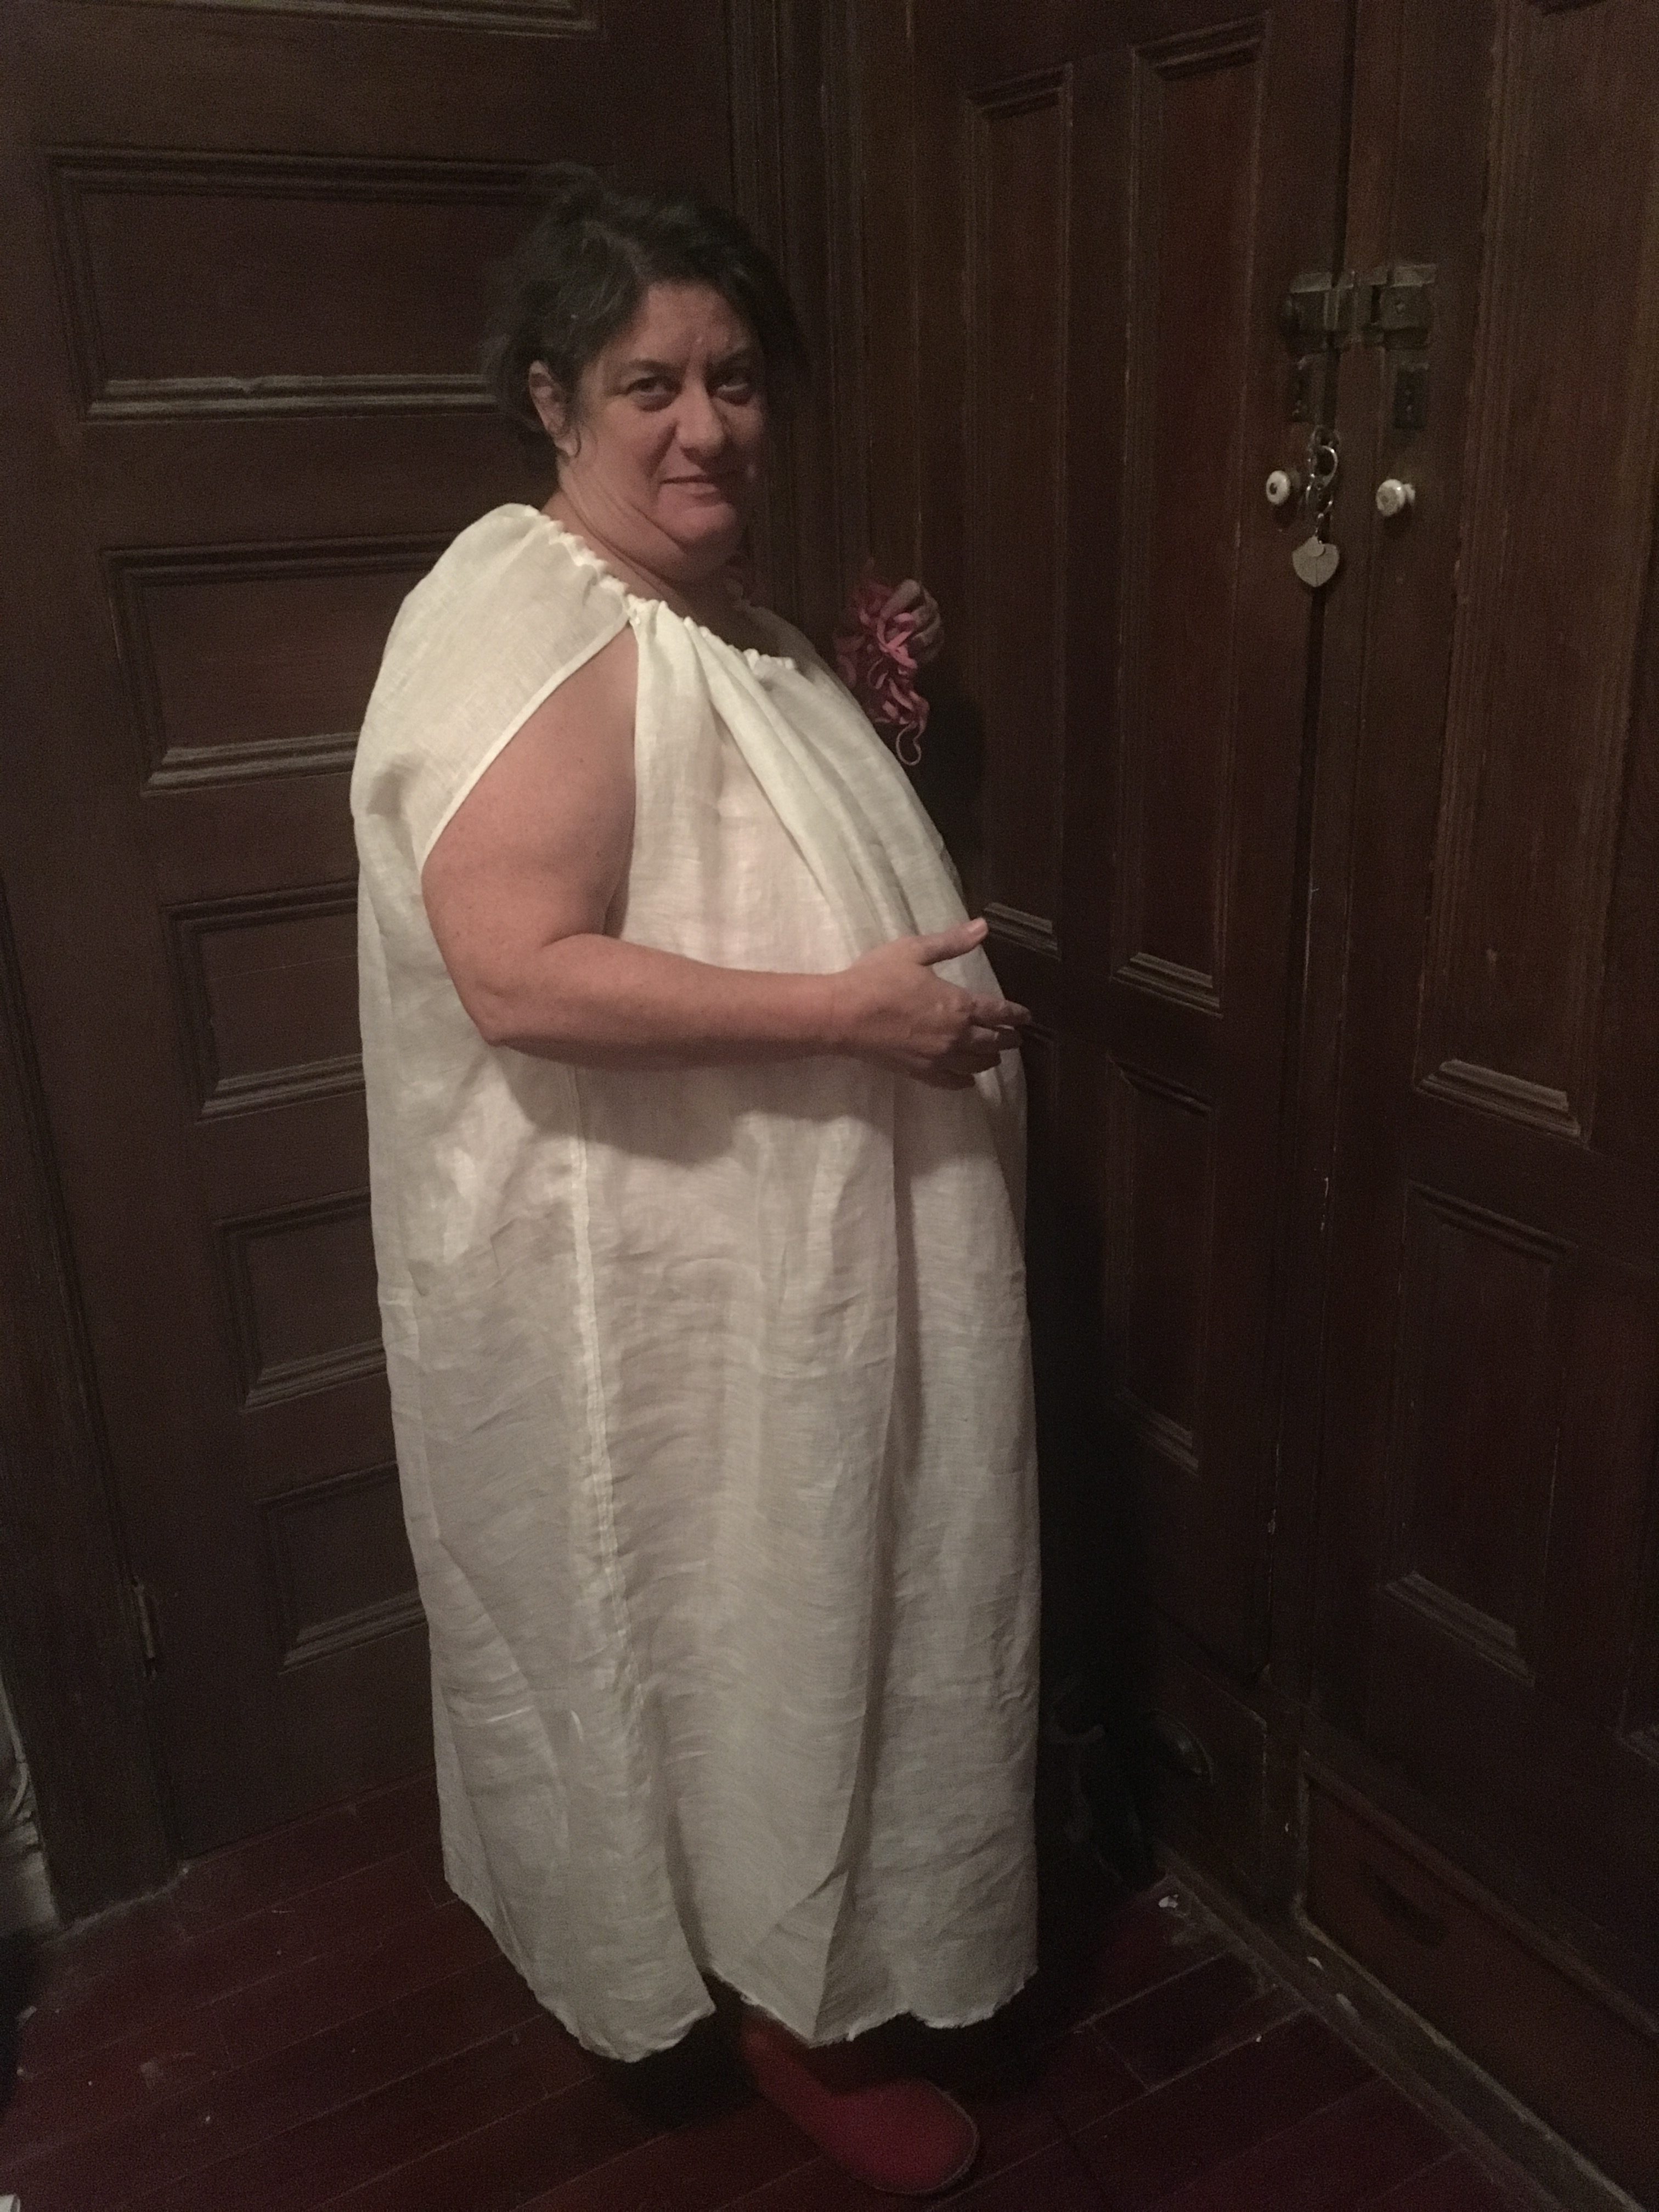
Now that the side seams are stitched & flattened, I turn my attention to the neckline & sleeves. The early Celtic chemise could be sleeveless or not. The garment I’ve assembled so far strongly resembles a peplos. I decide to leave it sleeveless, and experiment with a gathered neckline.
I stitch the body pieces together at the top, just as I did the side seams, for an inch and a half, and then turn that area over all around the heckline to form a casing.

To test whether this neckline has any hope of working, I run some elastic through the casing, and try it on. I think I like it? It hangs well belted, and floats unbelted in a way that suggests it will be compatible with my overgarments (chiton, Huldremose tube dress, fitted tunic).
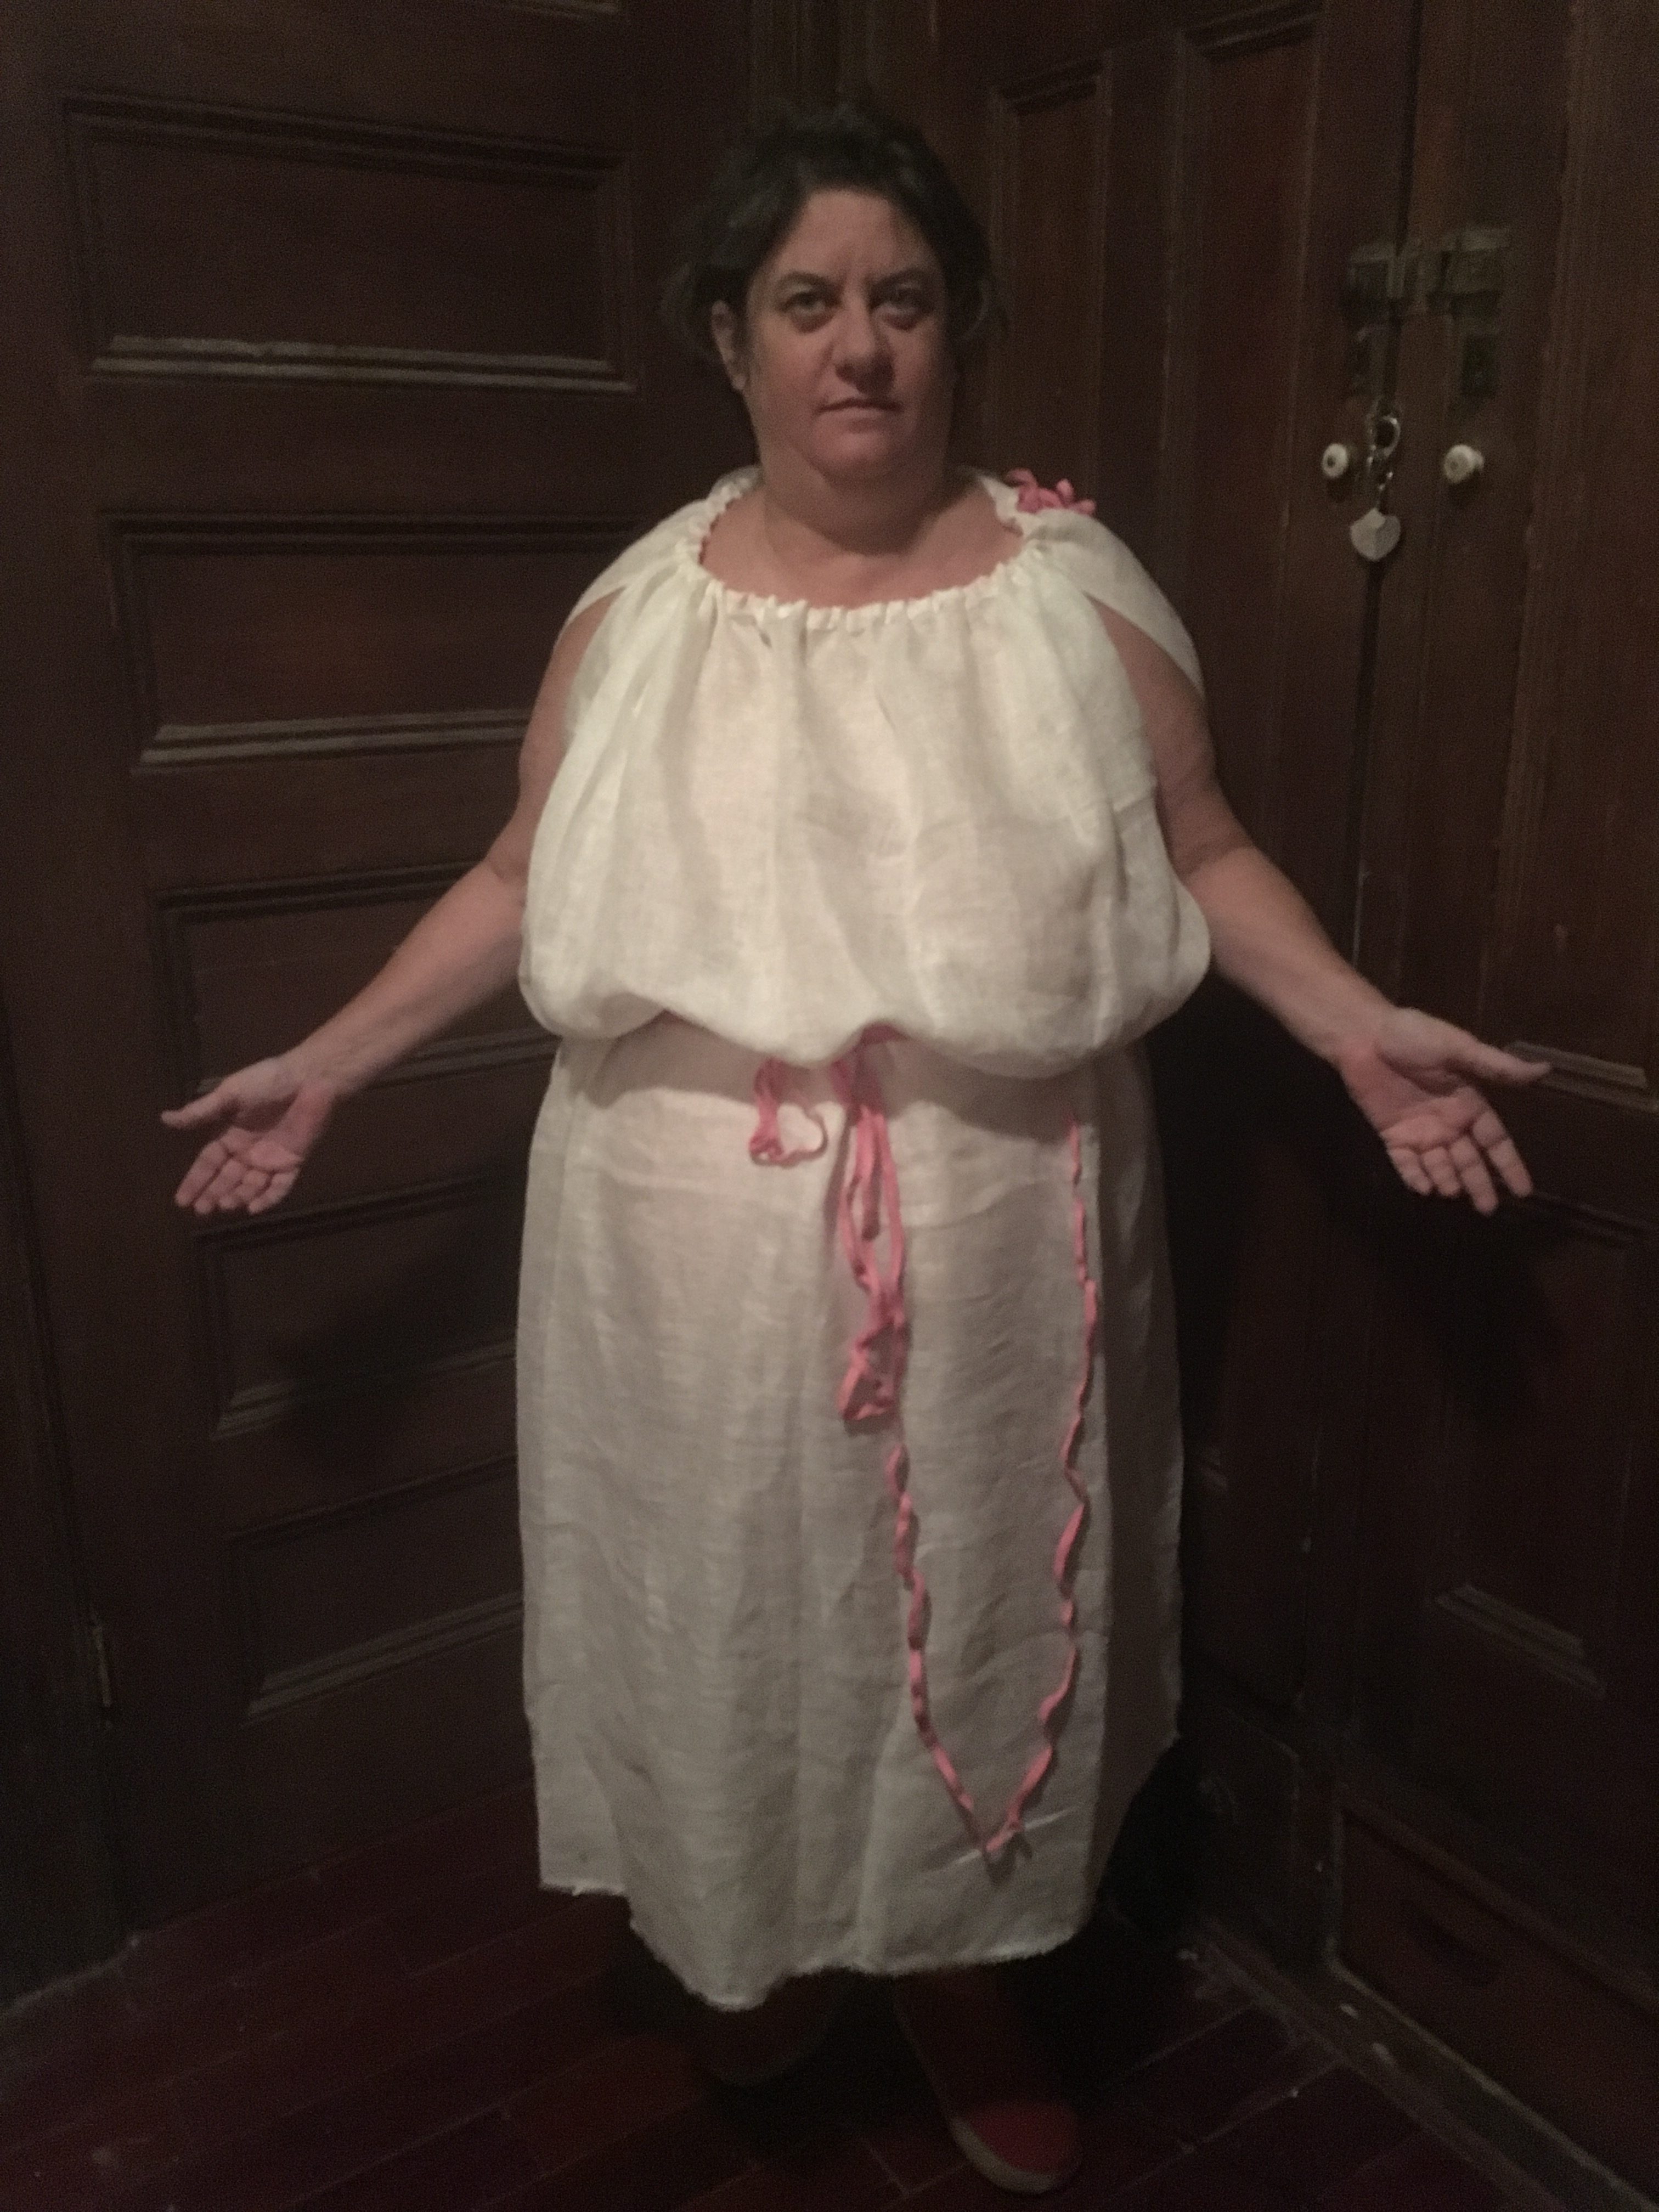

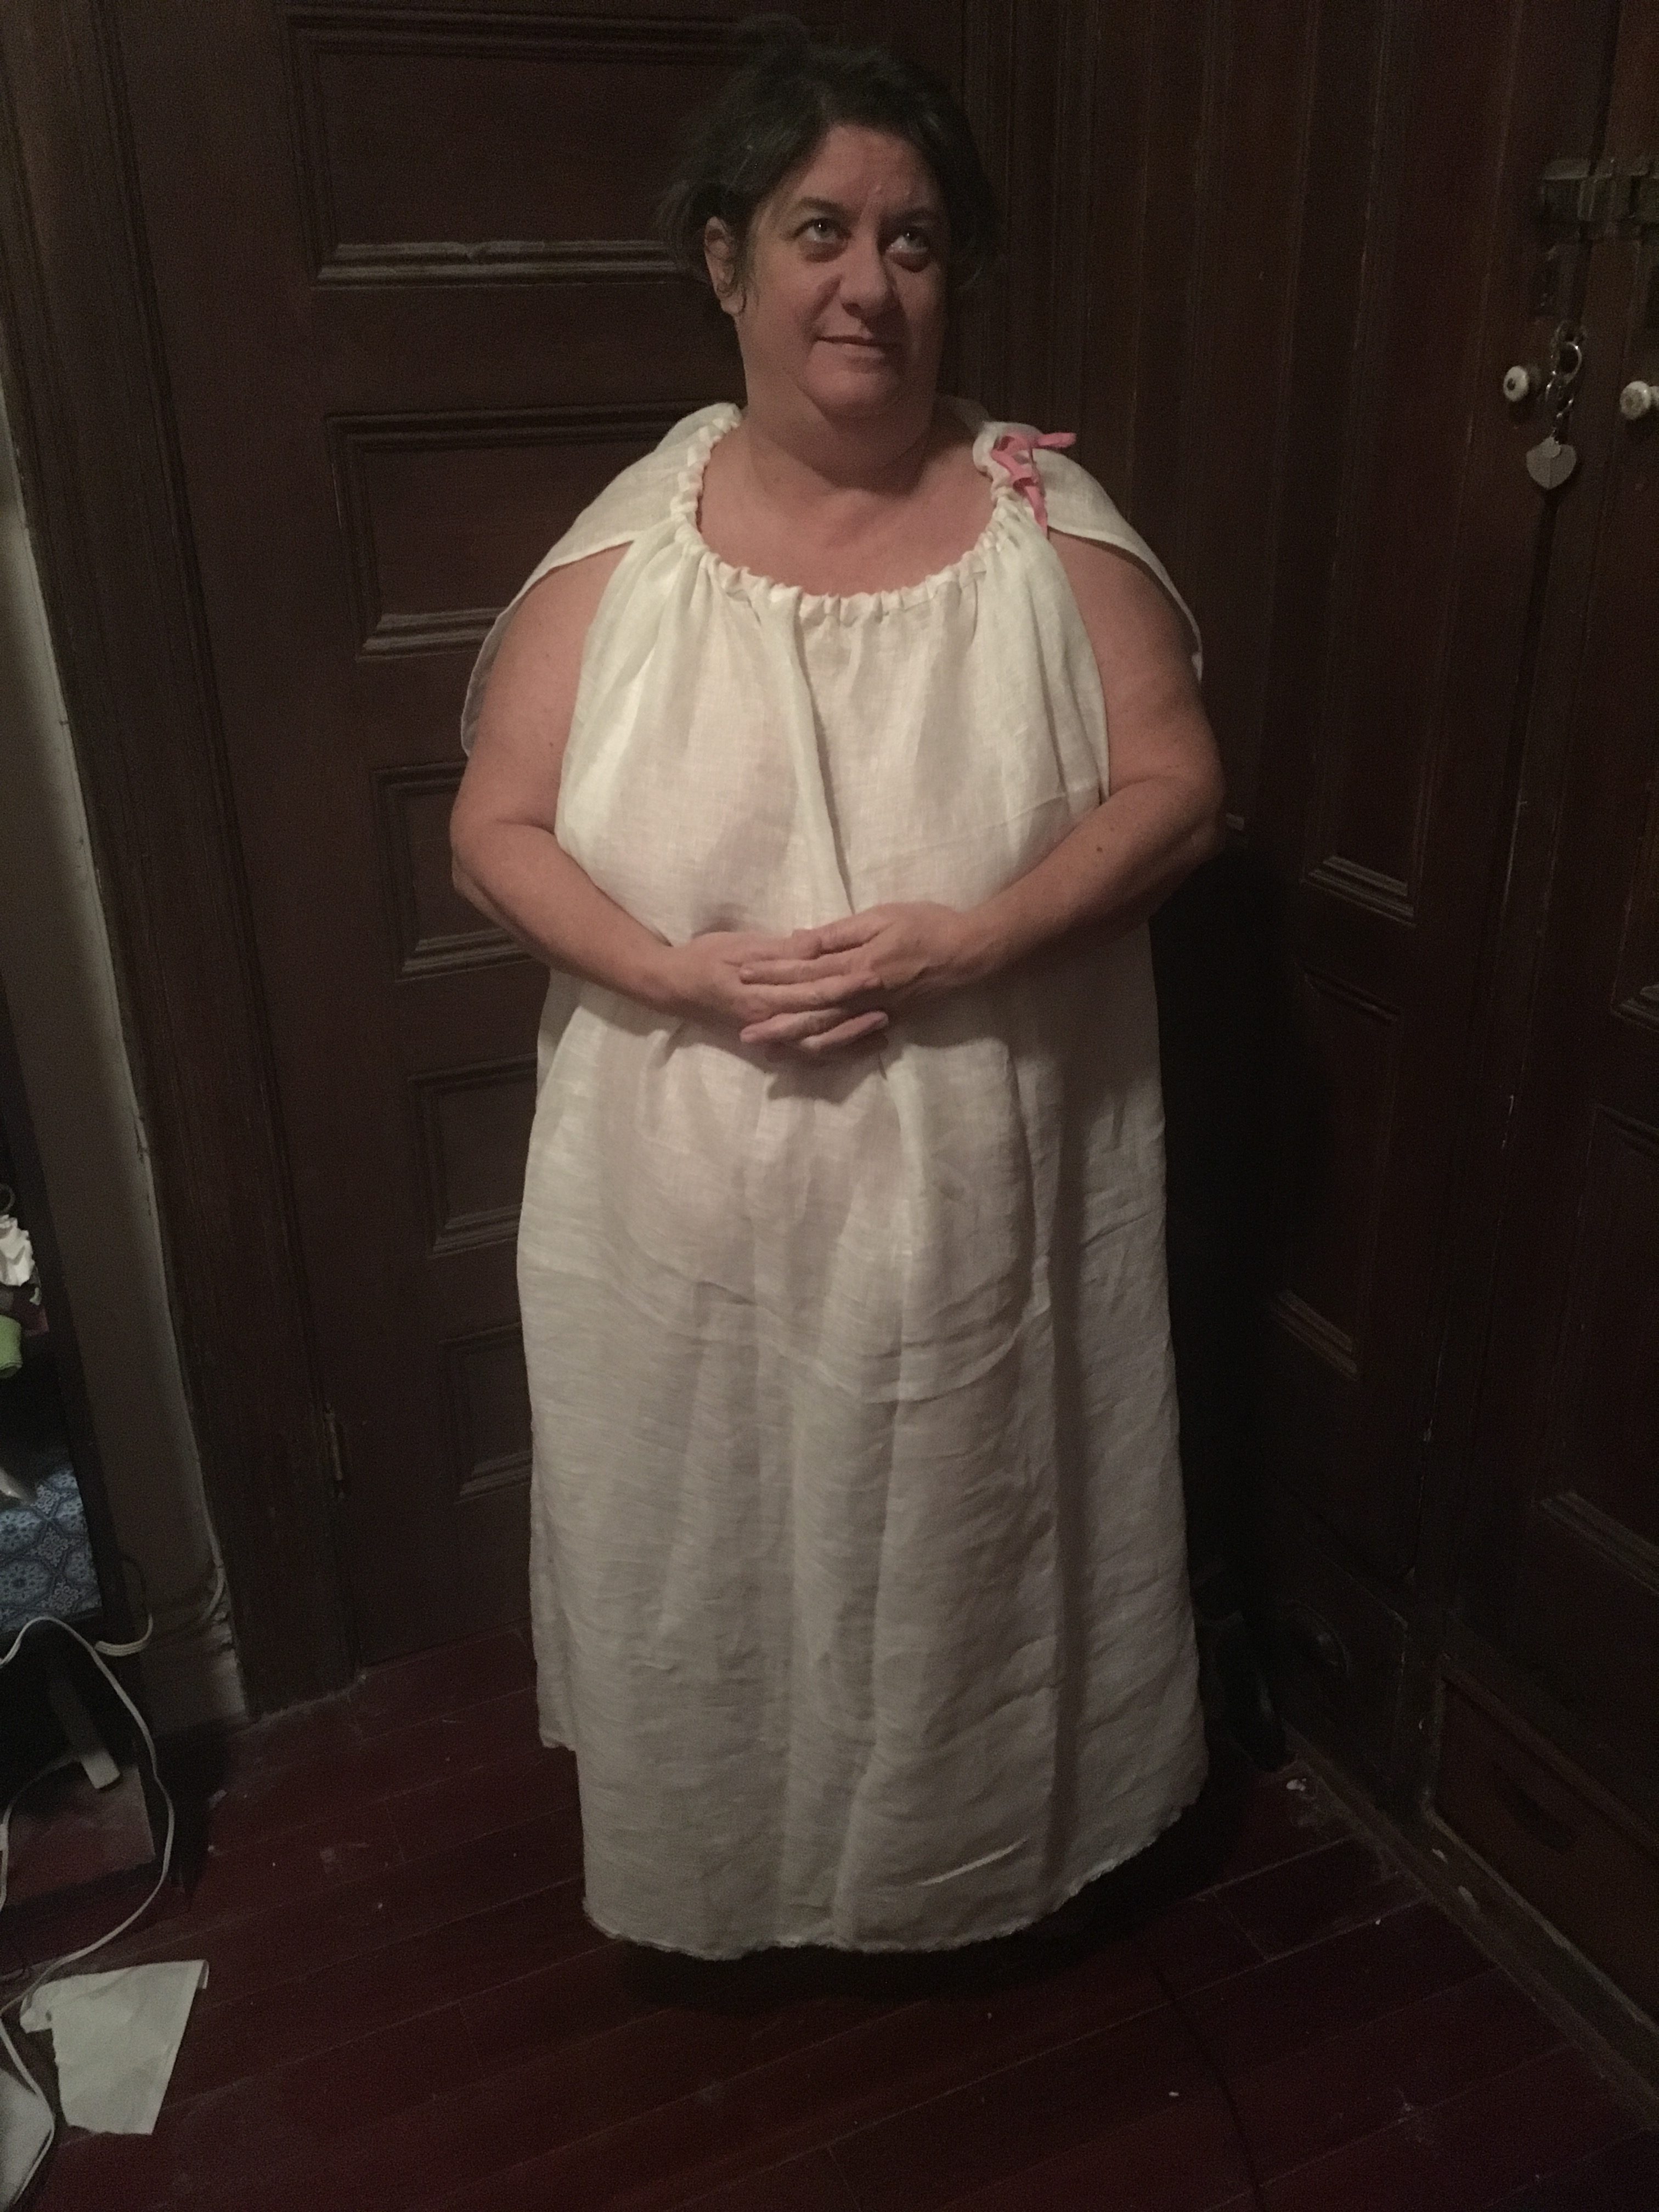
The casing with elastic measures 30”. Now I will make a cord to run through the casing, instead of the modern gaudy pink elastic with which I fit-tested.
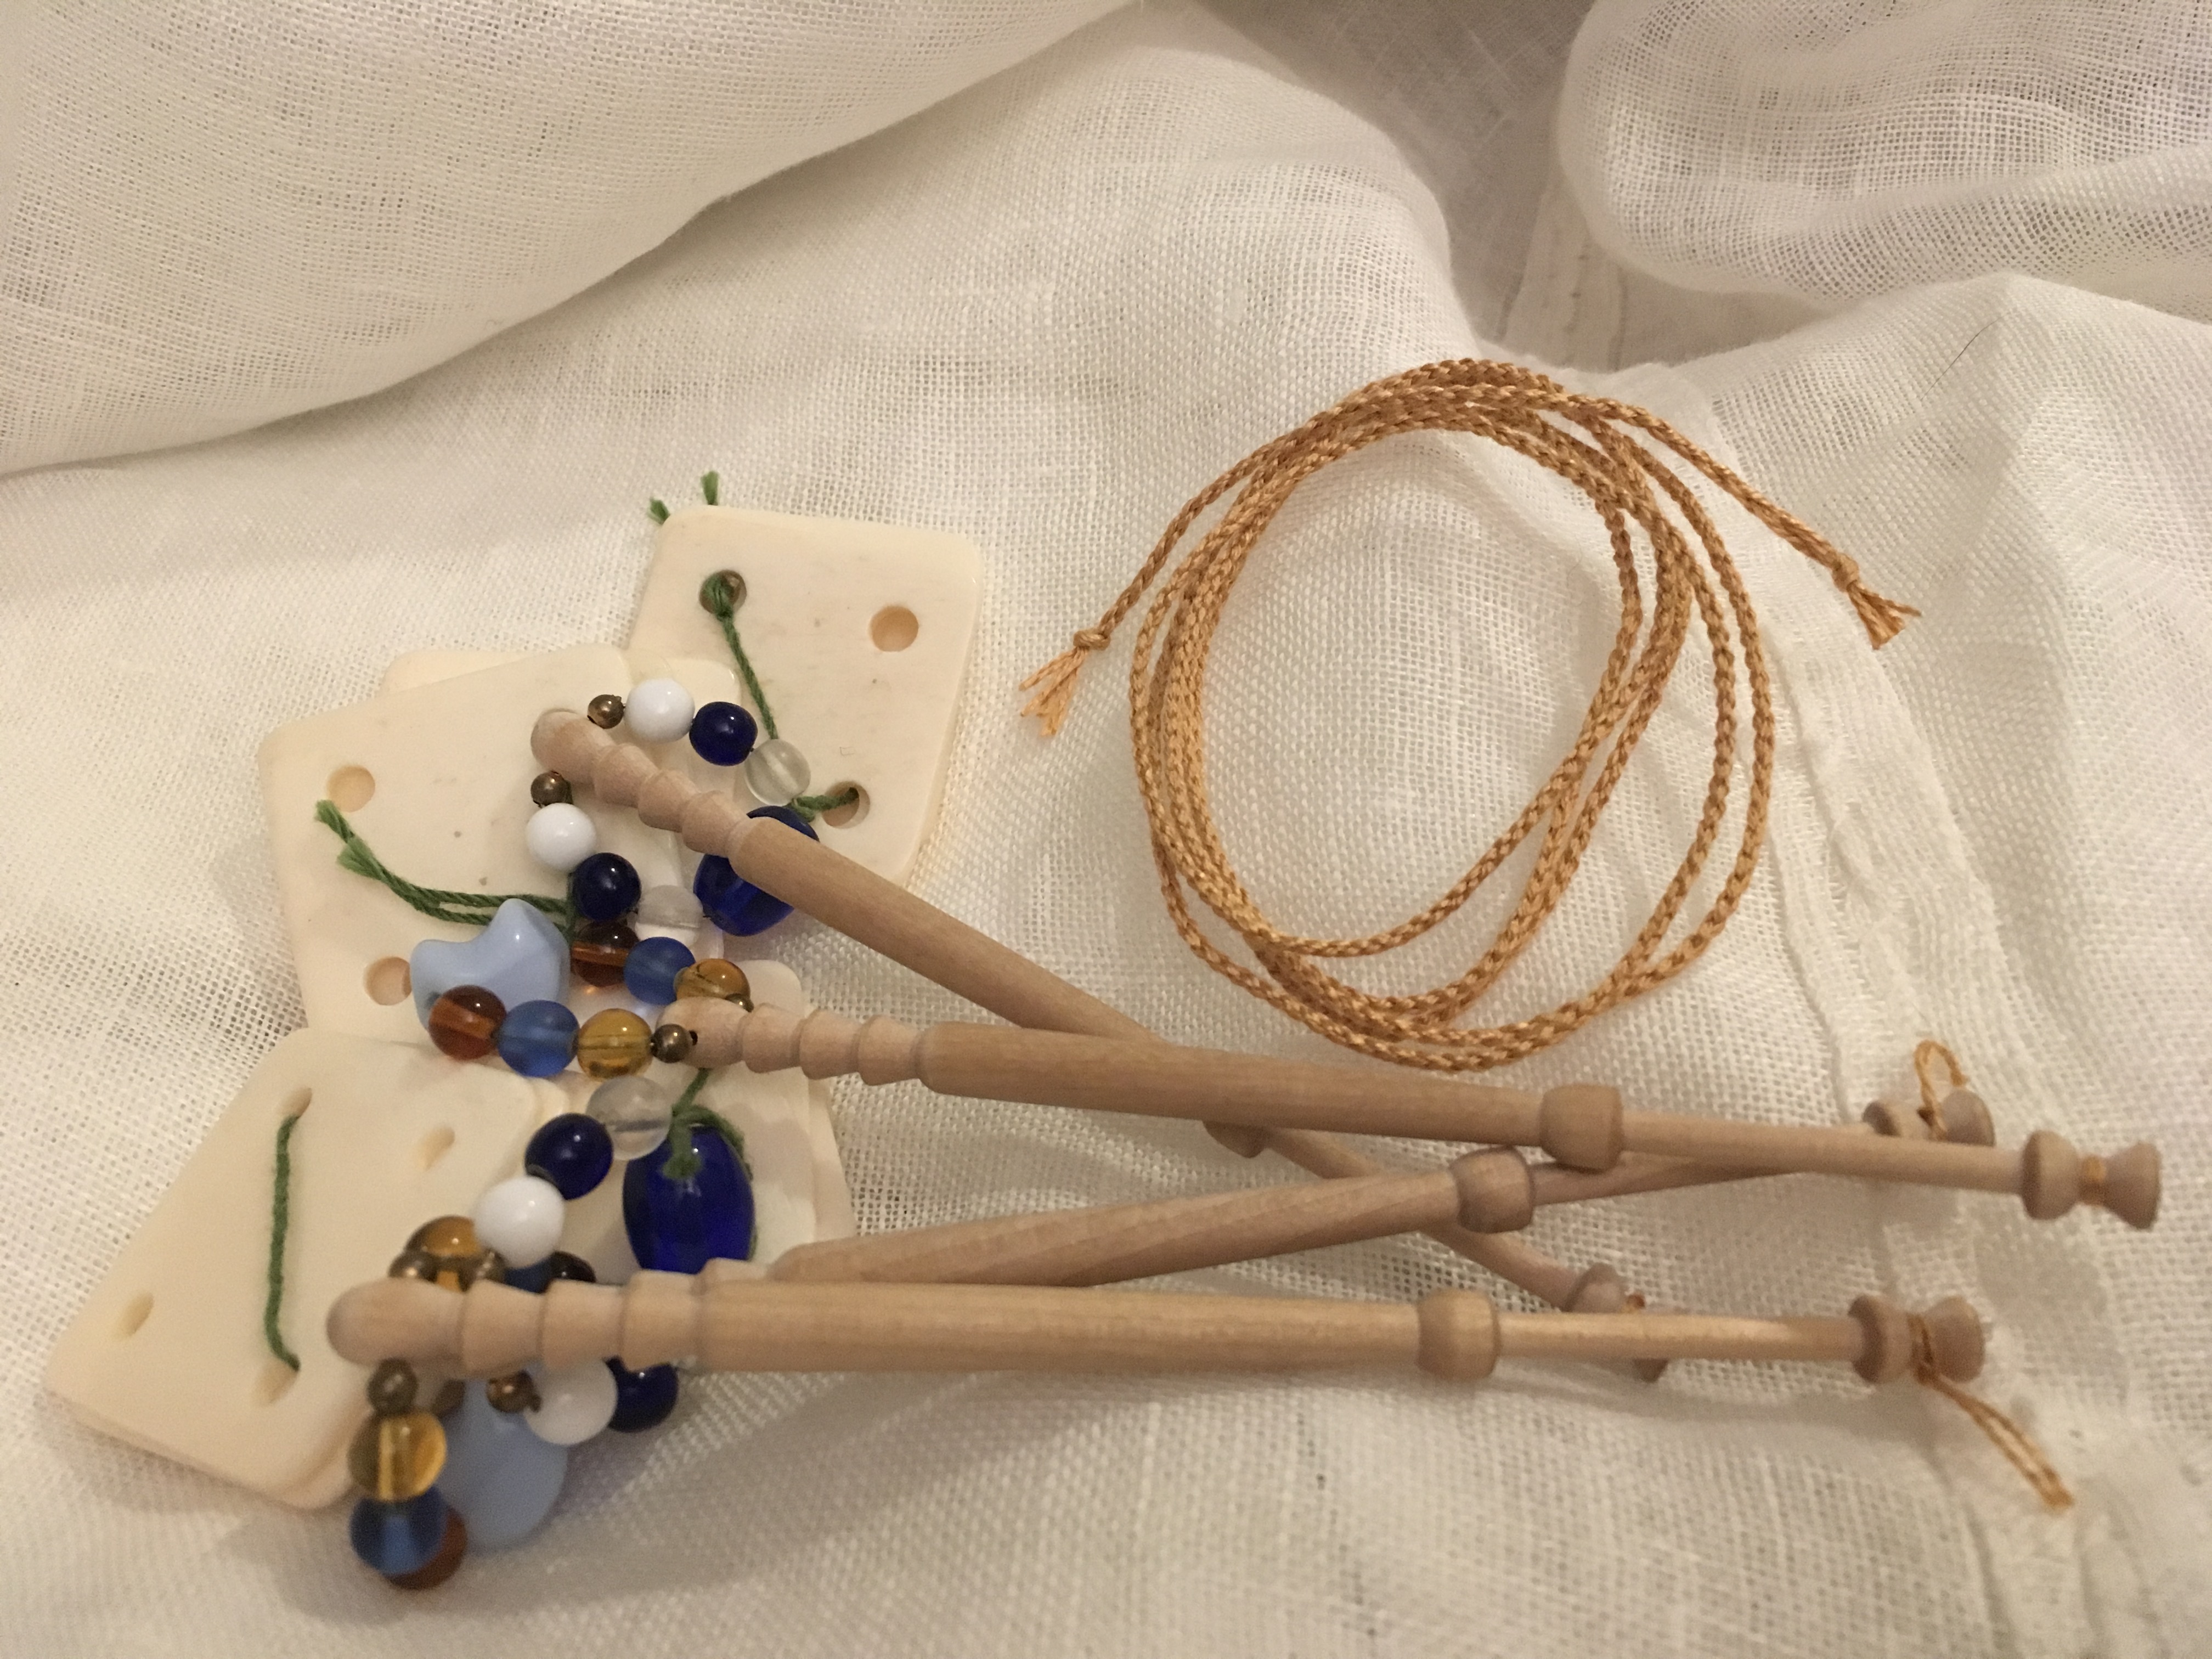
My cording choices include finger-loop braiding, 4-strand plaiting, lucet, and tubular tablet weaving. Am going for a simple, non-patterned cord, so ruling out tubular tablet weaving immediately. It takes too long, can be annoying to work (super fiddly!) and has too much takeup. Not enough payoff for a plain cord. Lucet is arguably period, but will produce a thinner cord than finger-loop braiding or 4-strand (especially with doubled strands) plaiting. Given the thinness of the silk fiber I am intending to use, ruling out lucet.
Choosing between finger-loop braiding and 4-strand plaiting, which have similar takeups, similar times to completion, similar cord characterisitics (diameter, non-stretchiness, etc.), I opt for 4-strand plaiting on the grounds that it is more period for the time of the other construction techniques I am using on this chemise of rectangles formed into a tube. Finger-loop braiding became most popular in the 14th Century and beyond. 4-strand plaiting is in evidence on garments from before the turn of the millennium, such as the drawstrings on the Skjoldehamn hood.
My takeup percentage on my medallion cord was 15%. I will allow for 20%, since I don’t mind having a bit of extra cord on this one. I need 30” plus a little extra for the knot, so let’s say 34” total. I will need 34 / .8 = 42.5” to begin. We’ll be a bit more generous and opt for 44”, which should produce a 35” (44 x .8) cord. Because I am doubling the strands, I will need 4 88” strands of silk.
Given the sheerness of the fabric, white is the obvious choice. However, I have very little left of the white (note to self: re-order!!), so instead I choose gold. I have plenty of it, and it is as luxurious as the fabric itself. It will look pretty peeking through the fabric, and will harmonize with all the over-garments I currently own to wear with this chemise.

Measure, cut, wind onto bobbins. 42 minutes of weaving later, voila! 36” of gold cord, suitable for drawstringing.
Threaded the new drawstring (by dint of tying it to the temporary pink elastic & pulling it in as I pulled out the elastic), tested for fit underneath tunic-in-progress. Success!
