Using this pattern: Mimbles’ Anglo Saxon diagonal Greek key pattern
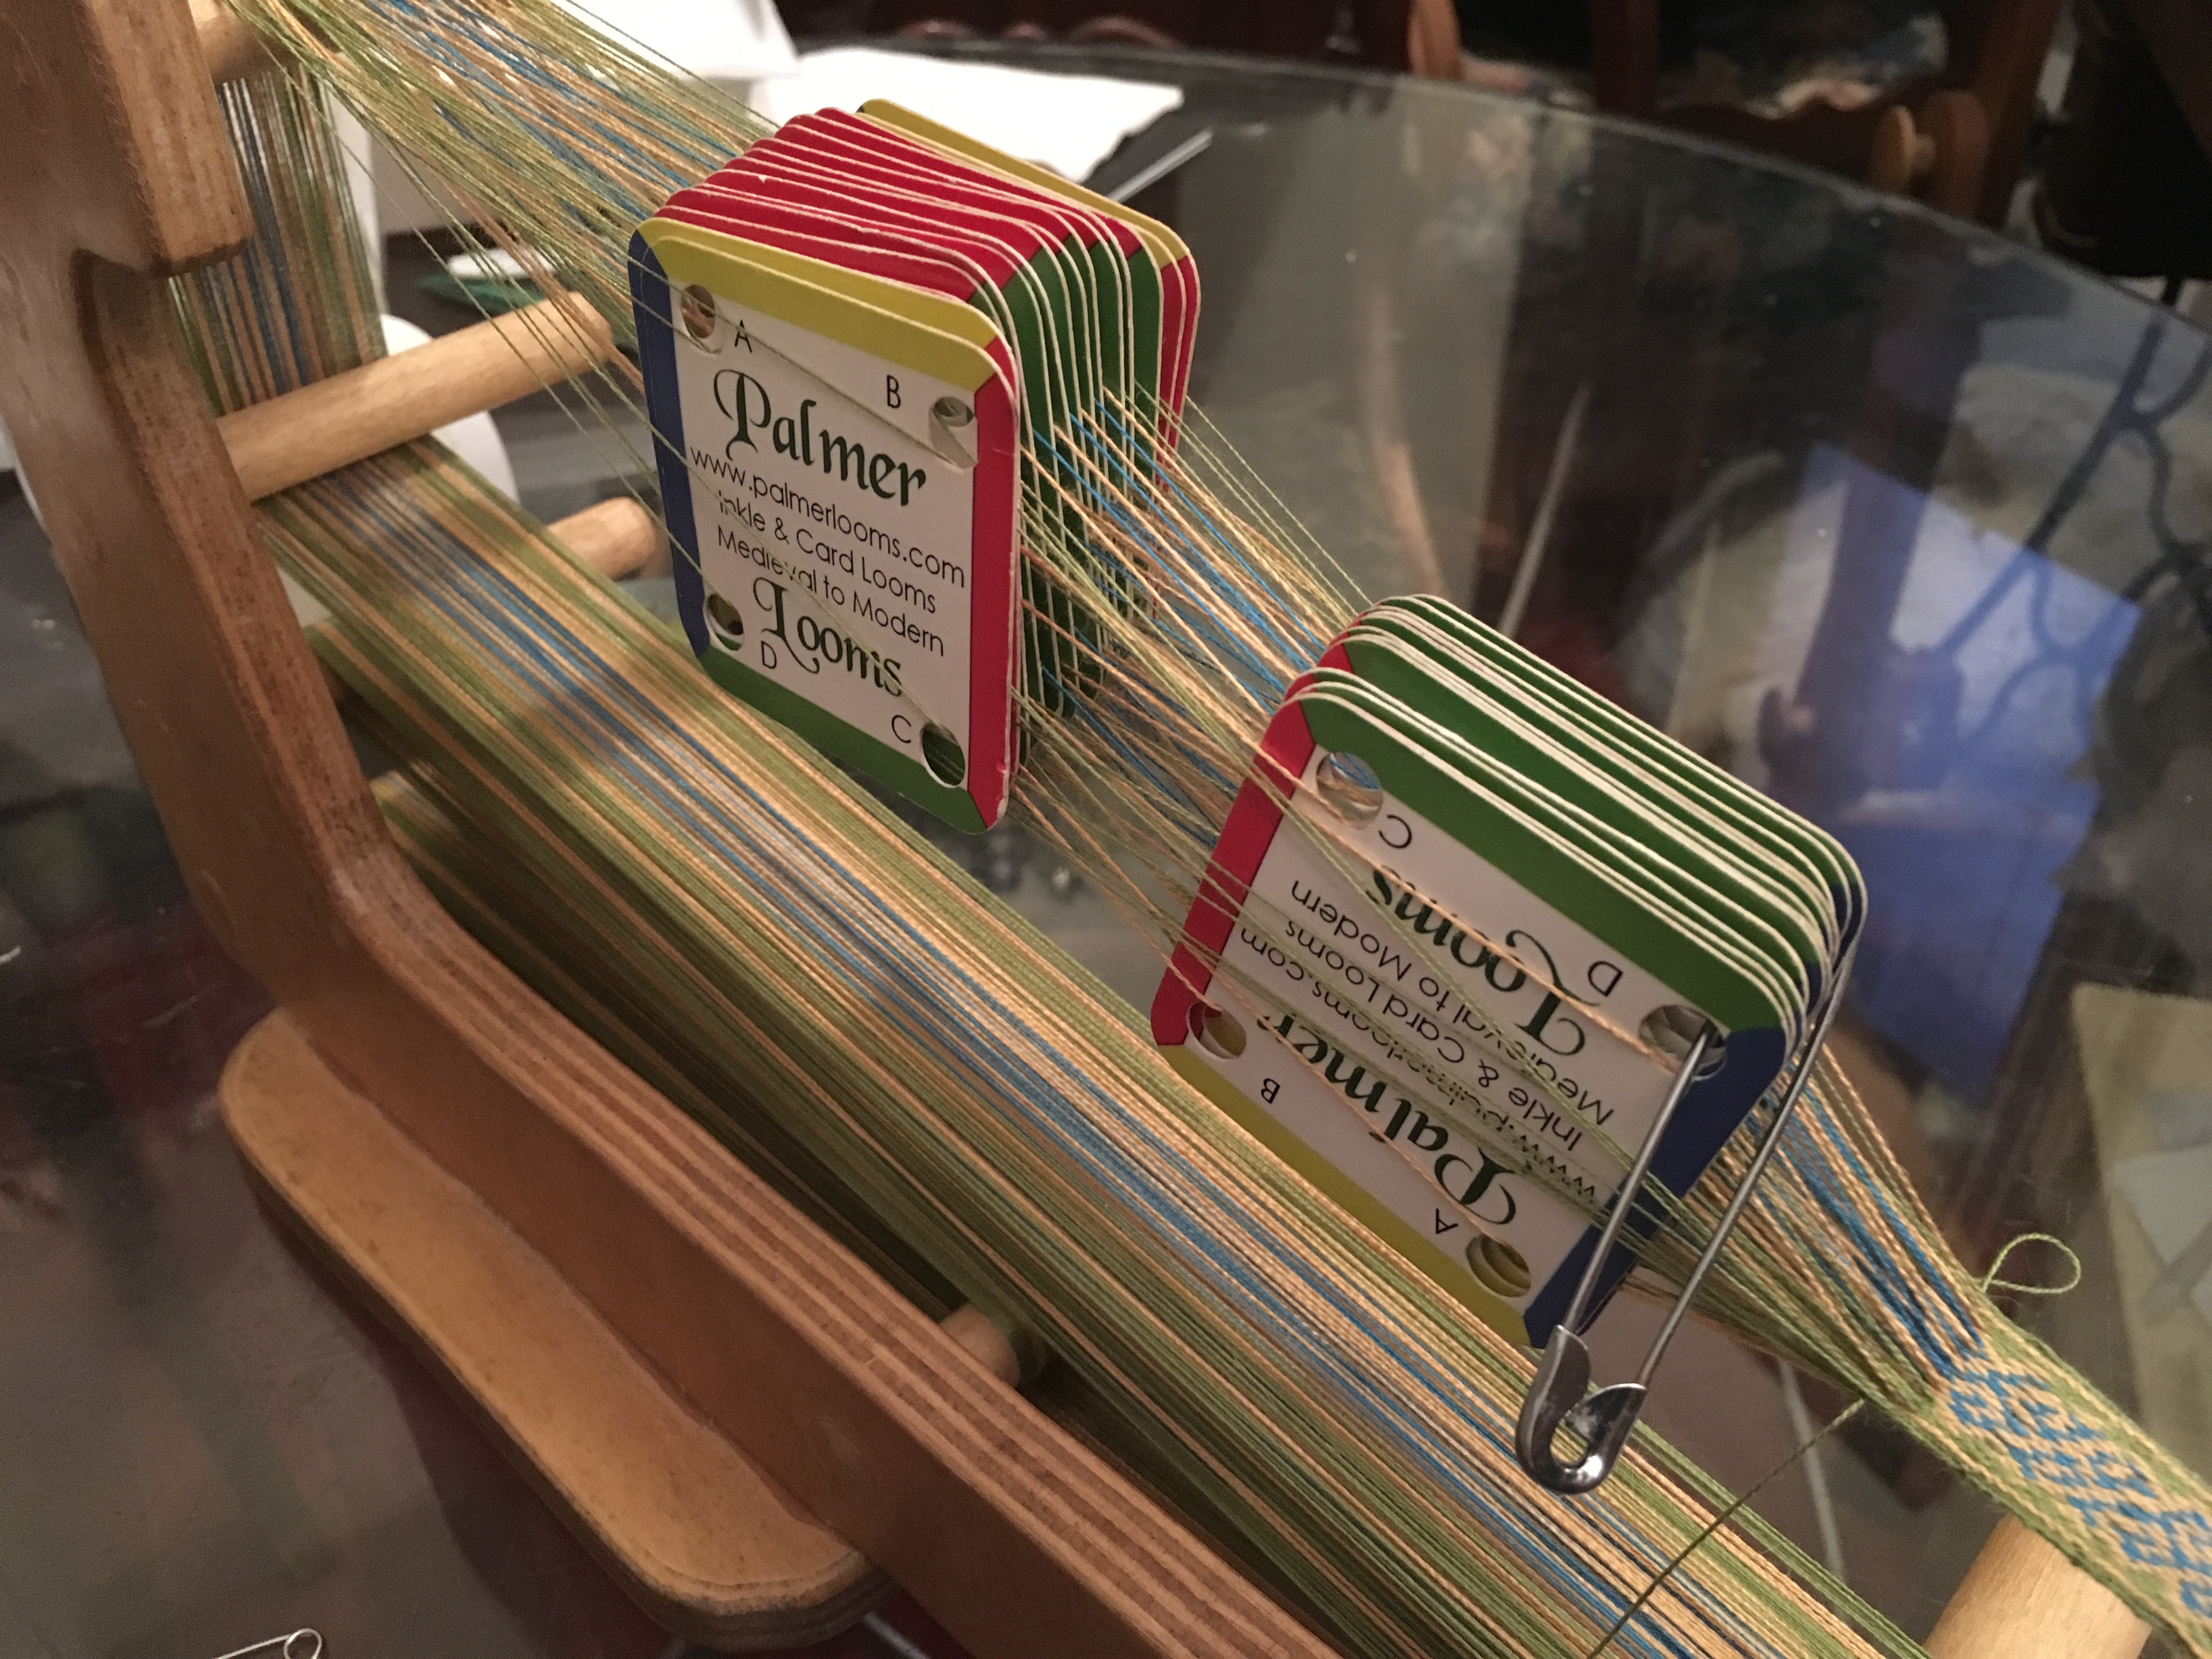
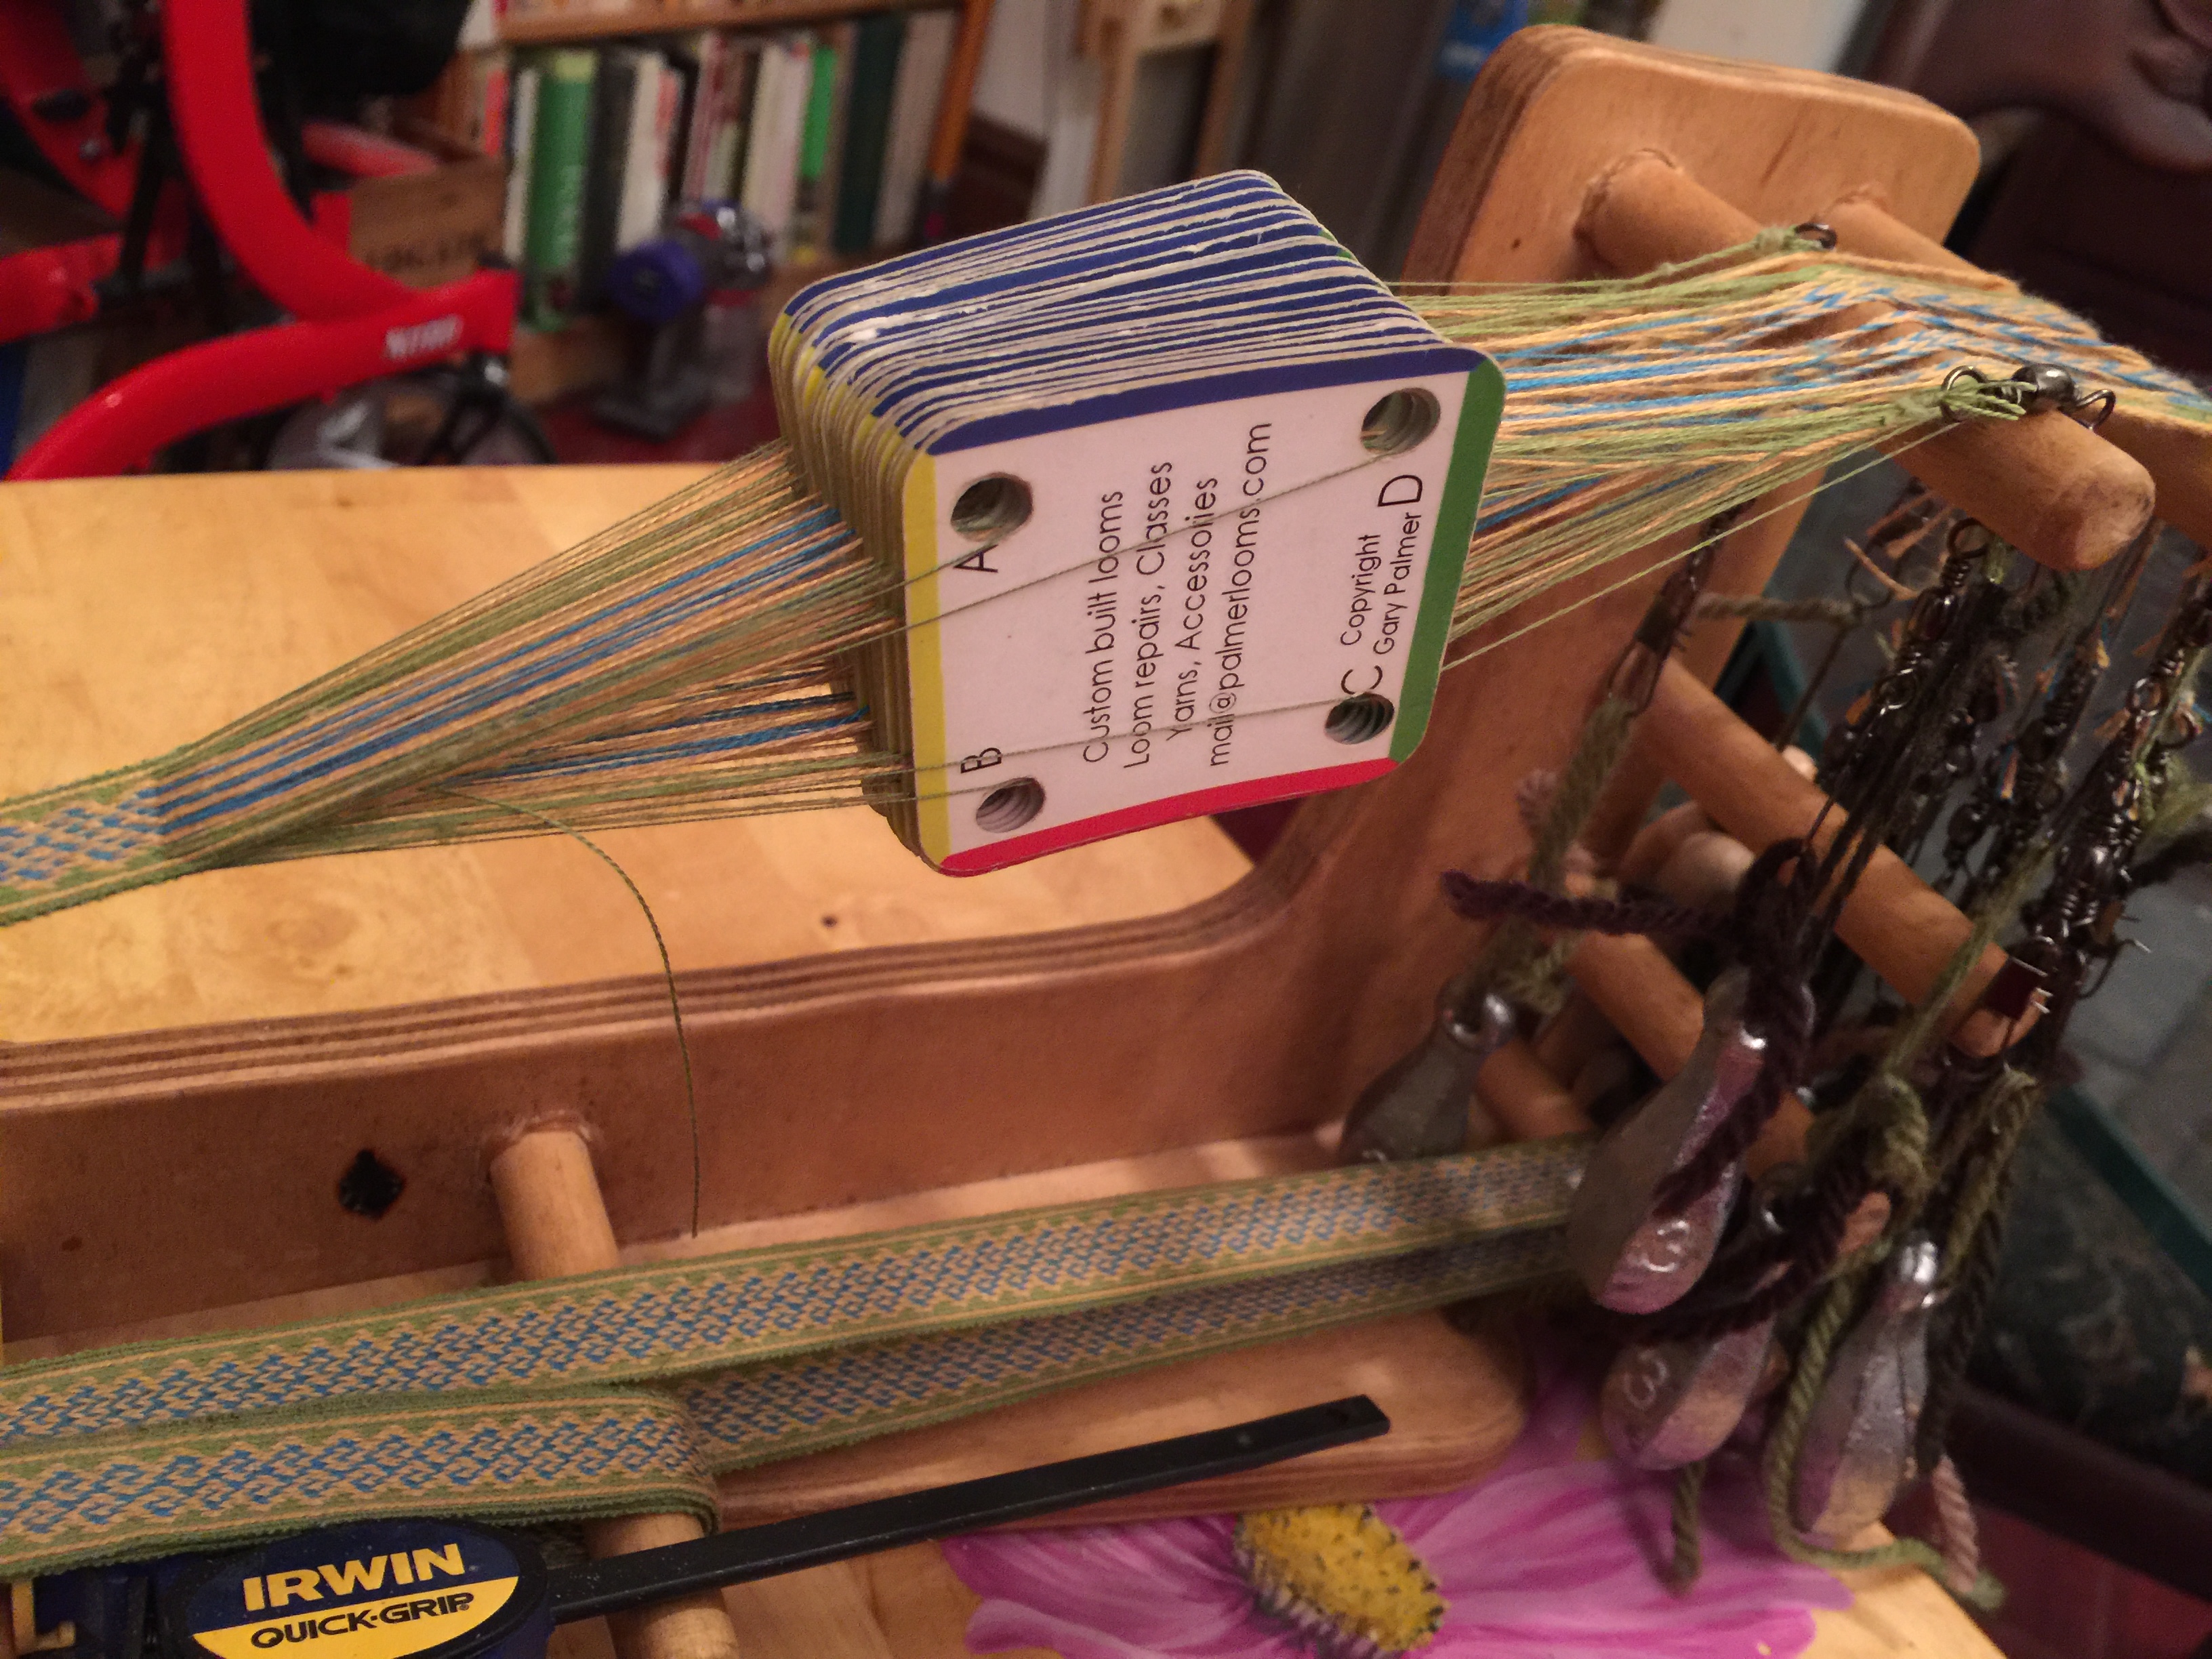
I like Mimbles’ patterns because she is very clear about how she sets up her loom, including how her cards are oriented & labeled. Some cards you can buy are labeled clockwise; others are labeled in reading order, with A & D in diagonal corners. Mine and hers are both labeled clockwise.
To follow her setup, I put the AB edge towards the section of the warp where I start weaving, the CD edge towards the tensioned remaining warp, and the AD edge at the top of the work. This puts my front label facing to my left as I work.
The first card onto my loom is her highest numbered card. So, for this pattern, I put card #27 on first (leftmost of my working position) and end with card #1 (rightmost).
When I setup my cards following her instructions exactly, and then use the loom in my usual working position, a “Forward” turn is *towards* me. A “Backward” turn is *away* from me. I am easily confused by this & have started her pattern wrong every time, so I point it out for edification & future reference.
I have used this pattern twice before, once in wool (maybe? I have forgotten), and again in 20/2 silk.


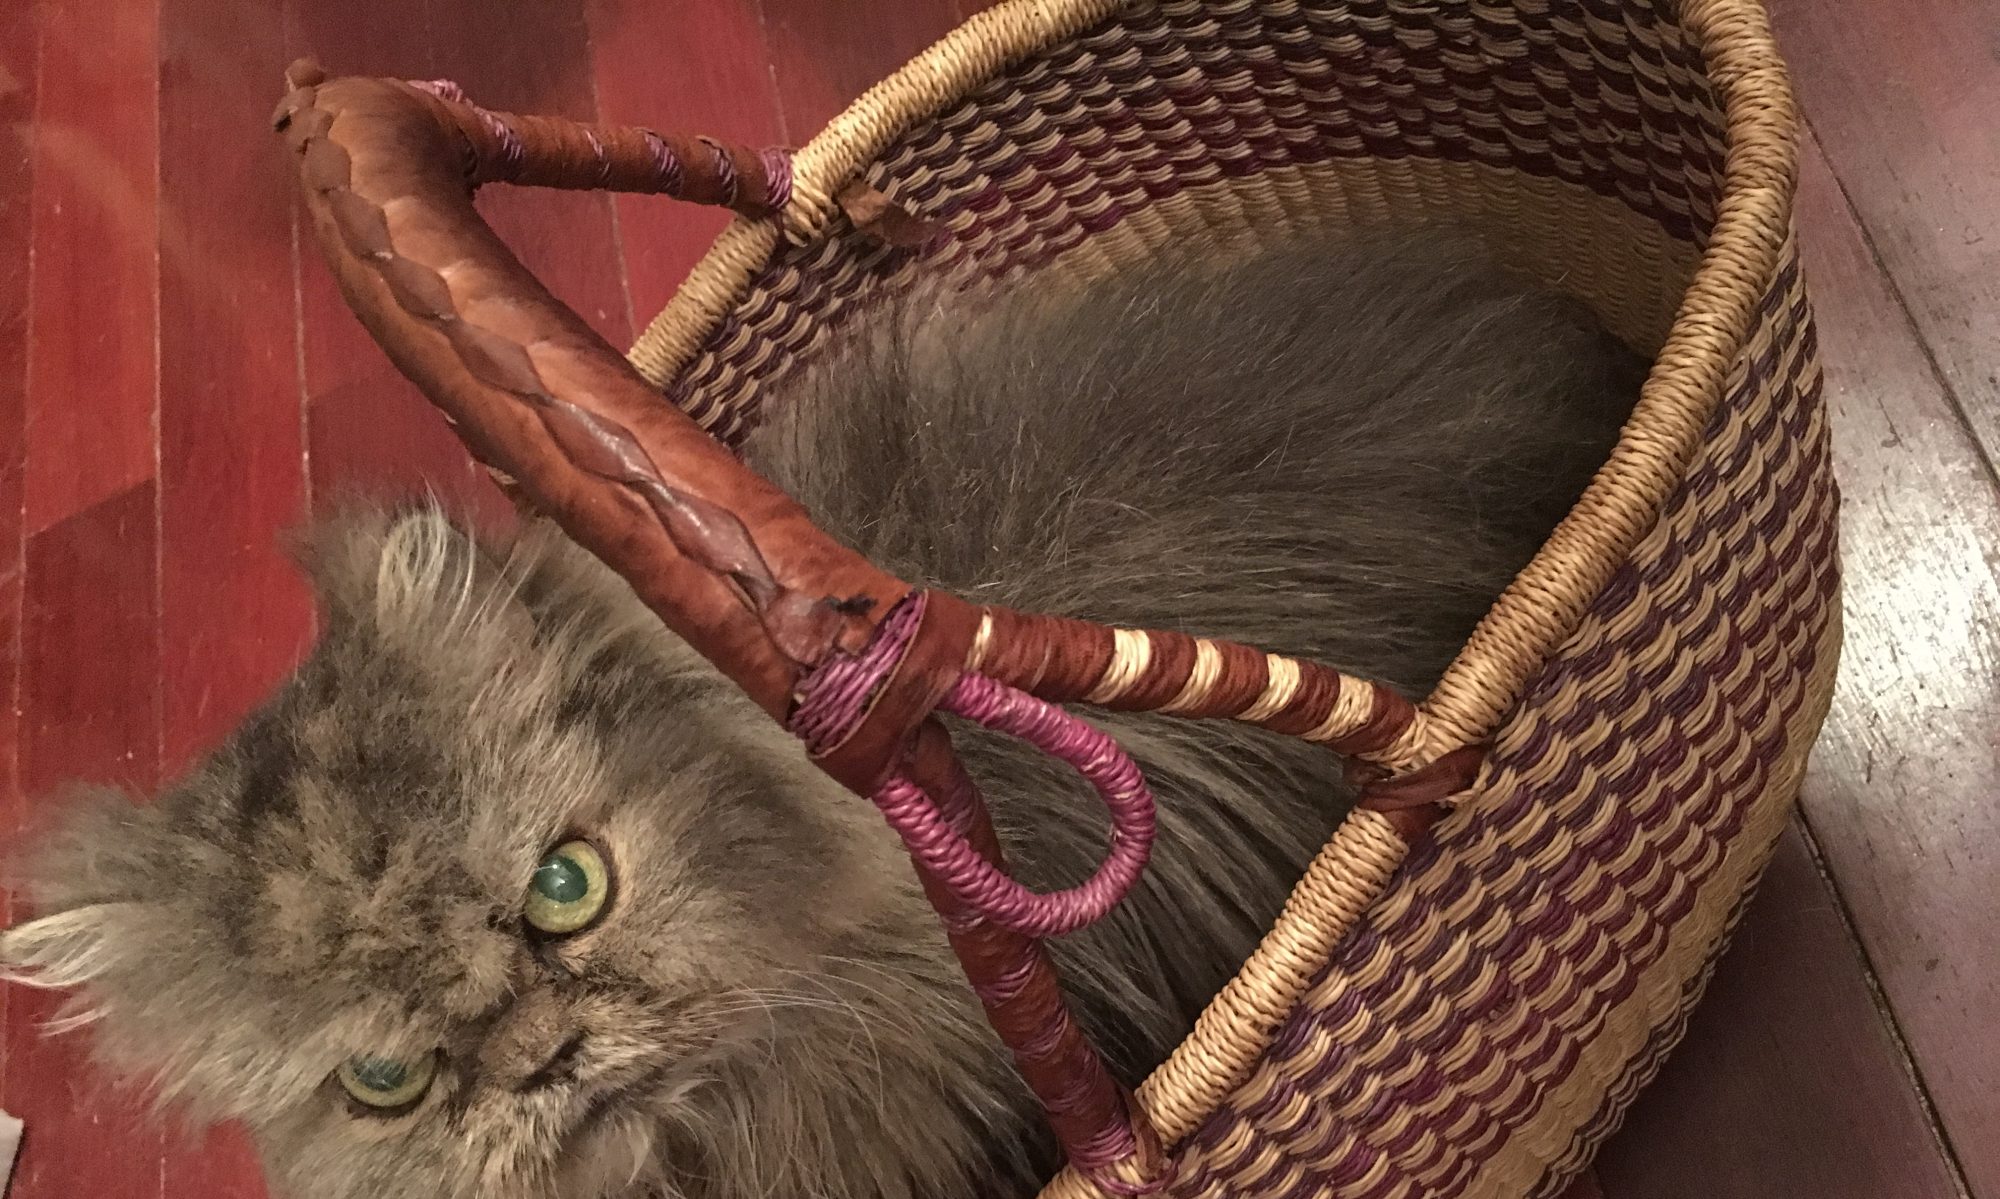
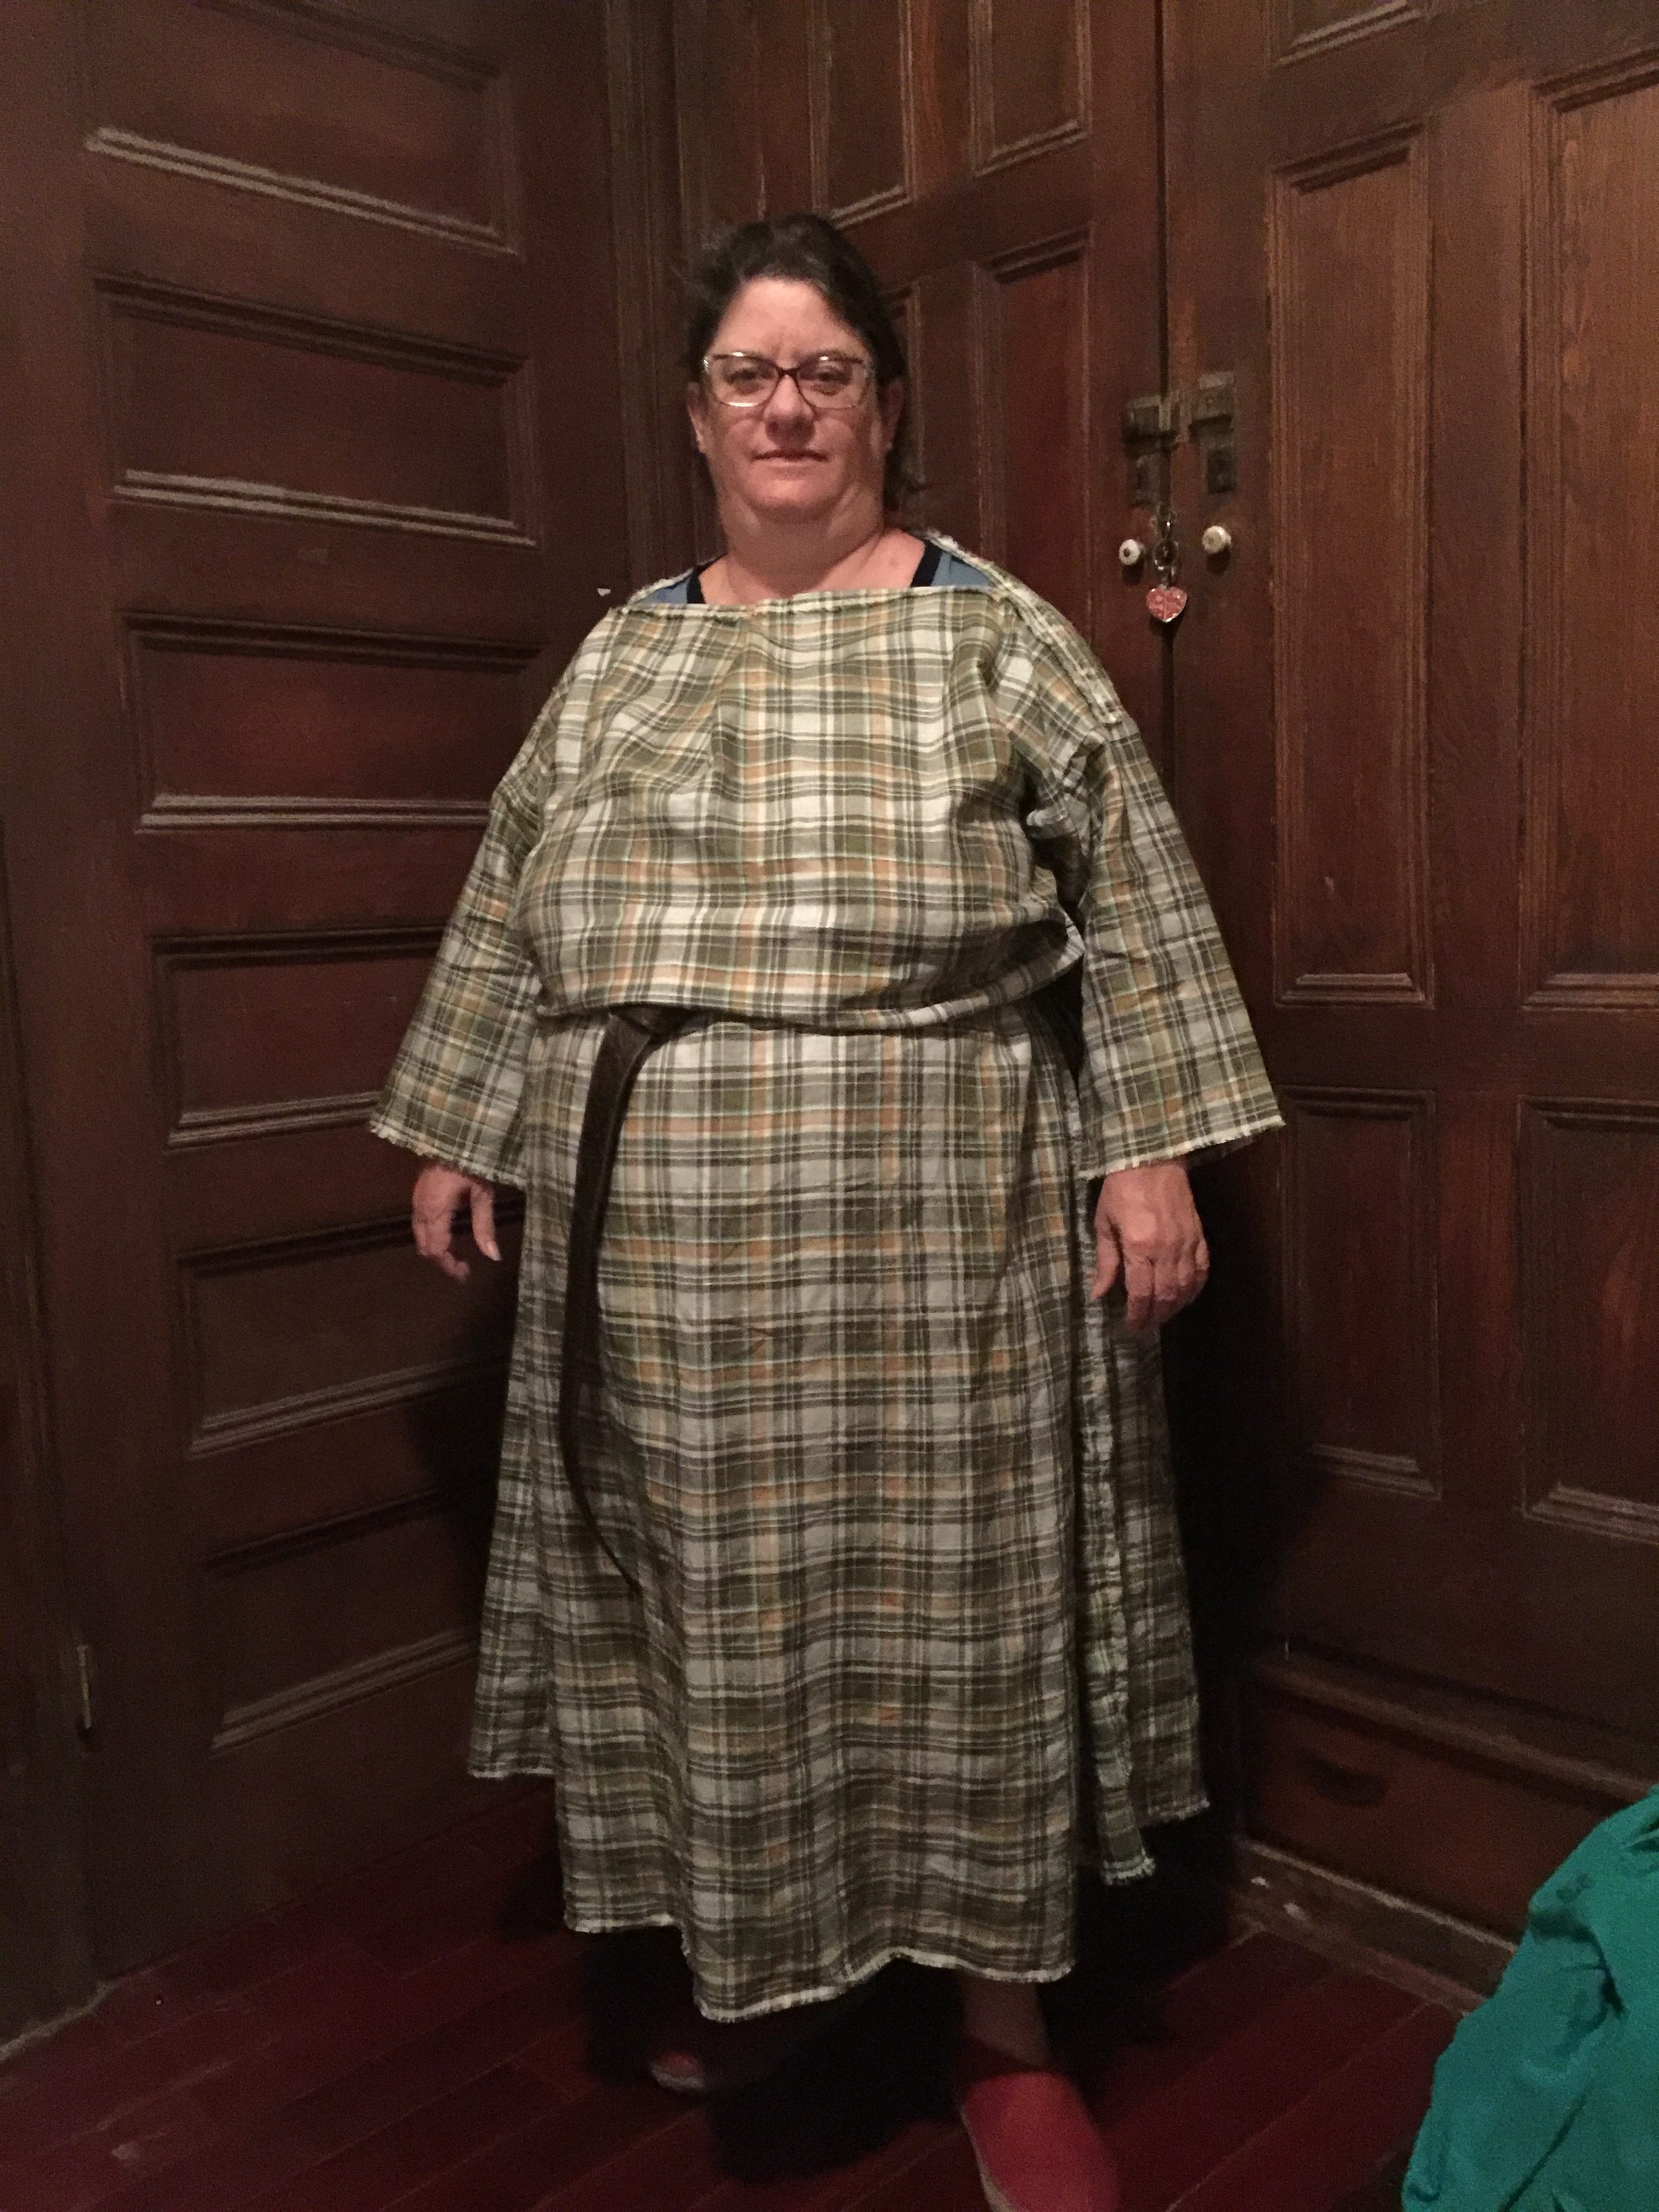
The trim I am making will be used to decorate and strengthen the neckline of this tunic, in progress:
I considered going with cream, gold and dark green for the trim for this fabric, but felt I wanted something with more pizazz, and also finer threads. These silks are all 20/2 or 30/2:

The celery, peacock & gold for which I opted are 60/2 and 30/2. The gold is from Halcyon yarns. The other 4 (cream & green above, celery & peacock below) are all from Webs.
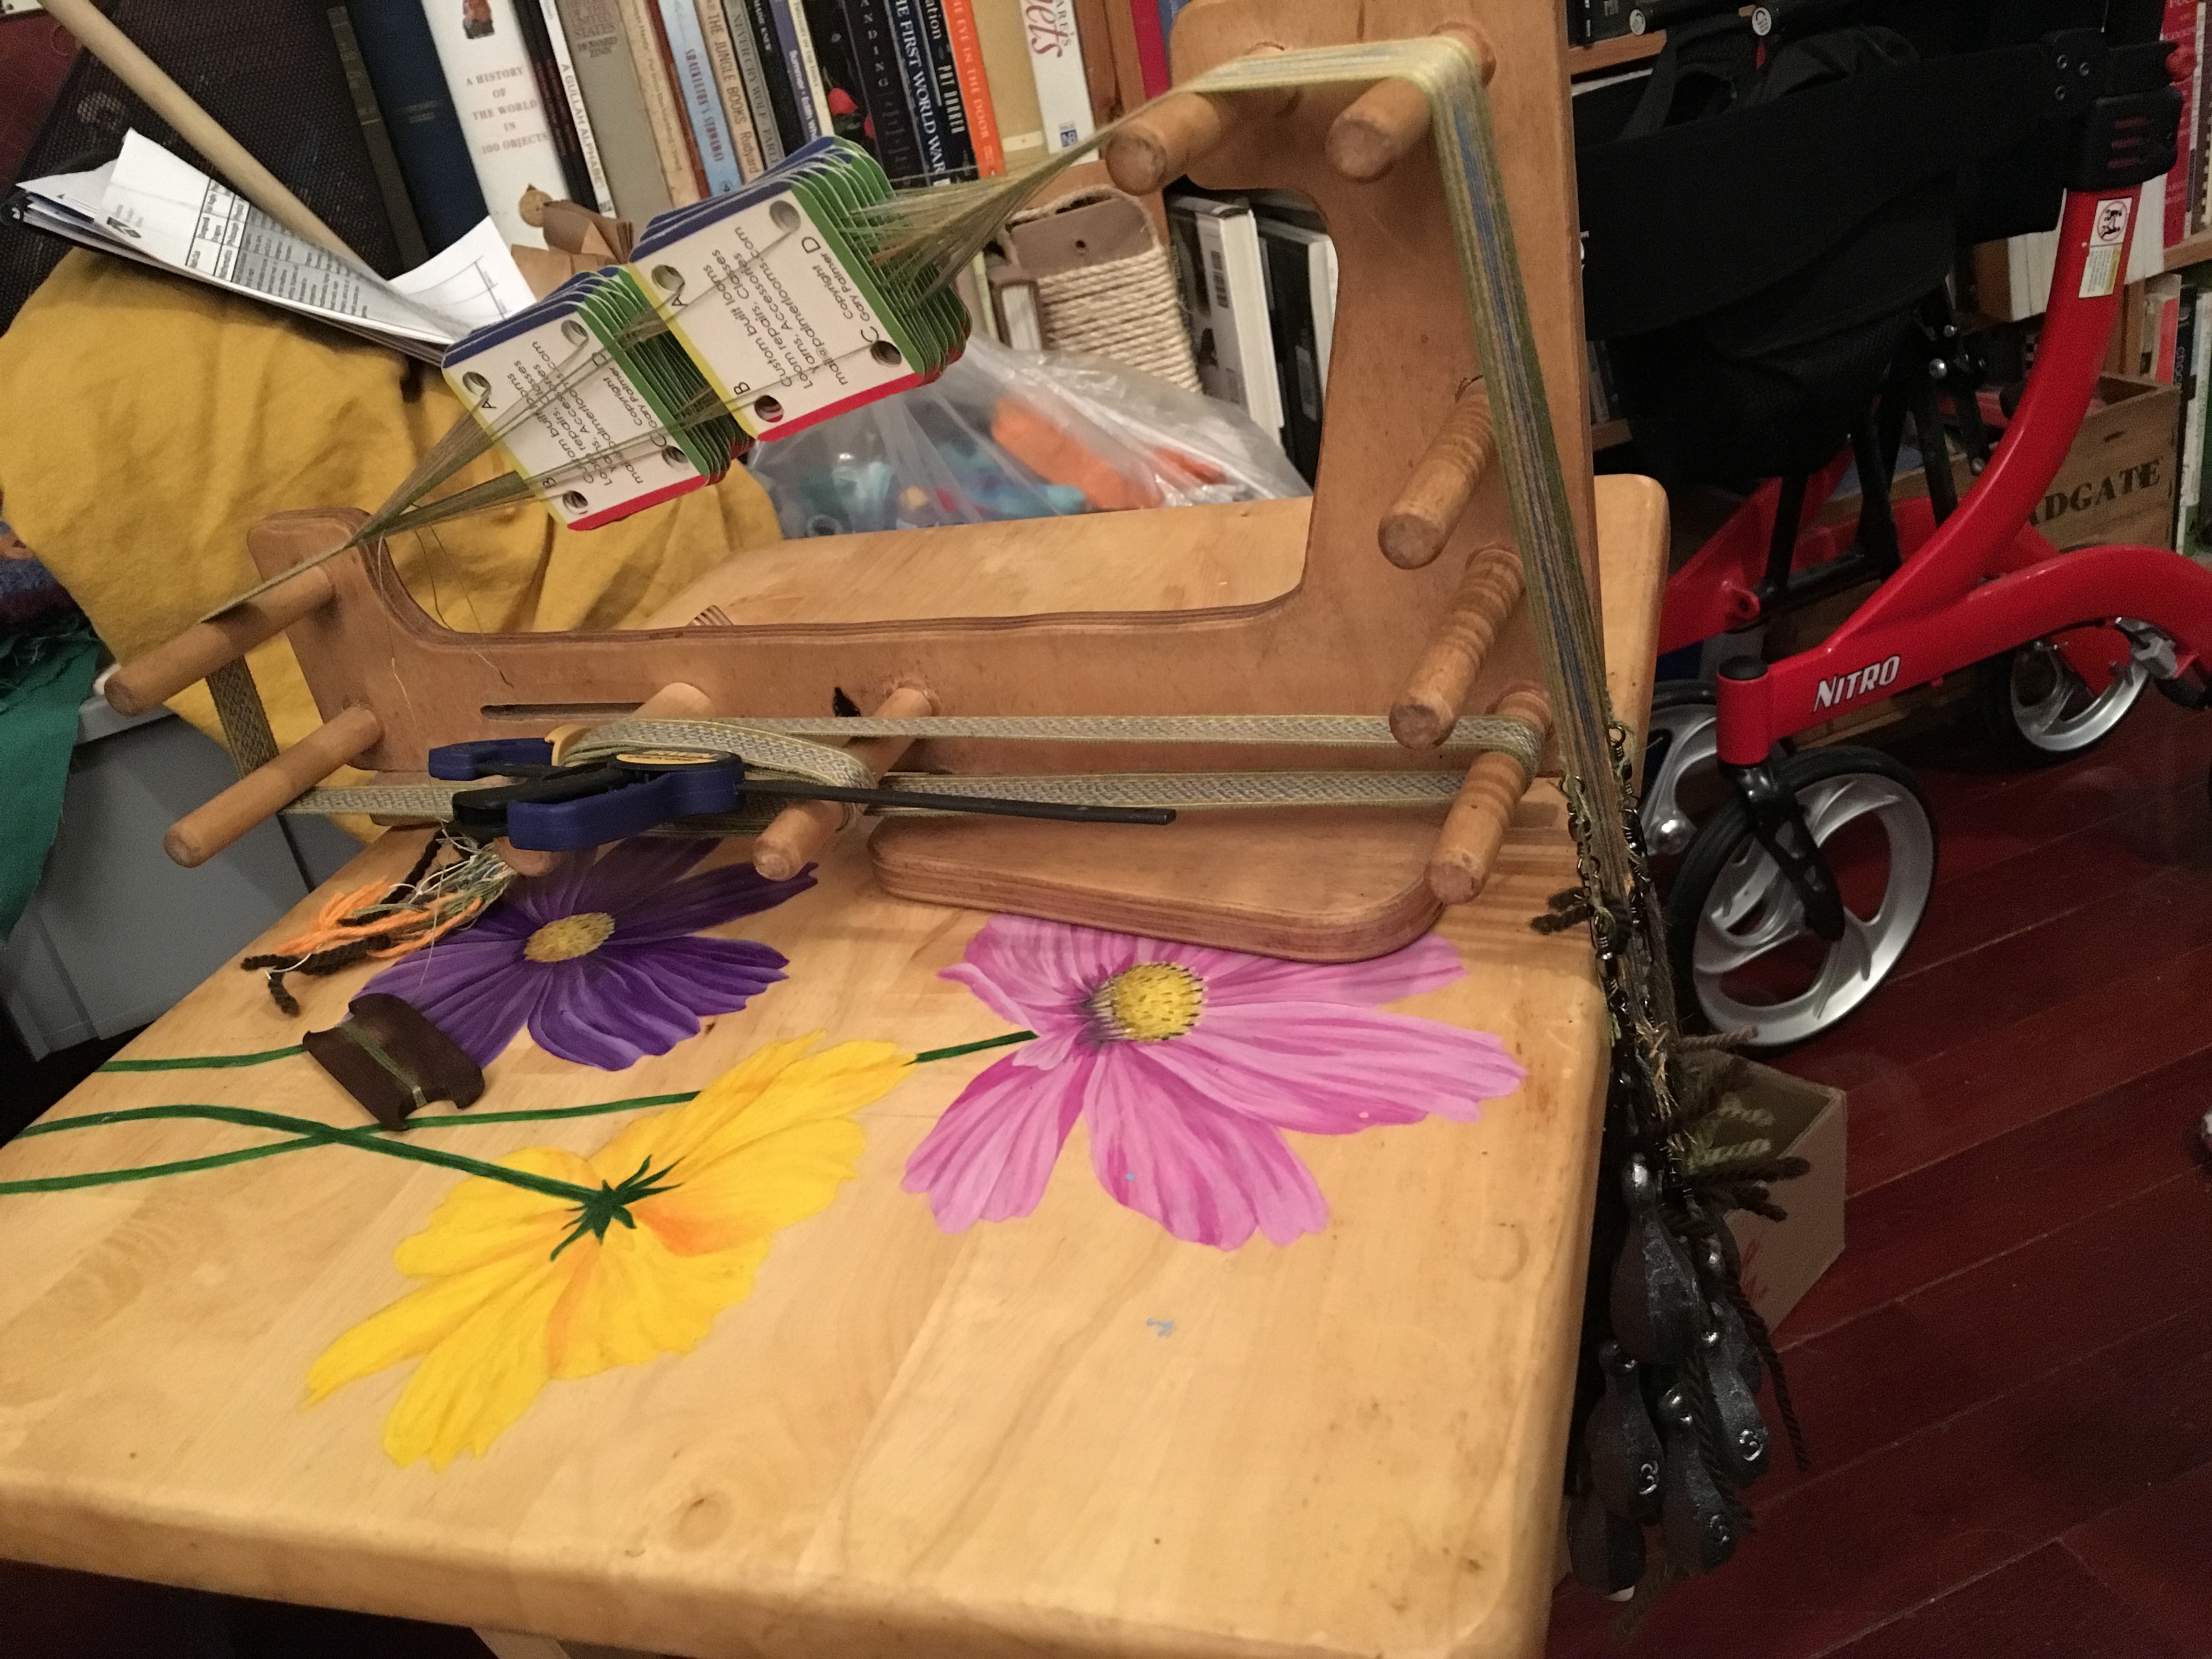
I begin by measuring and cutting my warp threads. To measure, I used the loom on which I will be weaving this trim. I extended its adjustable peg to maximize the length. I tied one end of thread to a starting peg and wound on as many wraps of each color as I needed: 44 celery, 40 gold, 24 peacock. As I finished each color, I cut the loops near my tie-on start and took them off the loom. Warp length for this loom is 6’ (2 yards).

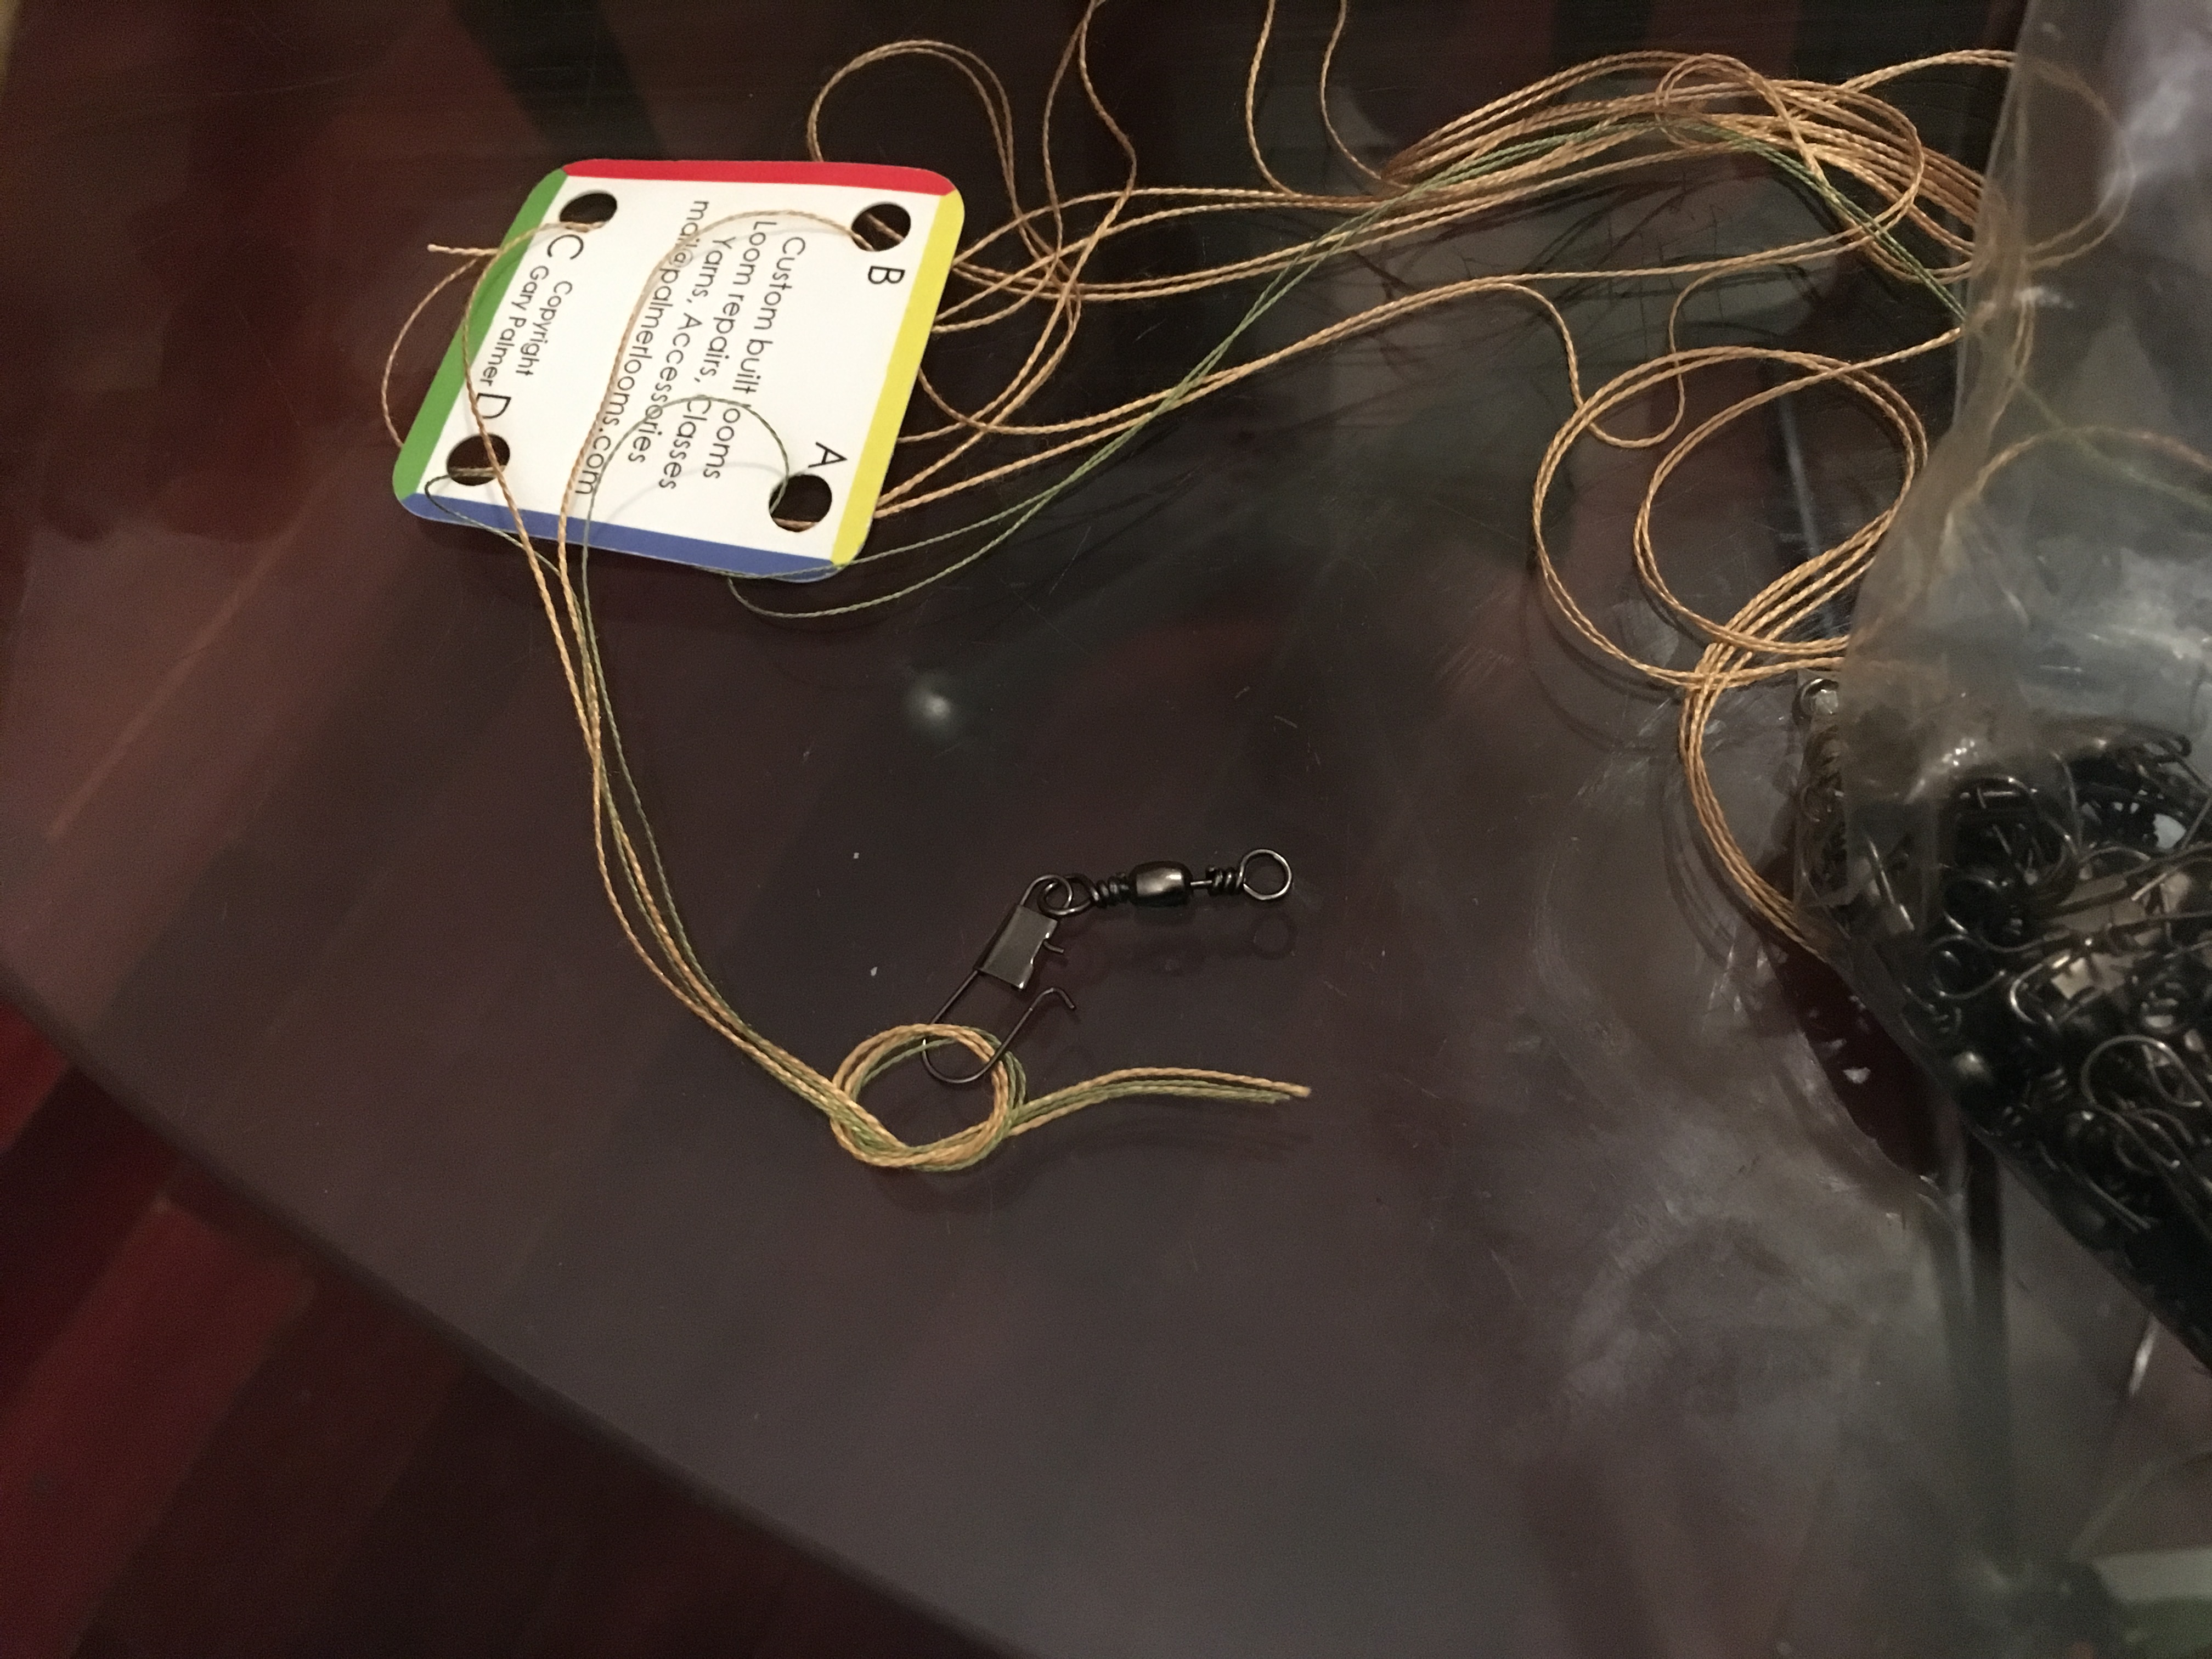
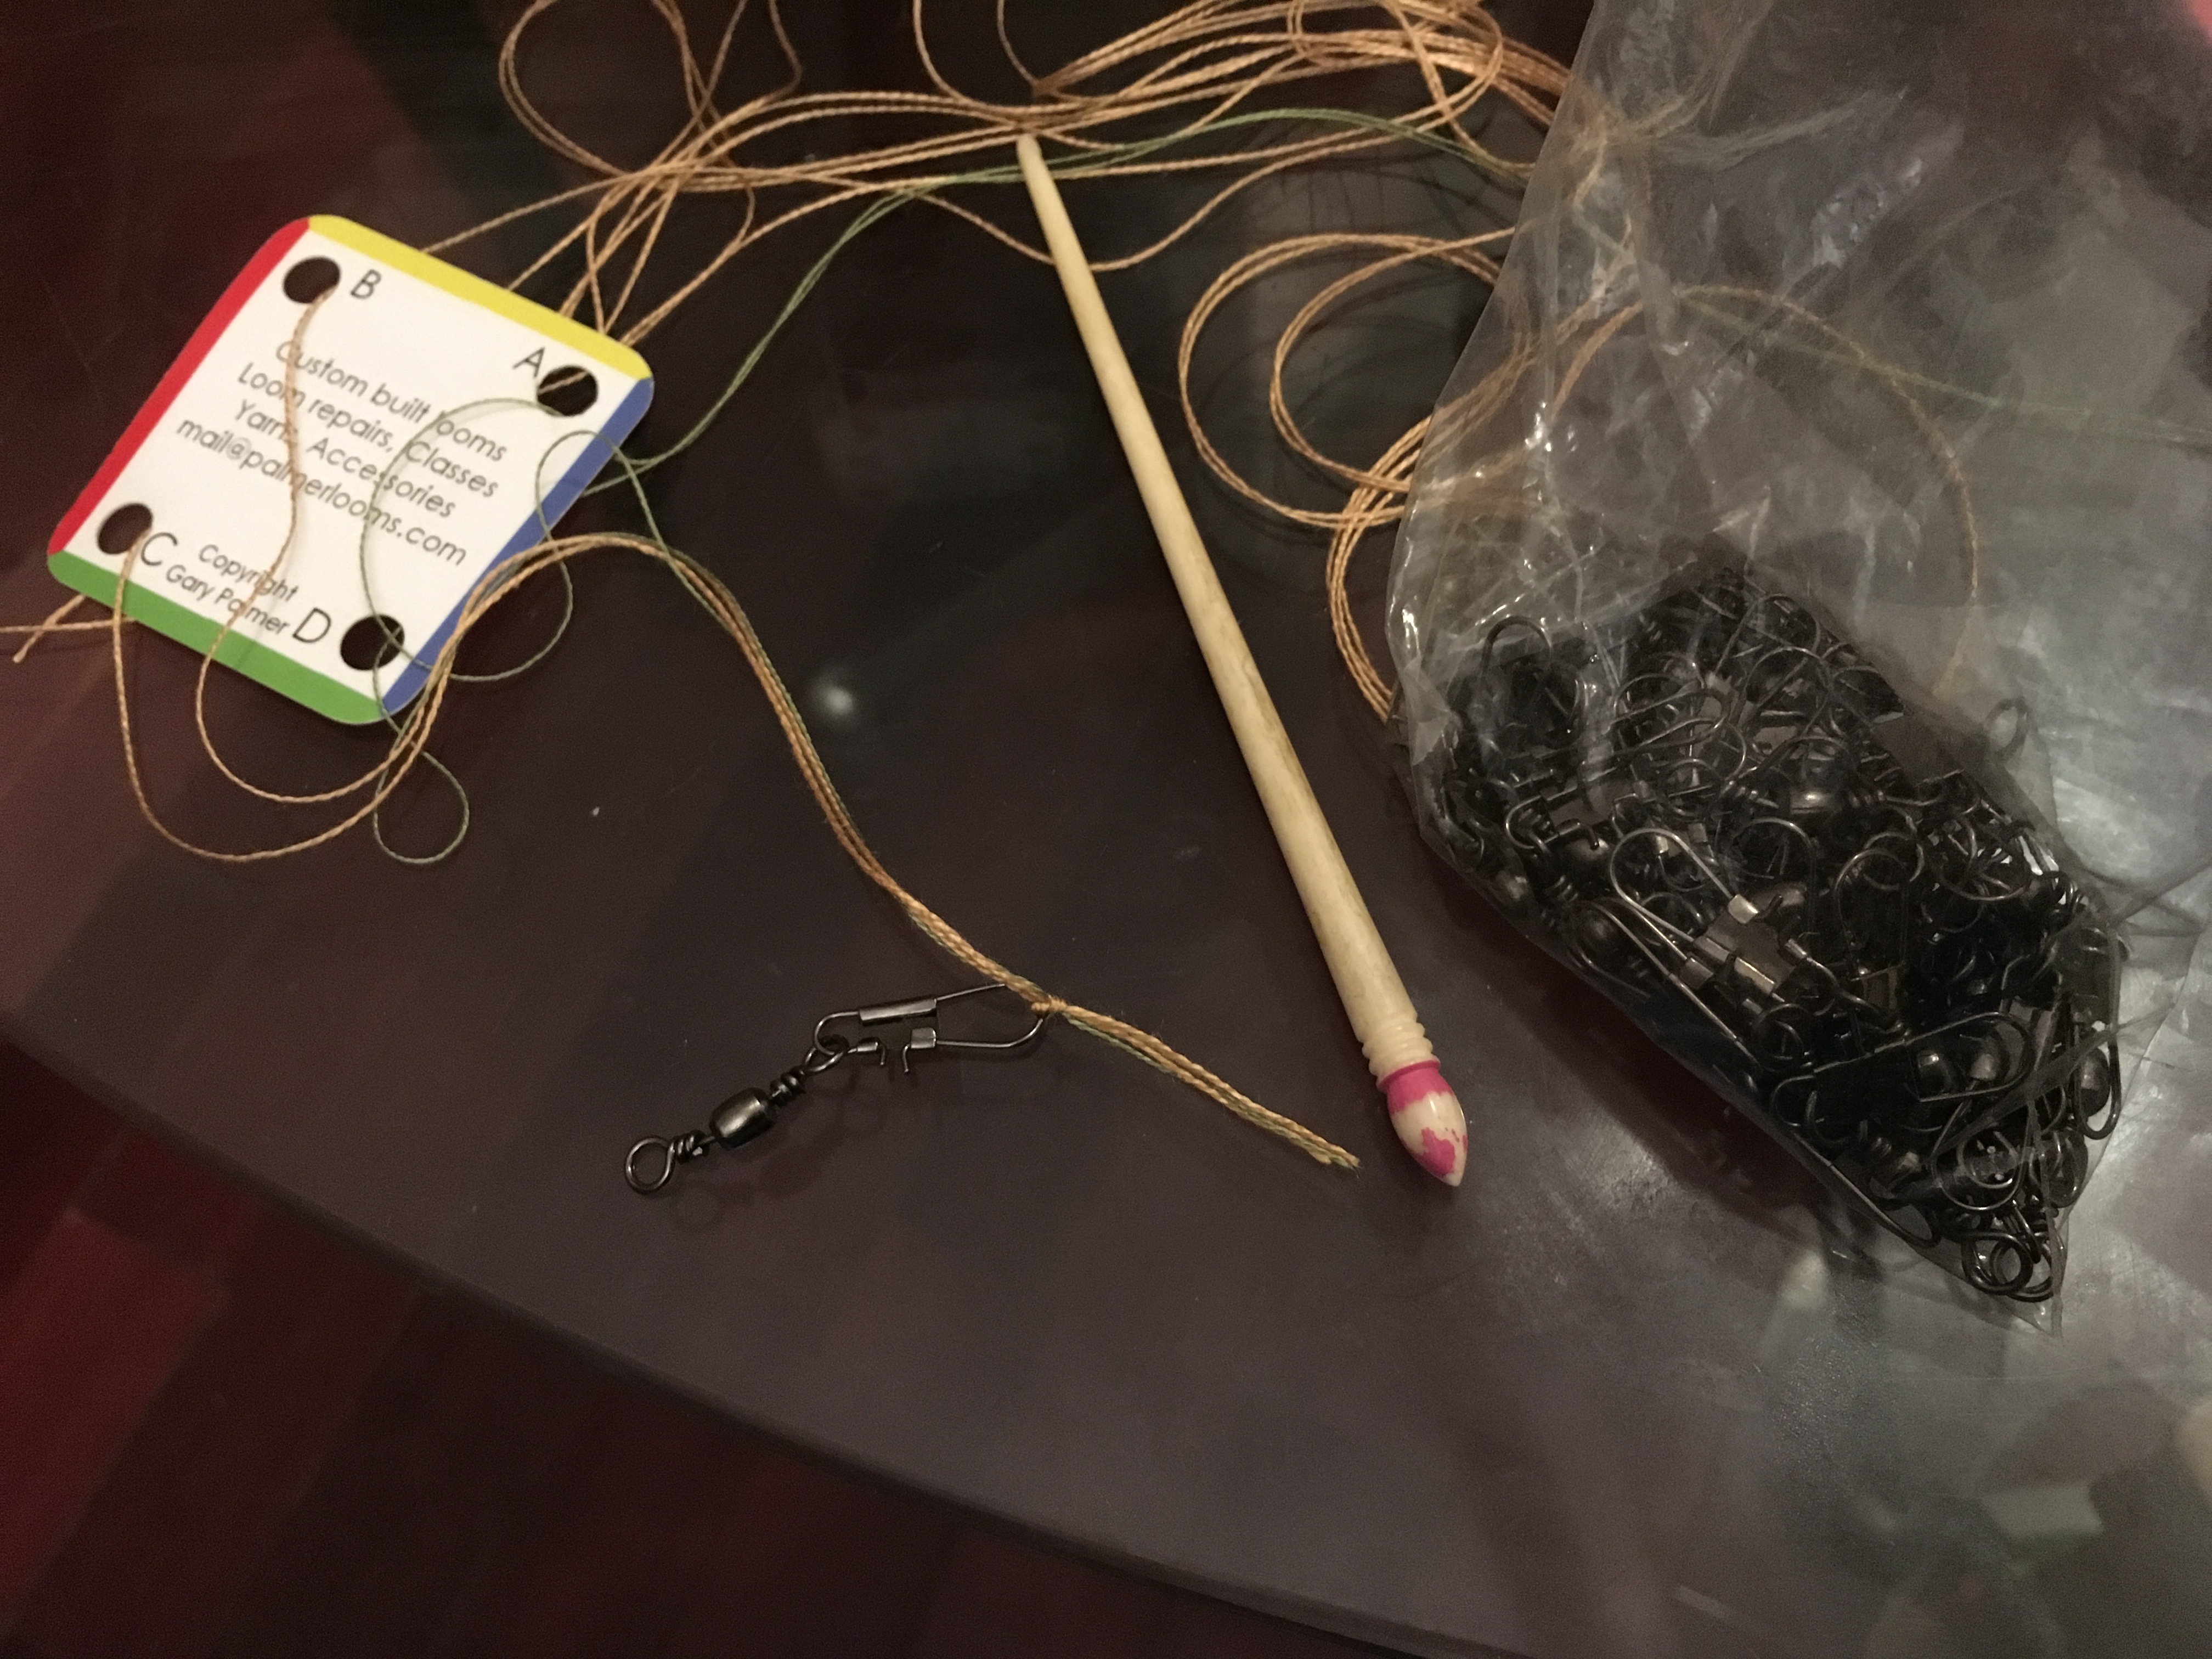
After reducing the loom length about an inch, by moving the adjustable peg, I began threading each card & warping it on to the loom, secured with a fishing swivel connecting the two ends of all 4 threads. Between the added length of the fishing swivel and the adjusted peg, I had enough thread for the knots at each end.

This silk thread, especially the smaller green & peacock, is very slippery, so I am trying out a new method of securing the swivels. First, I tie the fishing swivel into the first loop of a square knot:
Then, I tie the ends of the threads around themselves to form the second knot of the square loop:

And pull tight to fasten:
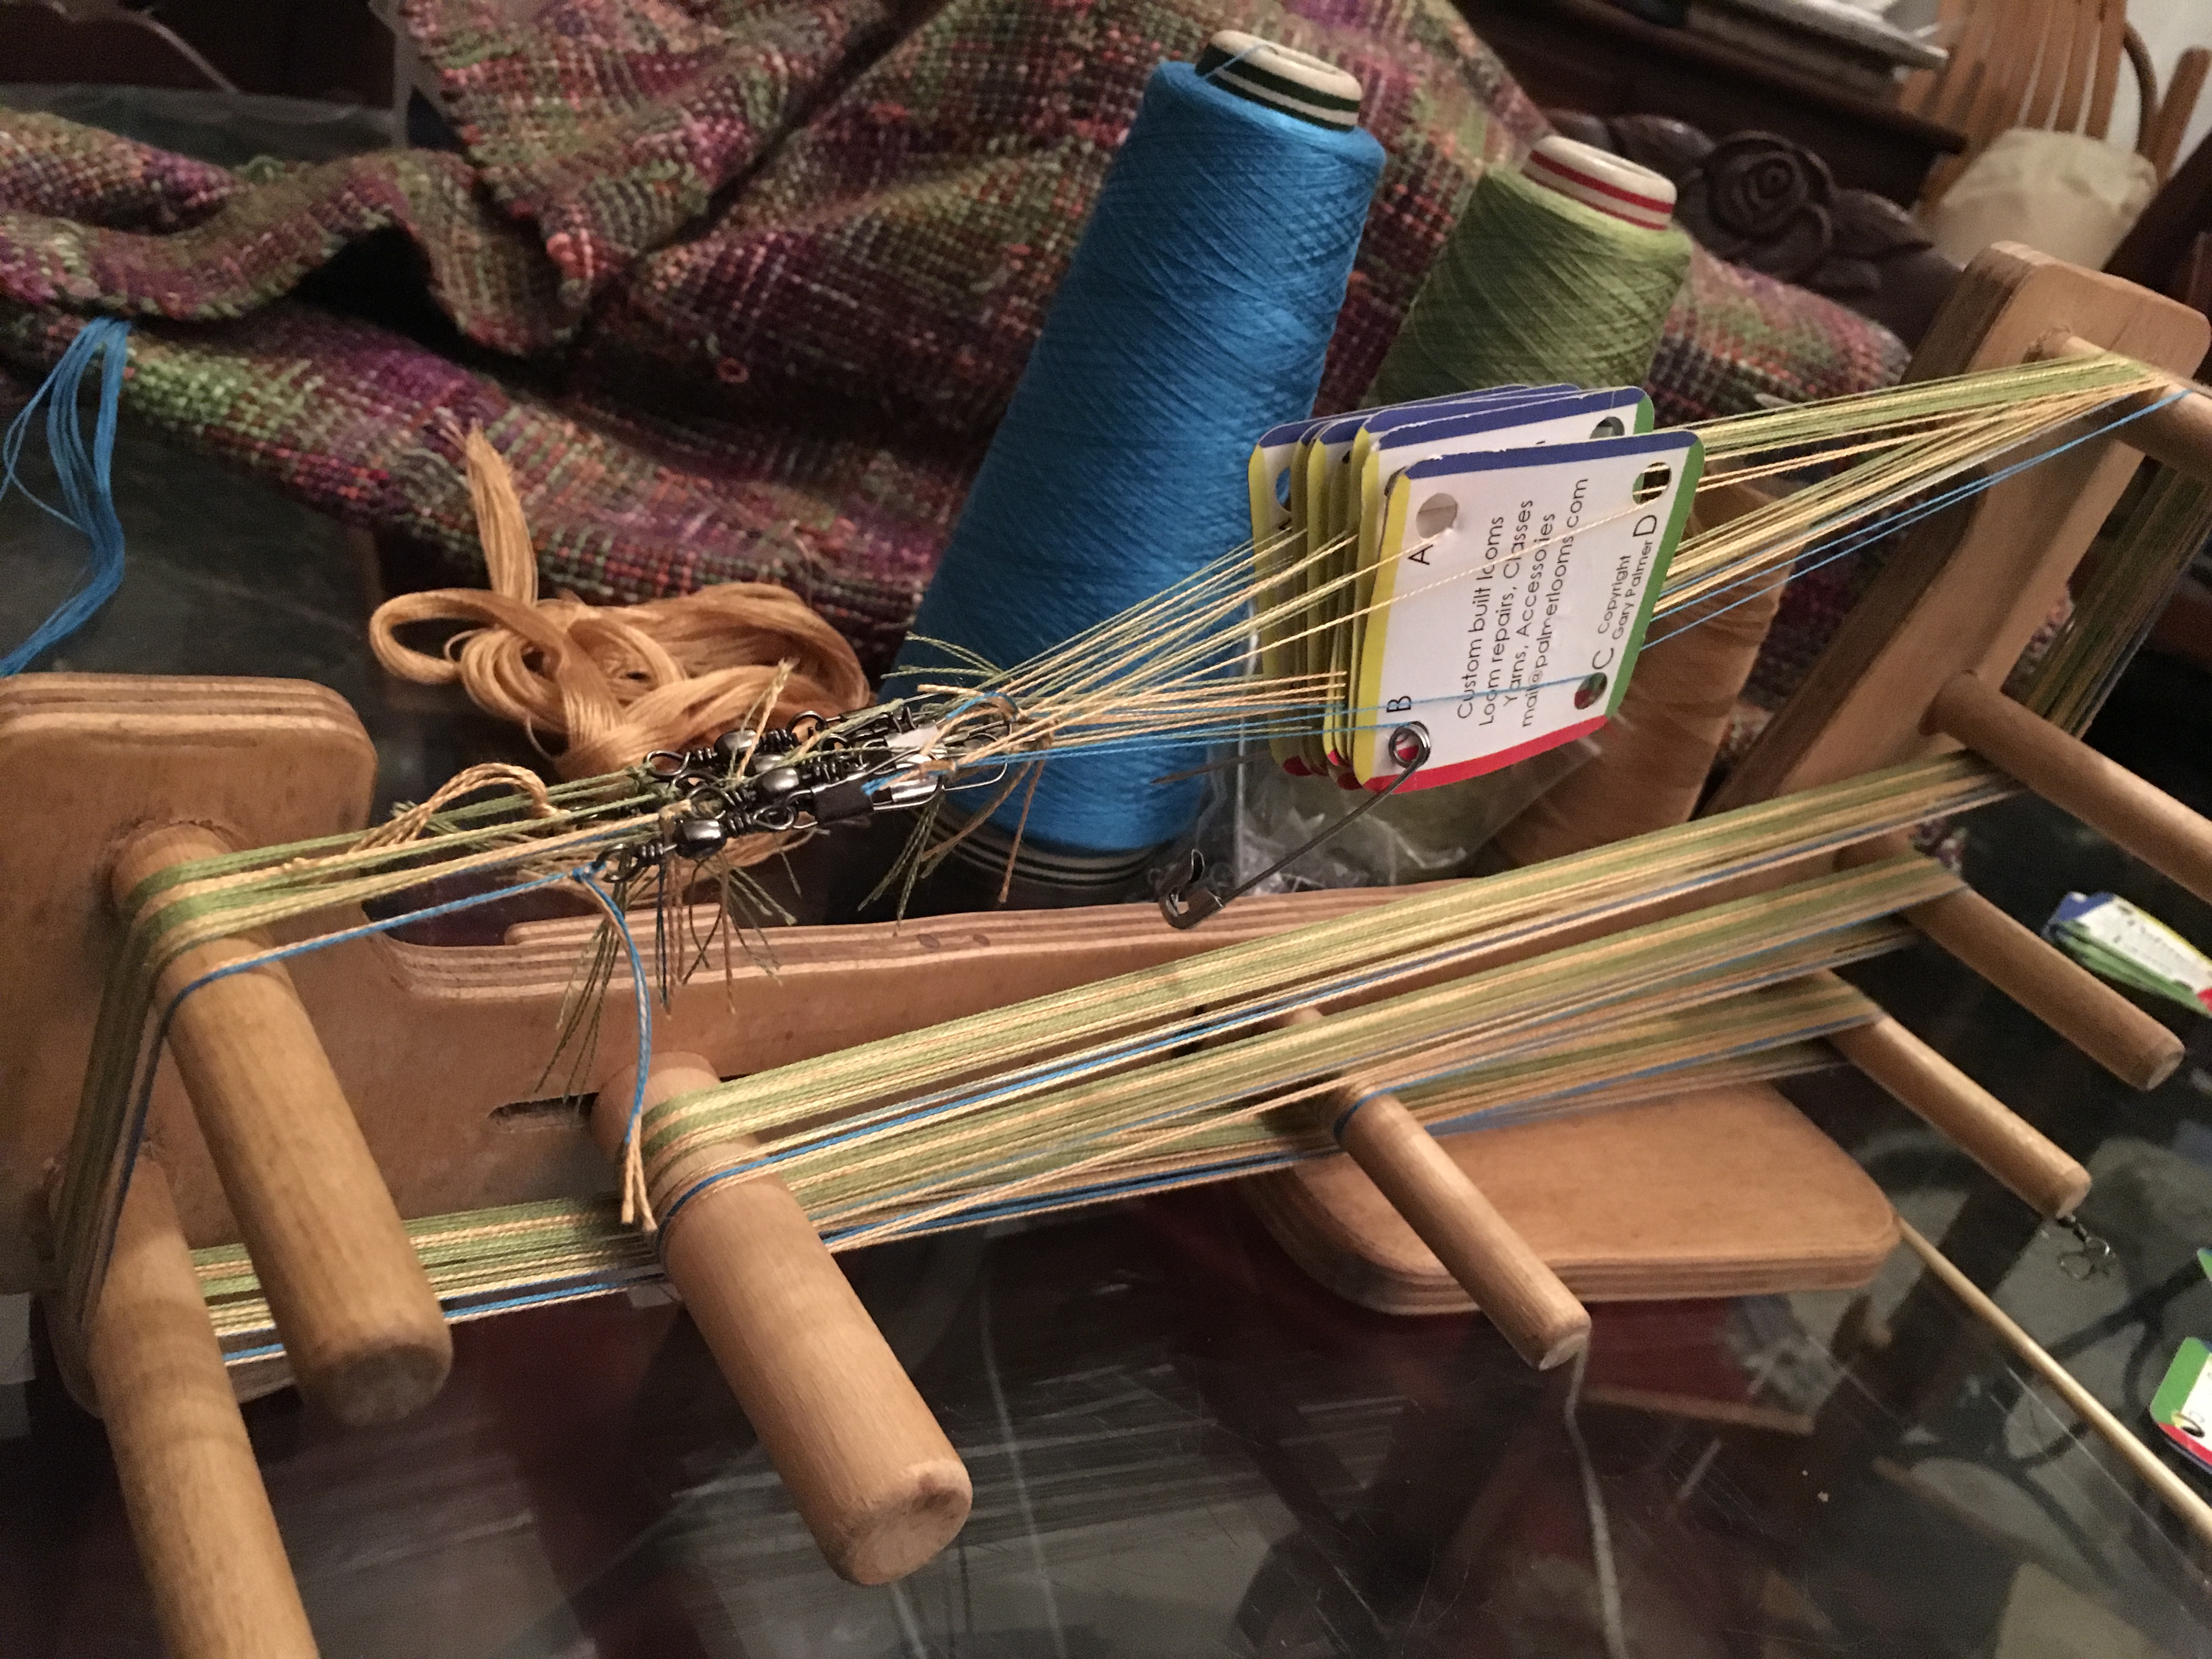
Cards #27 through #19 are threaded and warped onto the loom. This is the most tedious part, for me. 1/3 of the way through. I can do this!
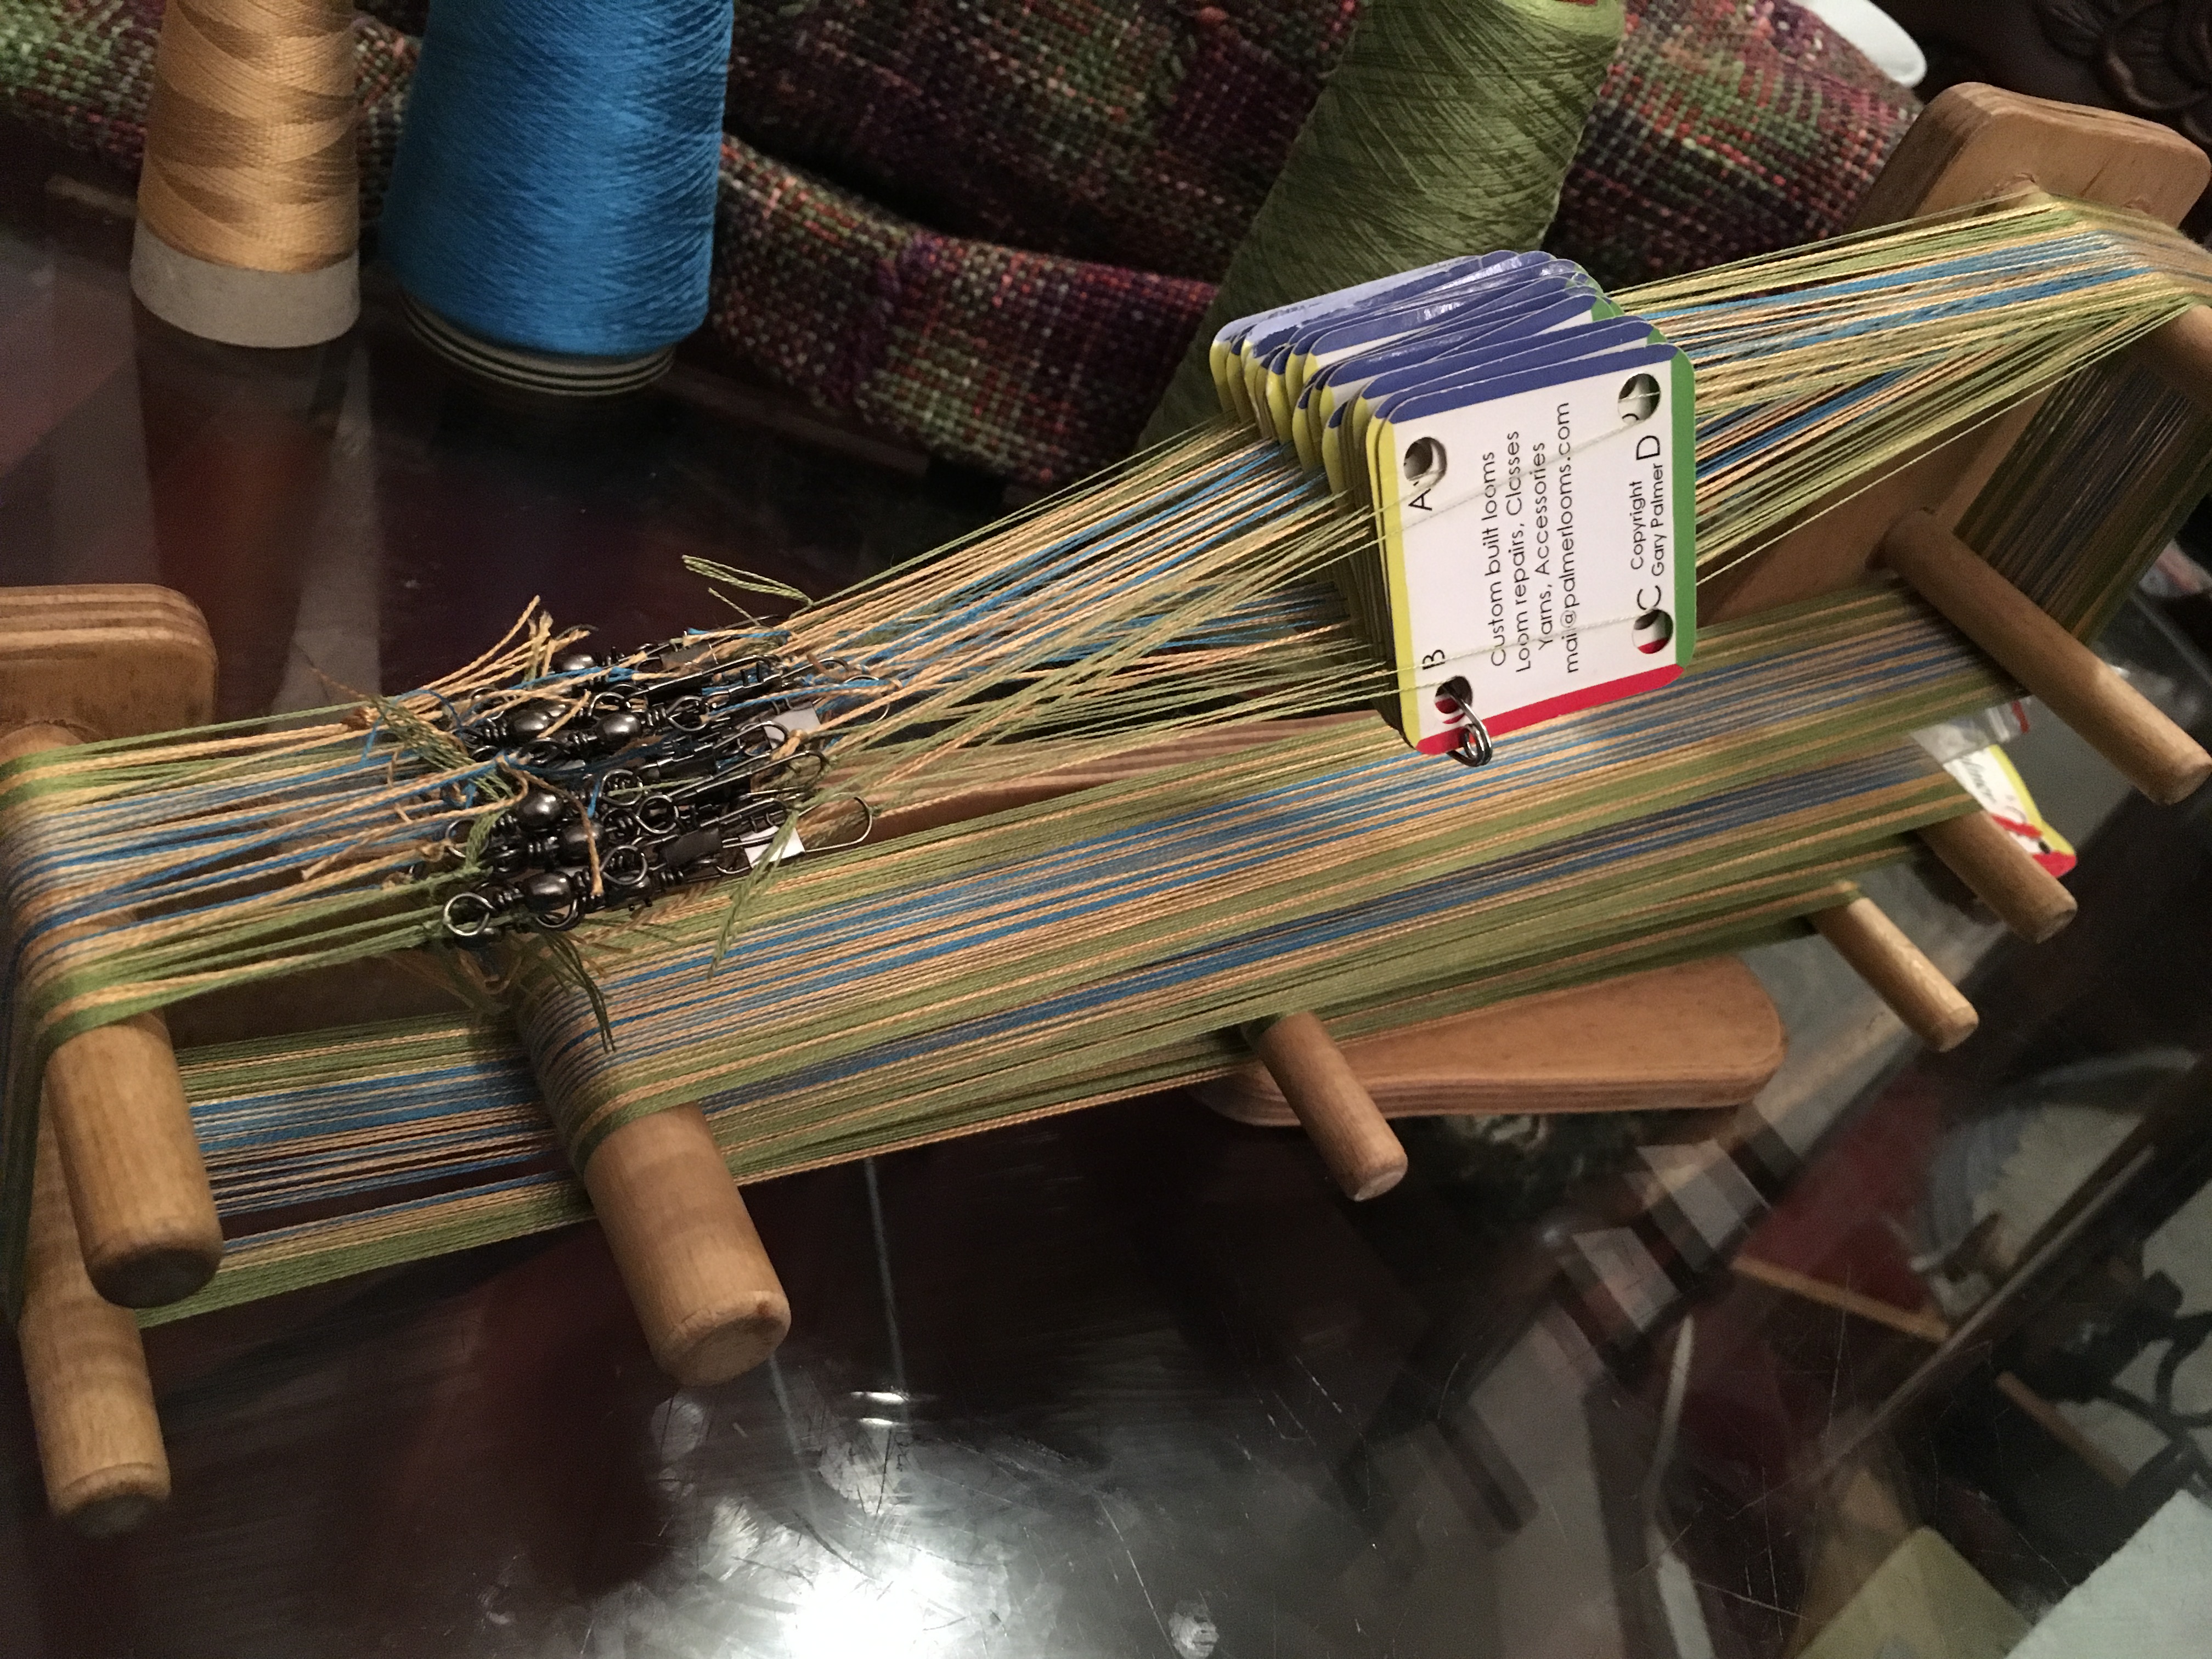
2/3 threaded and warped! Getting there. This is also an experiment in varying thread size. I couldn’t find gold silk in the 2/60 weight that I have the peacock and the celery. Since it is supposed to pop, I went ahead with the 2/30 that I happened to have on hand. Will see how much difference it makes….

And we’re done! All 27 cards threaded & wound onto the loom;
Let’s weave!
I begin by loading up two shuttles with my weft. I have opted for the celery silk, so the outer bumps are not visible against the edge colors, and because it is finer than the gold silk.

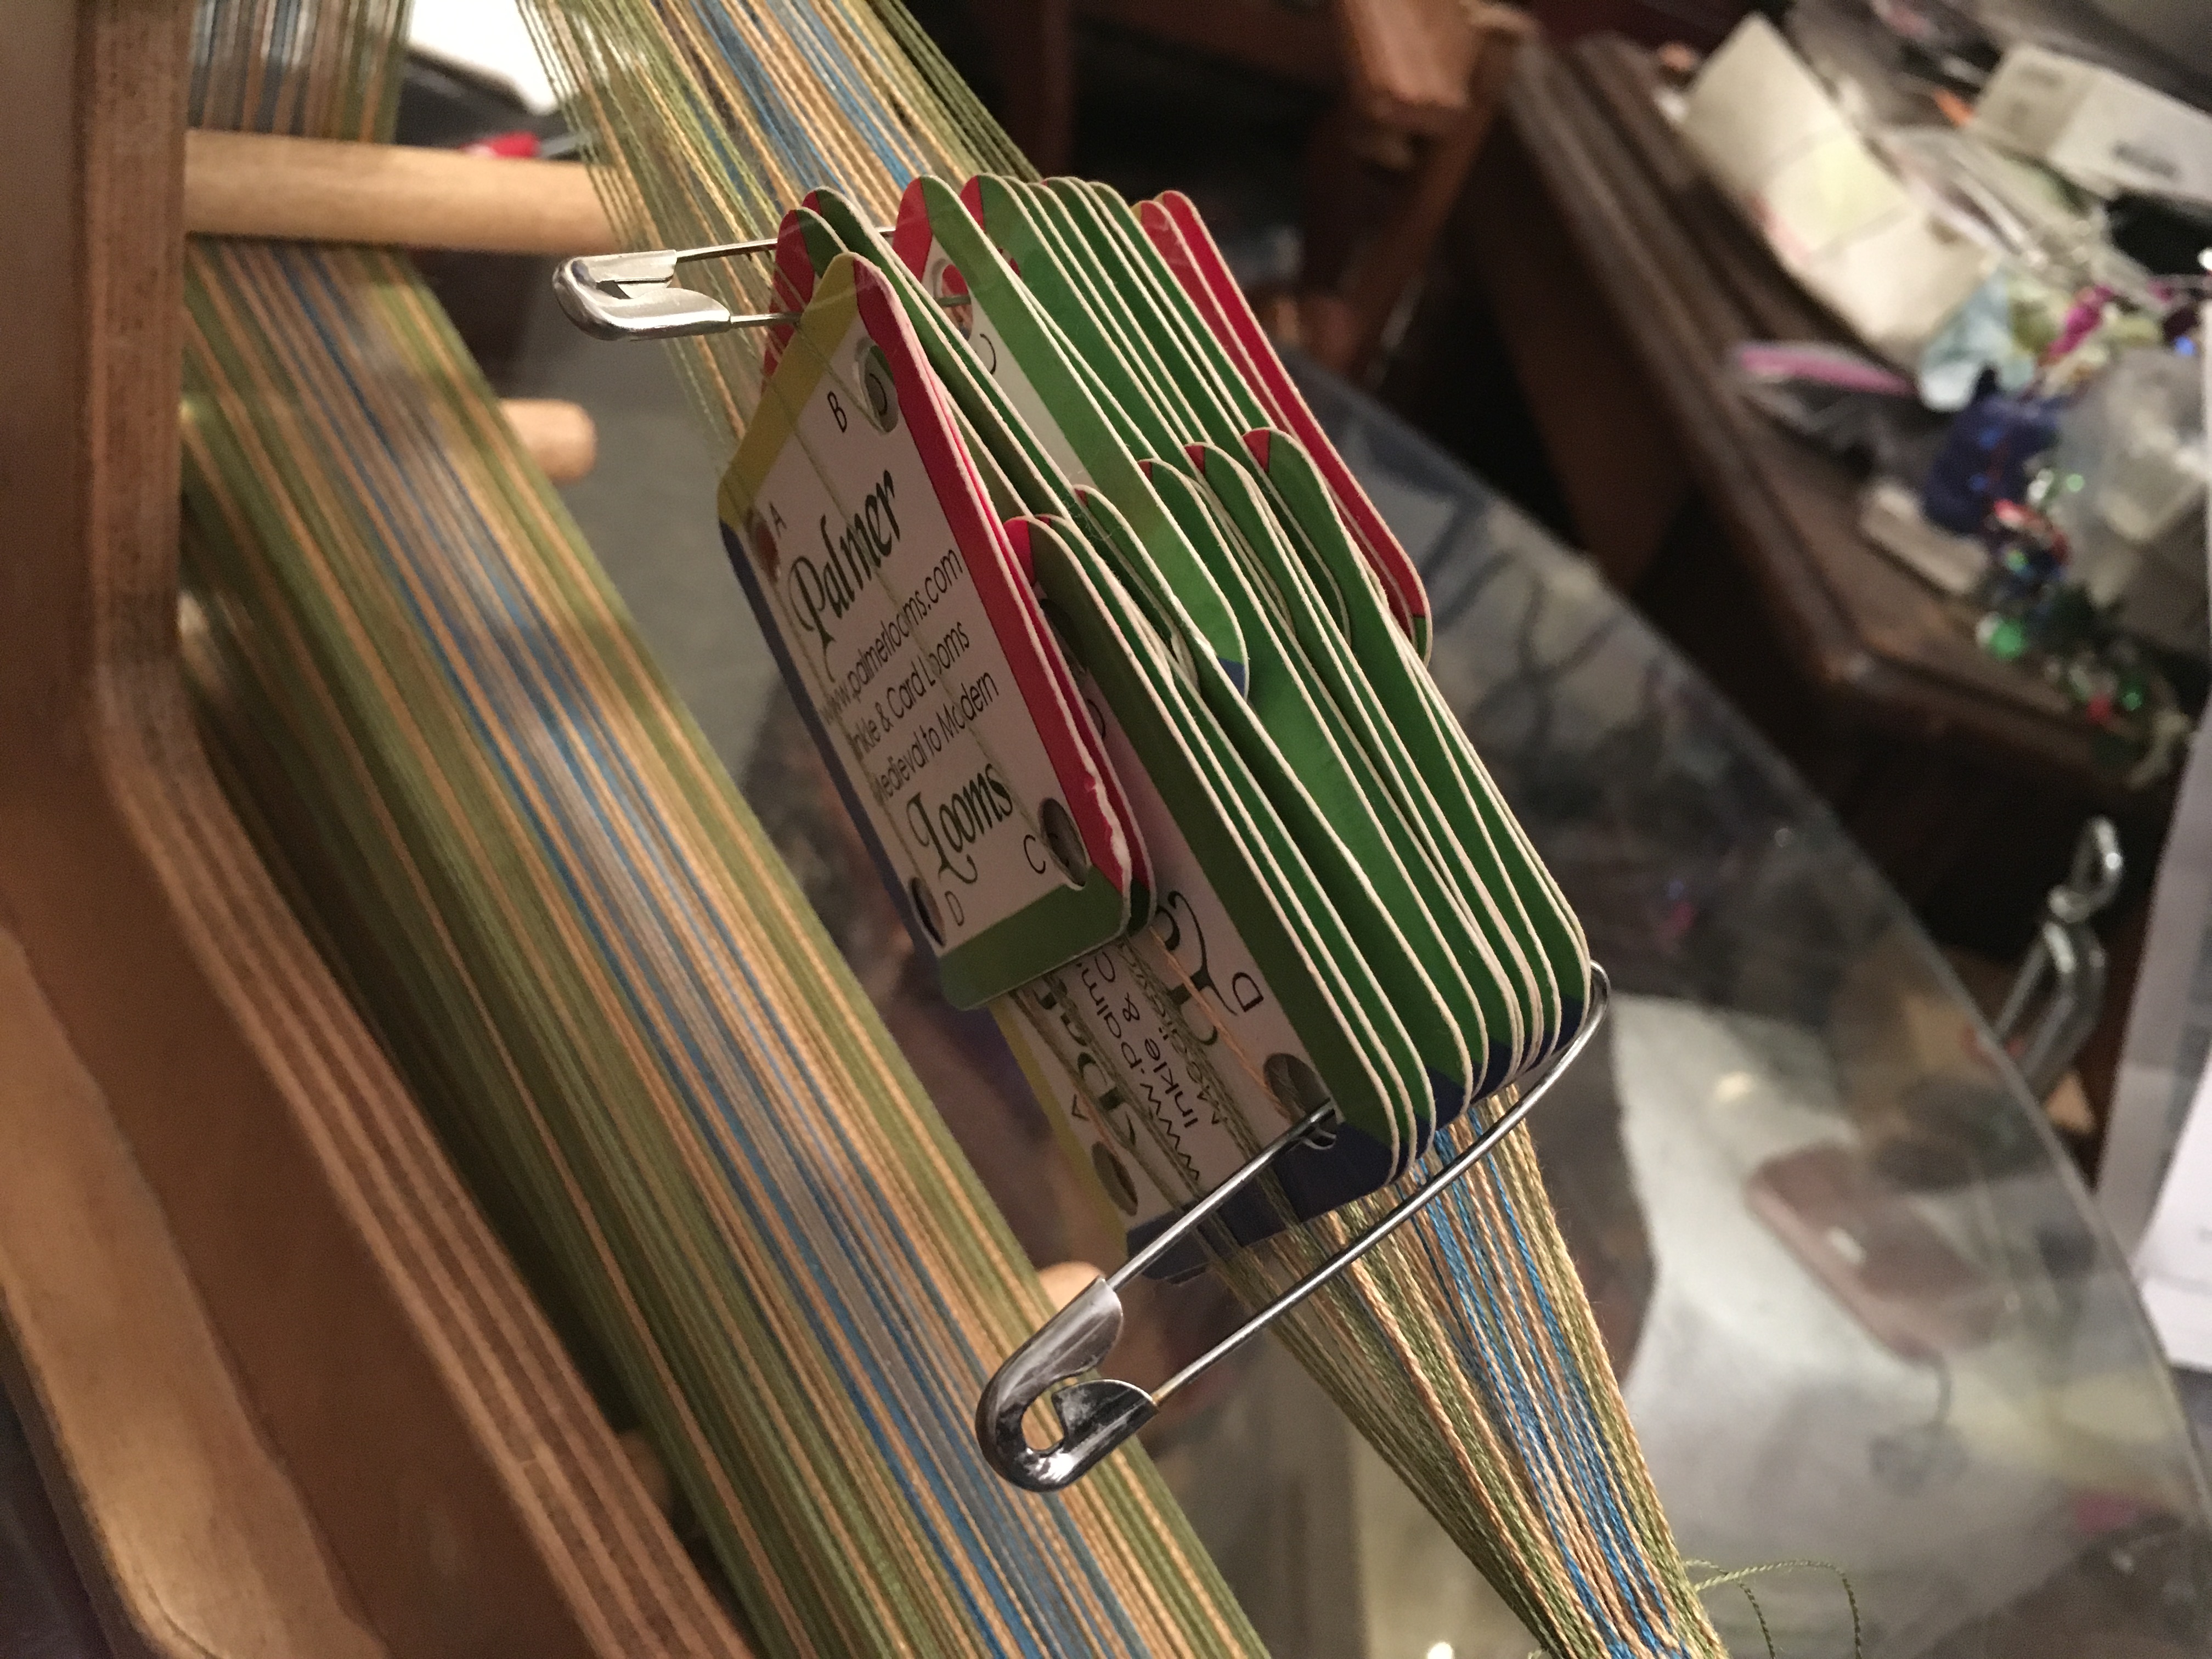
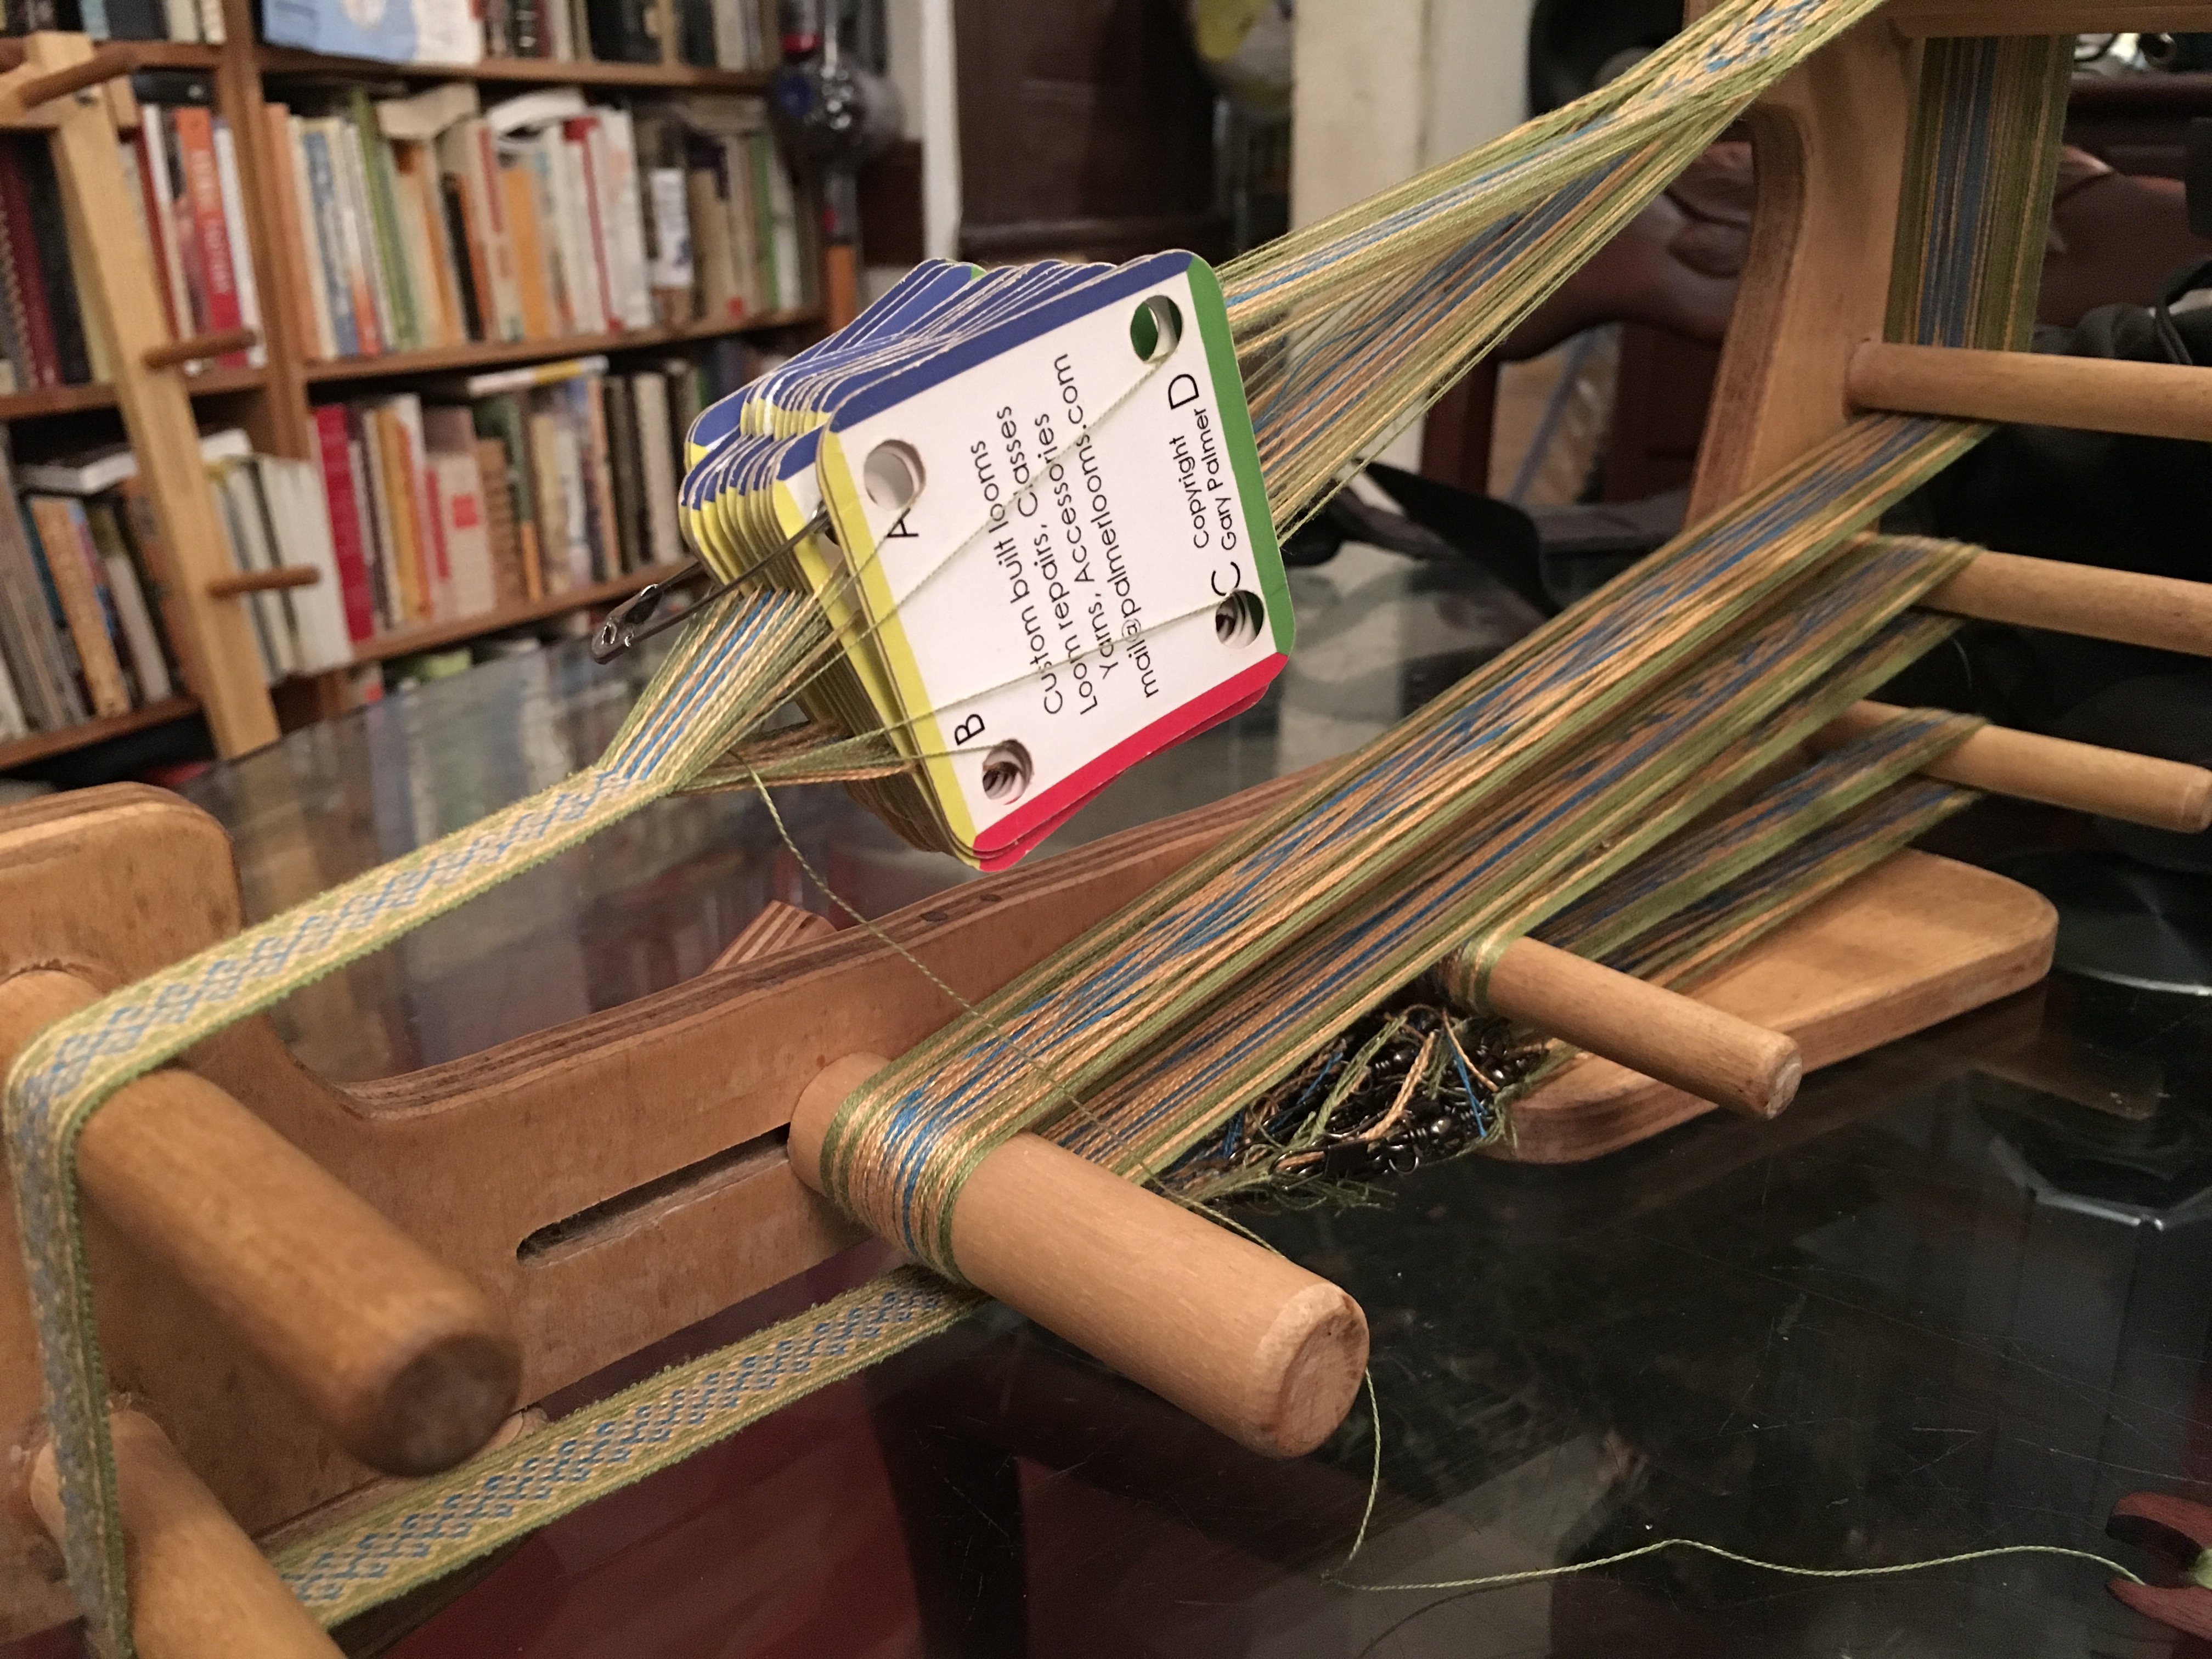
The Anglo Saxon diagonal Greek key pattern is unusual in that you turn every other card on each row — first the even cards, and then the odd ones. The two outer edge cards turn with every row. I use large safety pins to keep my alternating packs separable. Using the pin, I can push the packs together to align the shed and pull them apart easily when it’s time to rotate the alternate pack for the next row.

The edge cards go out of synch with the body cards as I turn them on each row. When the body cards are the same color, I am about to turn the even cards.
Step-by-step breakdown of the turn: first, slide the packs apart and move the edge cards to the pack that will turn on this row:

Next, remove the pin from the pack that is turning, and turn it and the edge cards together.
Slide the edge cards down to join the other pack.

Replace the safety pin in the pack you just rotated.

Push the packs together to align them and clear the shed.

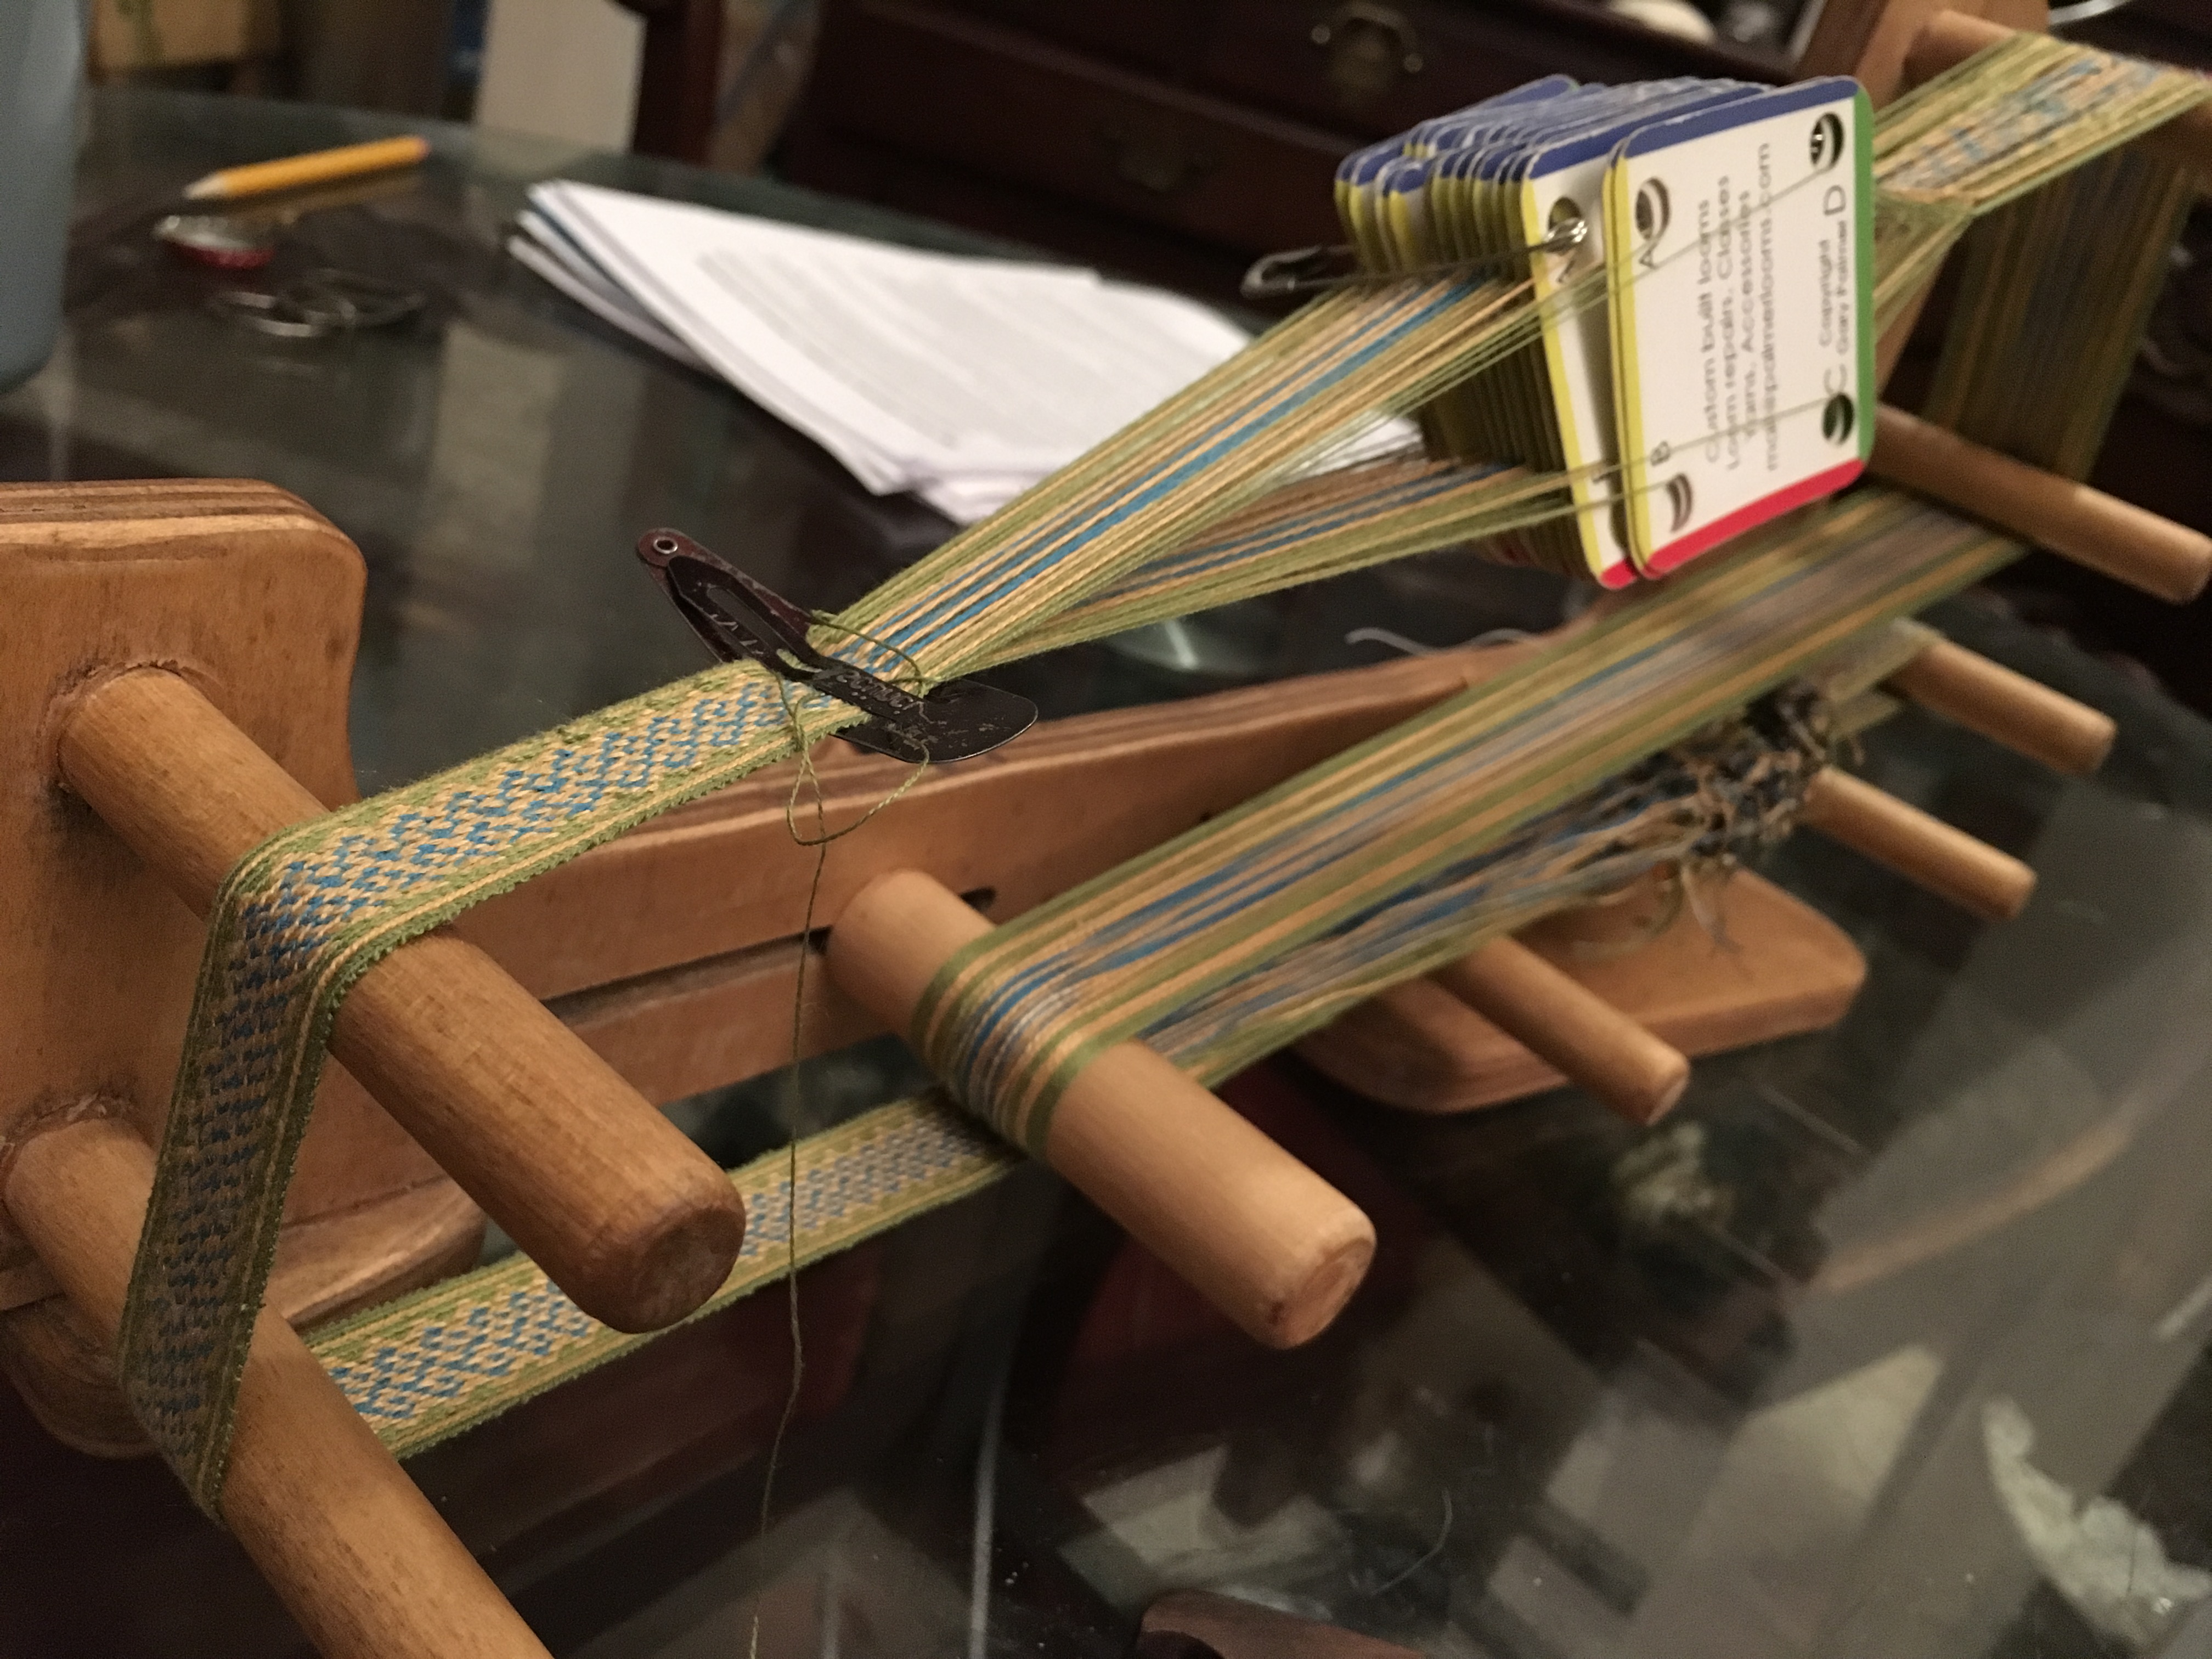
Weaving is slow, but the results are pleasing.

As we get further into the work, you can see the twist accumulating and the tension beginning to vary, even with frequent pauses to work out the twist.

Working out the twist is time consuming.
So now we try warp weighting instead of loom tensioning! After some research into recommended weights, I opted for 3 oz. fishing weights. $25 for ~5 lbs. — 26 weights — at Amazon. Yes, I have 27 cards. Will worry about that later.

Experimental archaeology to the rescue. Turns out 3 oz. per card is WAY too much tension for how I work. I am uncomfortable & the pattern looks like crap.
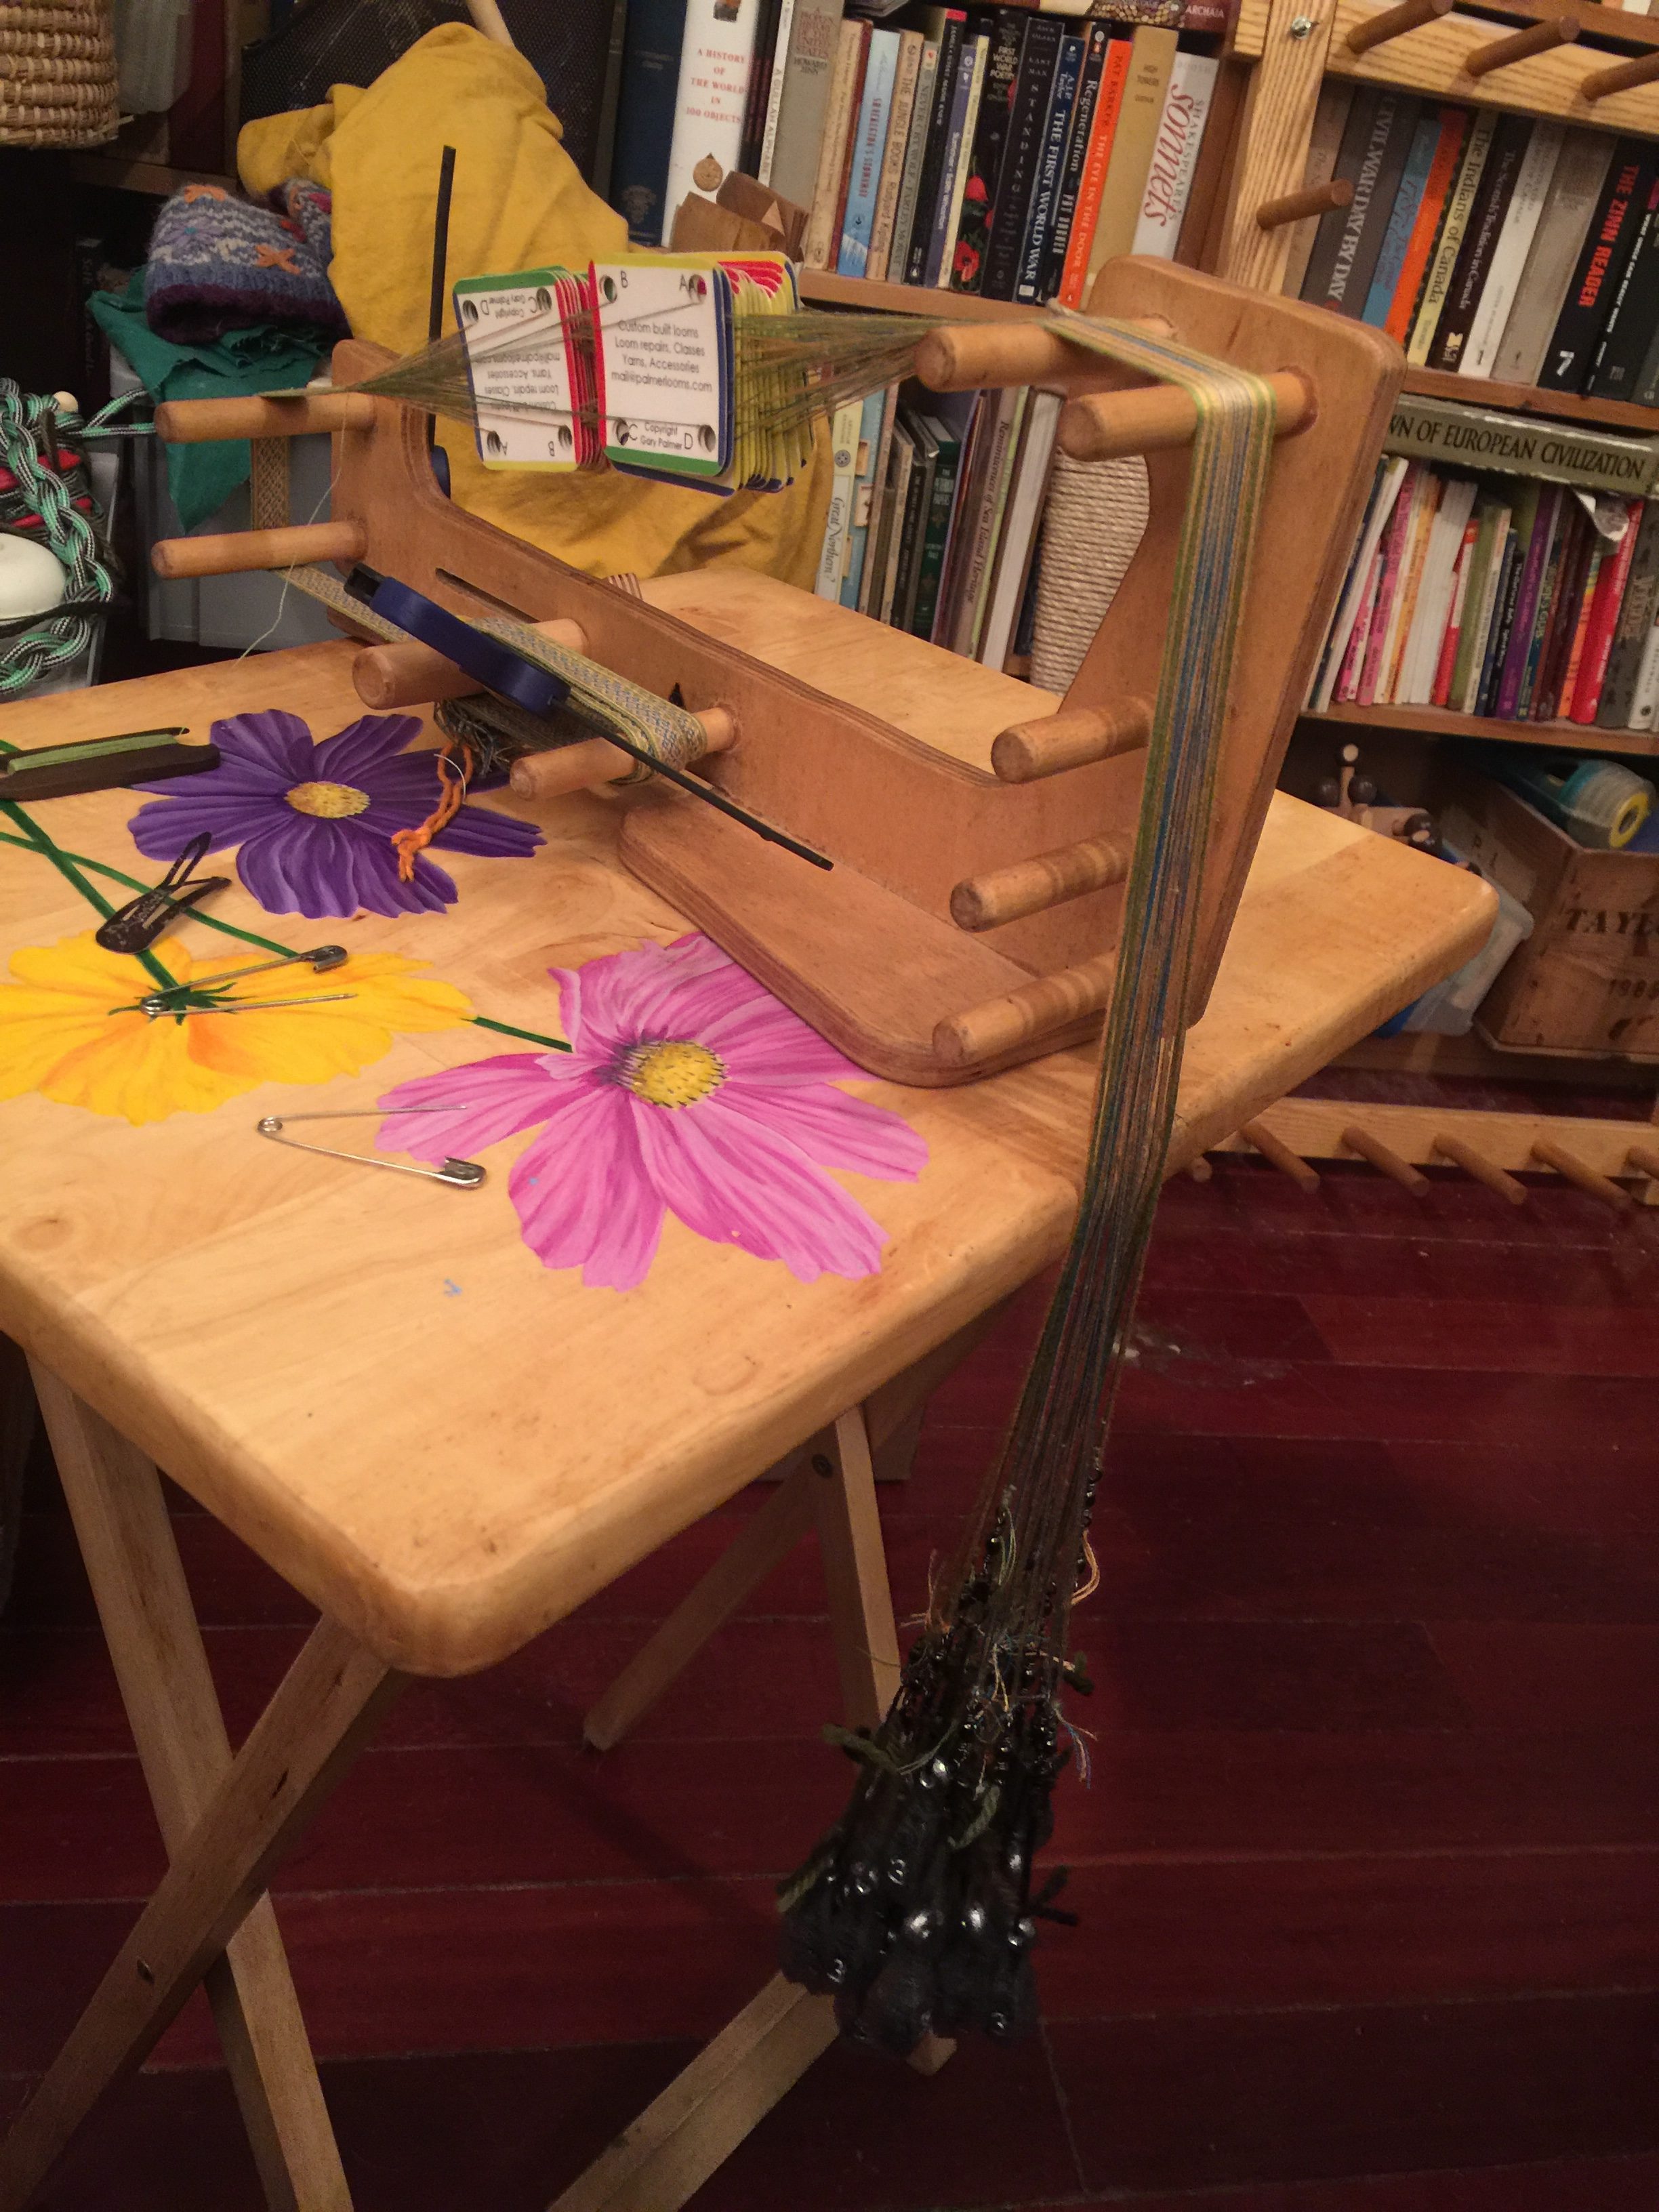
So I back down to half that weight, attaching 2 cards to every weight. I have one odd card out, so I measure out the clothespins I’ve been using as slung (Viking whipcording) bobbins. 5 clothespins equal 1.5 oz., which I tie to the single card. I leave the fishing swivels in place, for ease of twist removal.

The work progresses much more quickly on this warp-weighted setup. Twist removal is blindingly fast, and I no longer need to fiddle with the safety pins. The tighter and more reliable individual card tension keeps the packs in place as I work.

Using the warp-weighted setup from the beginning, instead of tensioning the warp to itself, also mean that I’ll be able to make the edge warps longer, and weave further. Here I am constrained by running out of warp on the edges. This is about as far as I can weave.
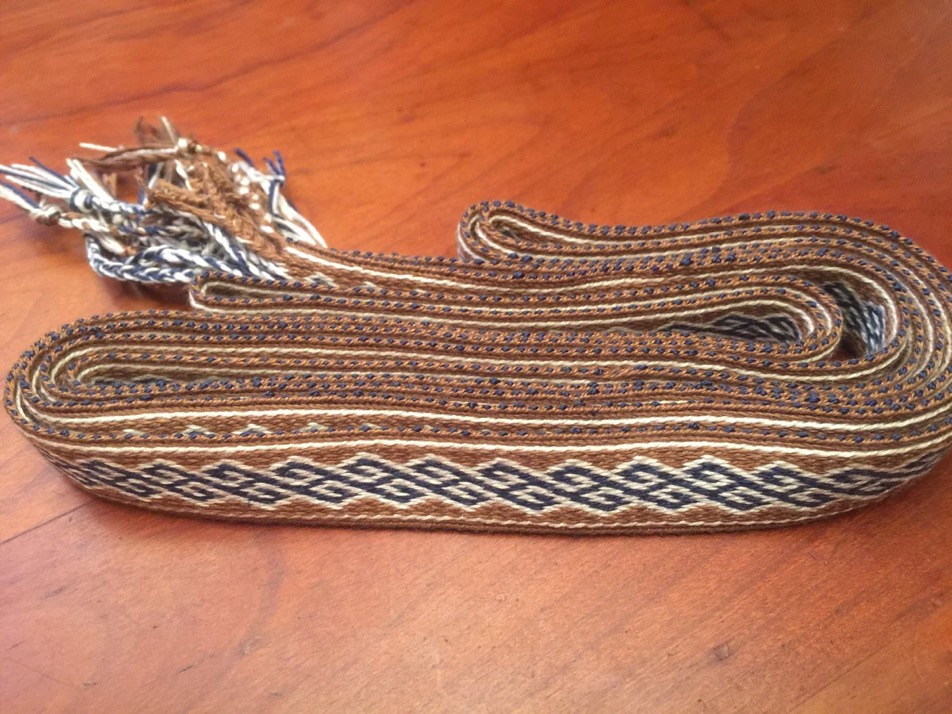
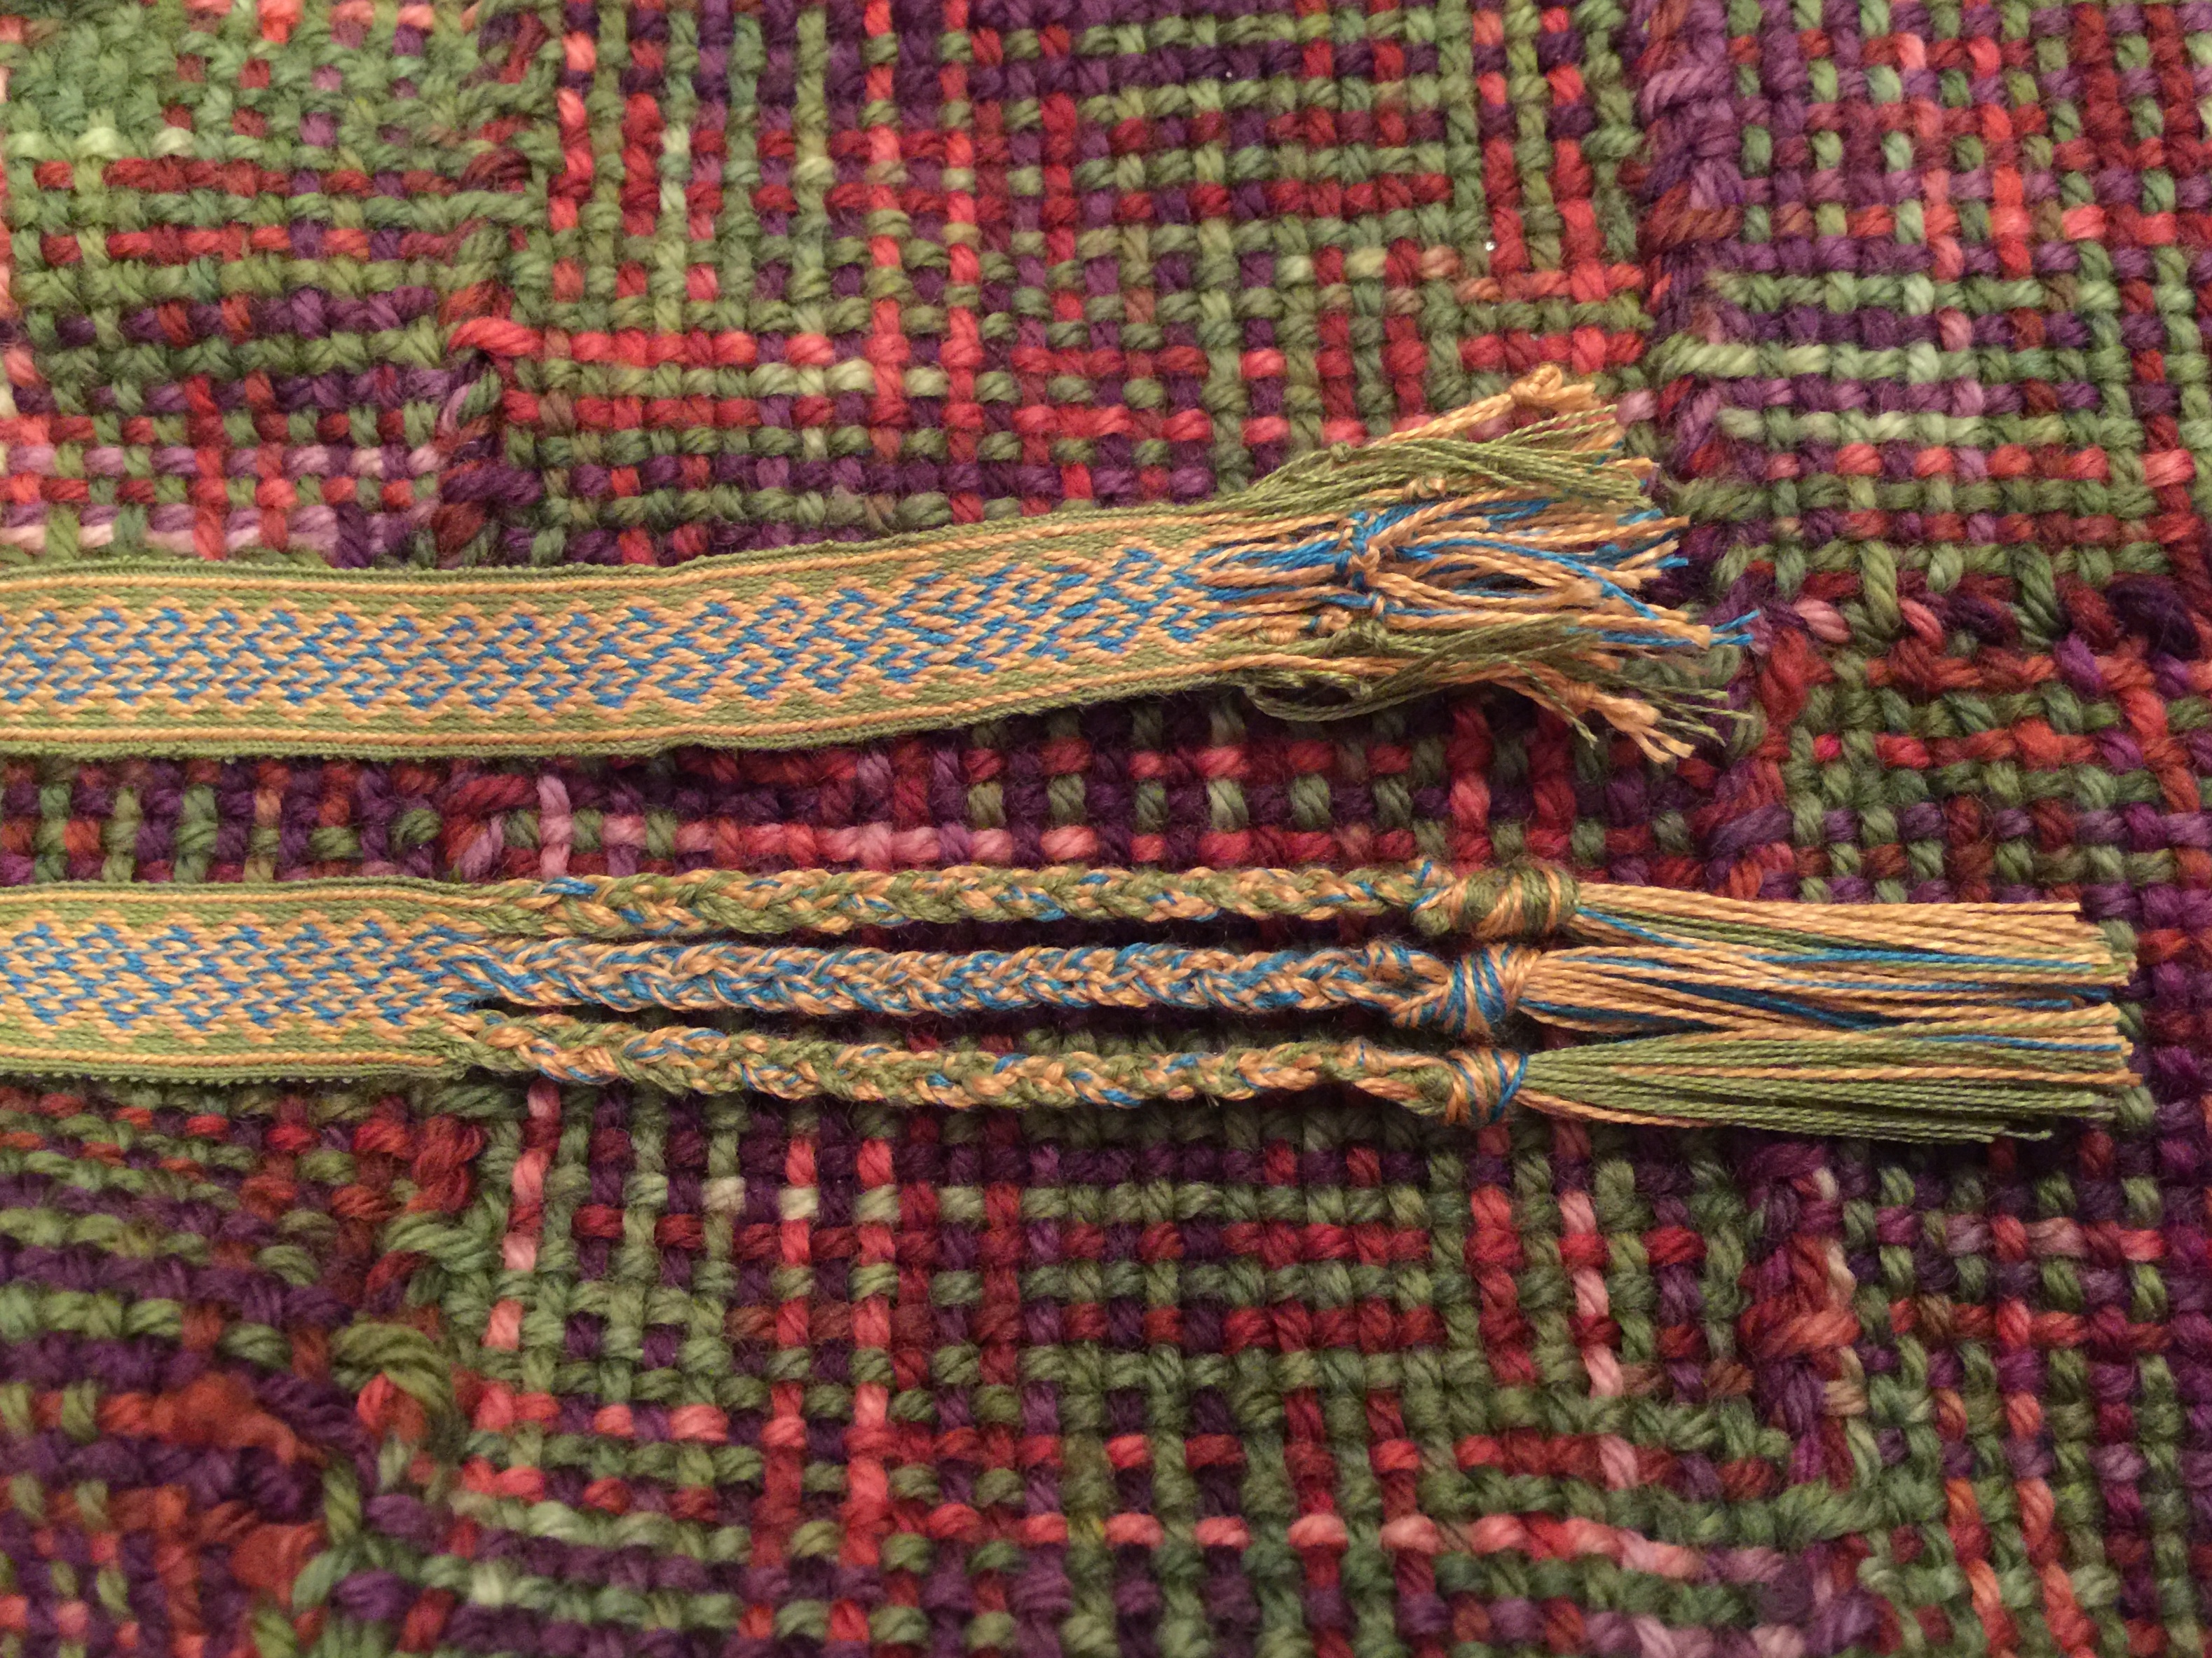
Now I cut the warp across near the weights, but leave the cards attached so they are easy to finish. Trim measures 4.5’.

There are many ways to finish the ends. I am constantly experimenting. For this trim, since it had 27 cards (3x3x3) and is intended for a neckline, I opted for braids of braids. Neat, flat, allows for extra coverage if I’m a bit short. Not too fancy, but attractive. The starting end I will probably stitch flat, with the warp extra tucked underneath.
My cards & loom are both from Palmer Looms, by way of Pine Box Traders, at Pennsic.
To attach the trim, I first finish adjusting the neckline (adding front pleat & turning over the front edge), then pin the trim to it all around.
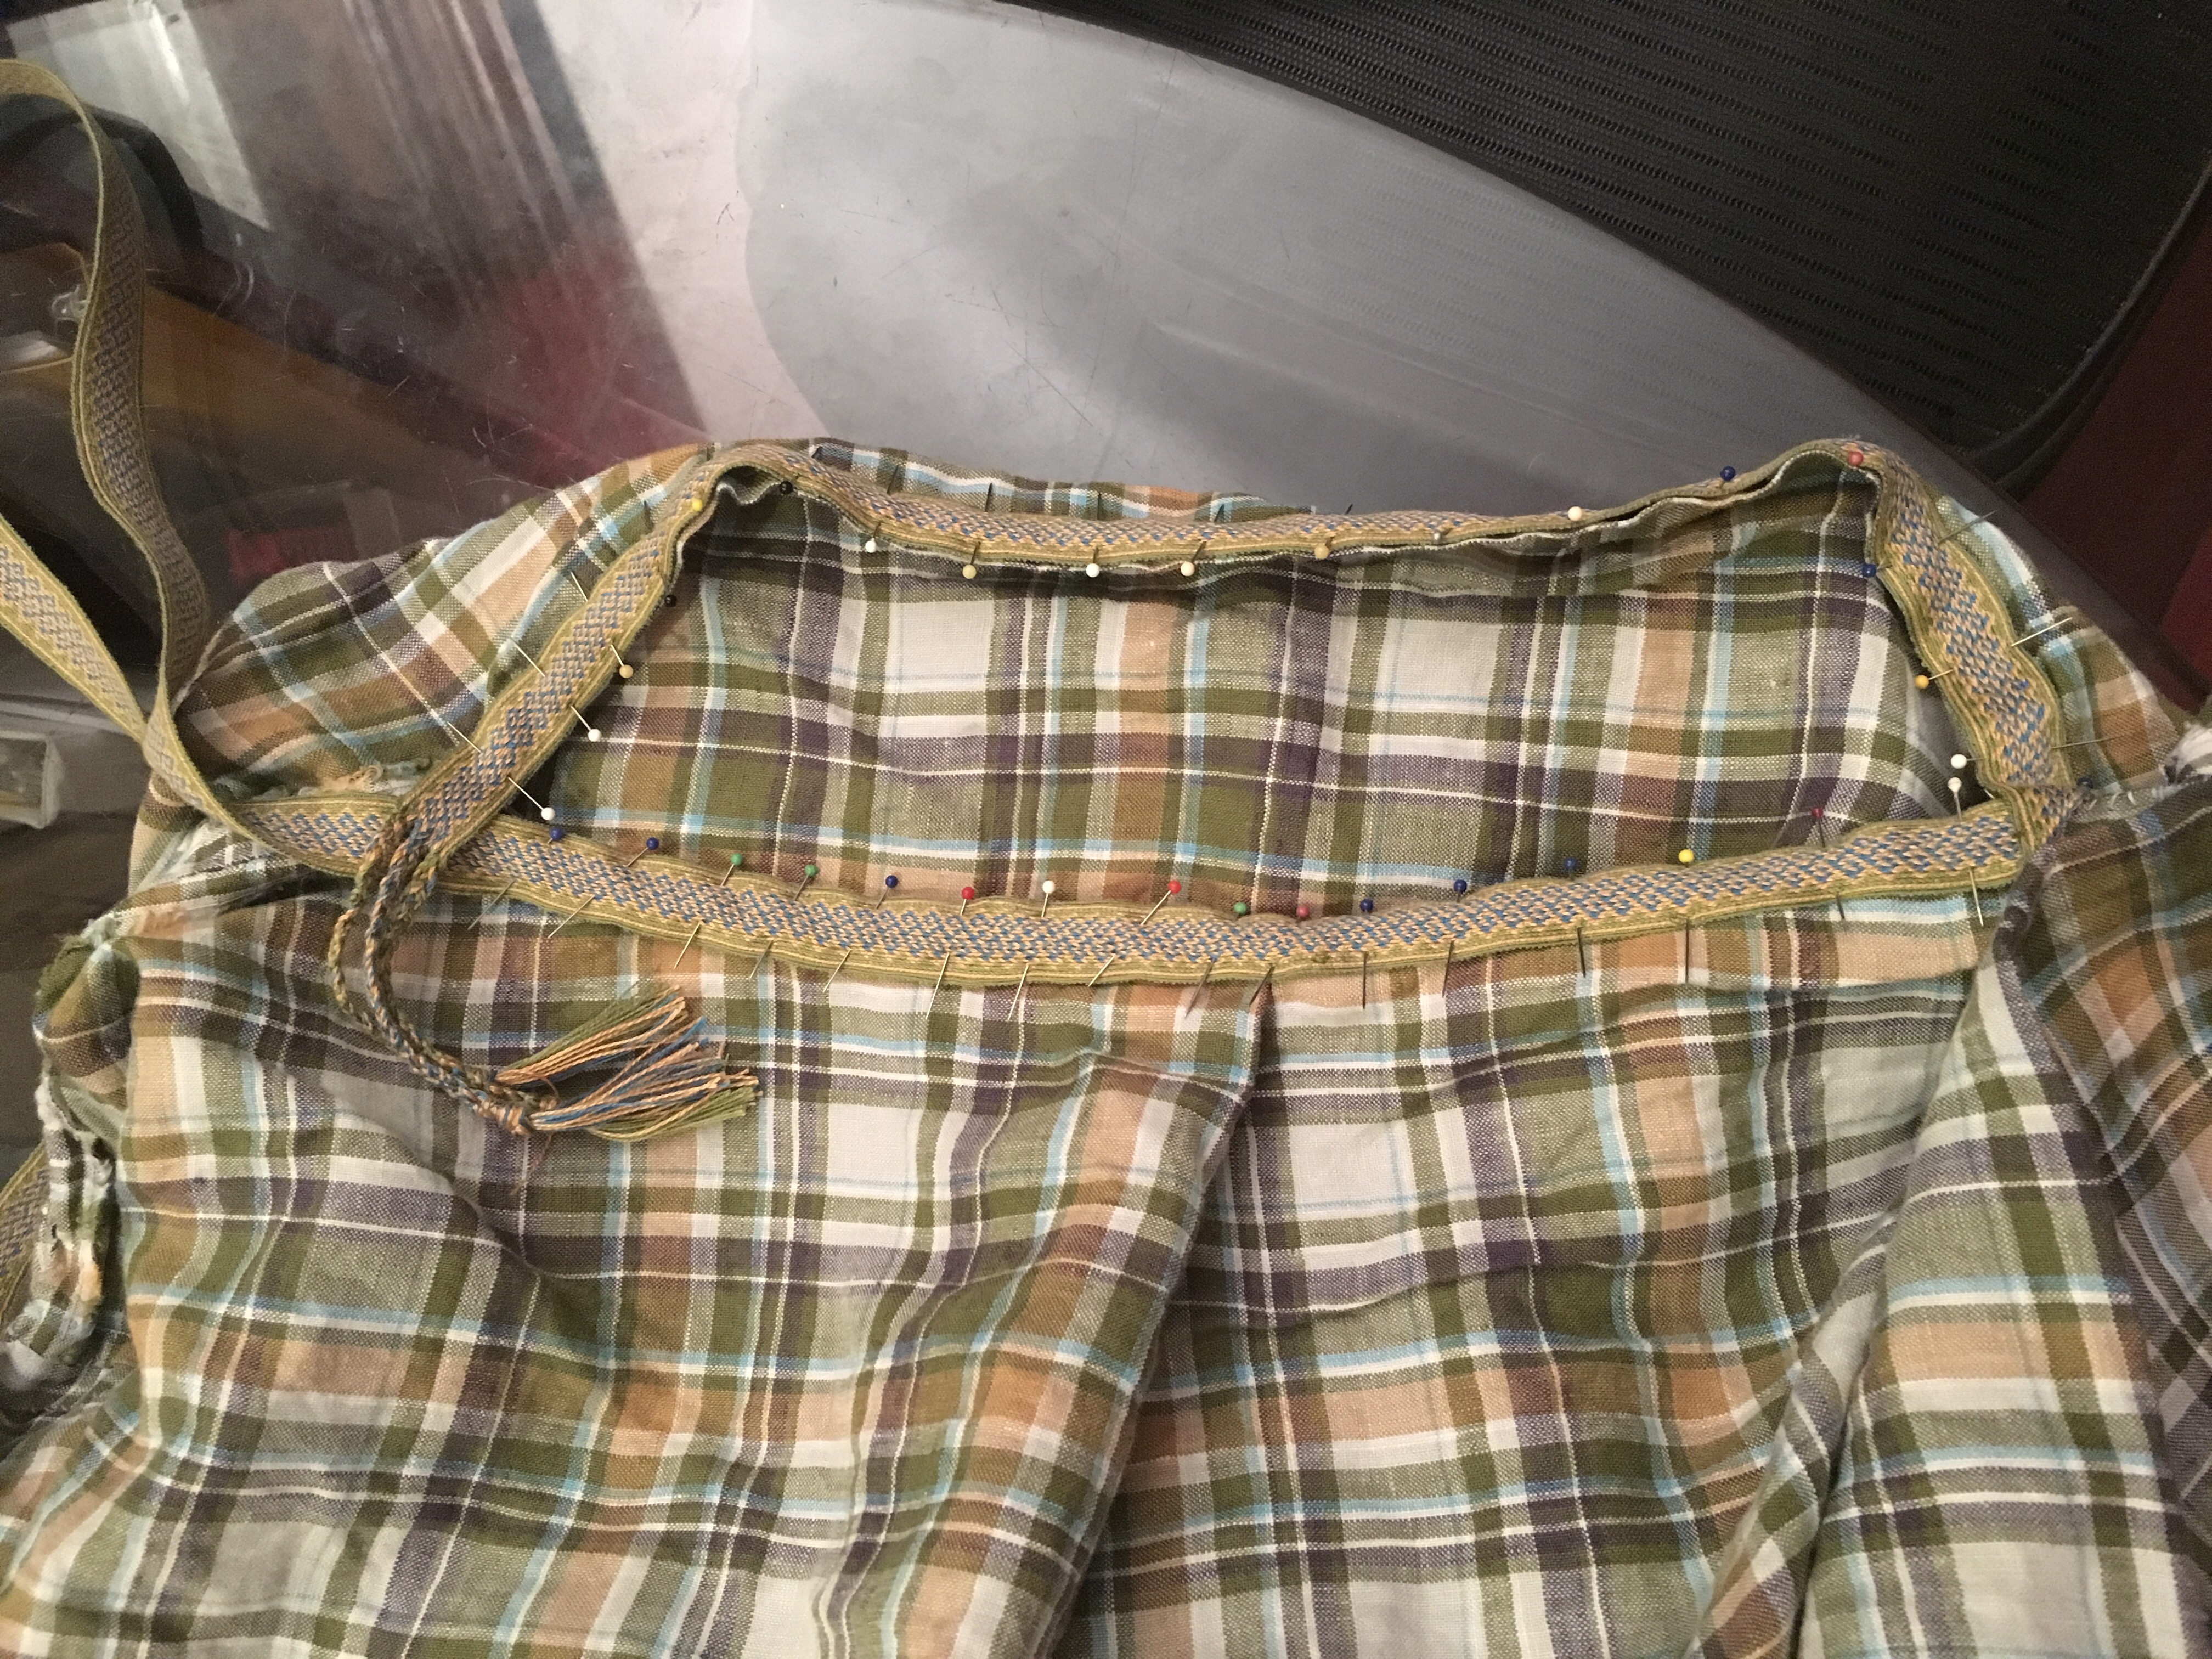
Then I whipstitch both edges, first at the top and then at the bottom. Finally, I overlap the ends, cut the trim under the overlap, and stitch everything down. Voila!

The wrists are next. I have just over 2’ of trim remaining for the sleeves, so can use about a foot on each one. The sleeves are currently 18” wide, but do not taper. I have wrist clasps, and will use them to snug up the difference.