For local service to our SCA group, the Crown Province of Østgarðr, the viceregents hand out seastar charms. This past Sunday, our canton of Brokenbridge (Brooklyn, NY) had a class on ‘what to do with your seastar collection!?” I demonstrated how to attach charms to cords, 3 ways: using a secondary thread (lucet cord with a gimp), pre-threading onto the working thread (kumihimo), and incorporating them as you go (fingerloop braiding).
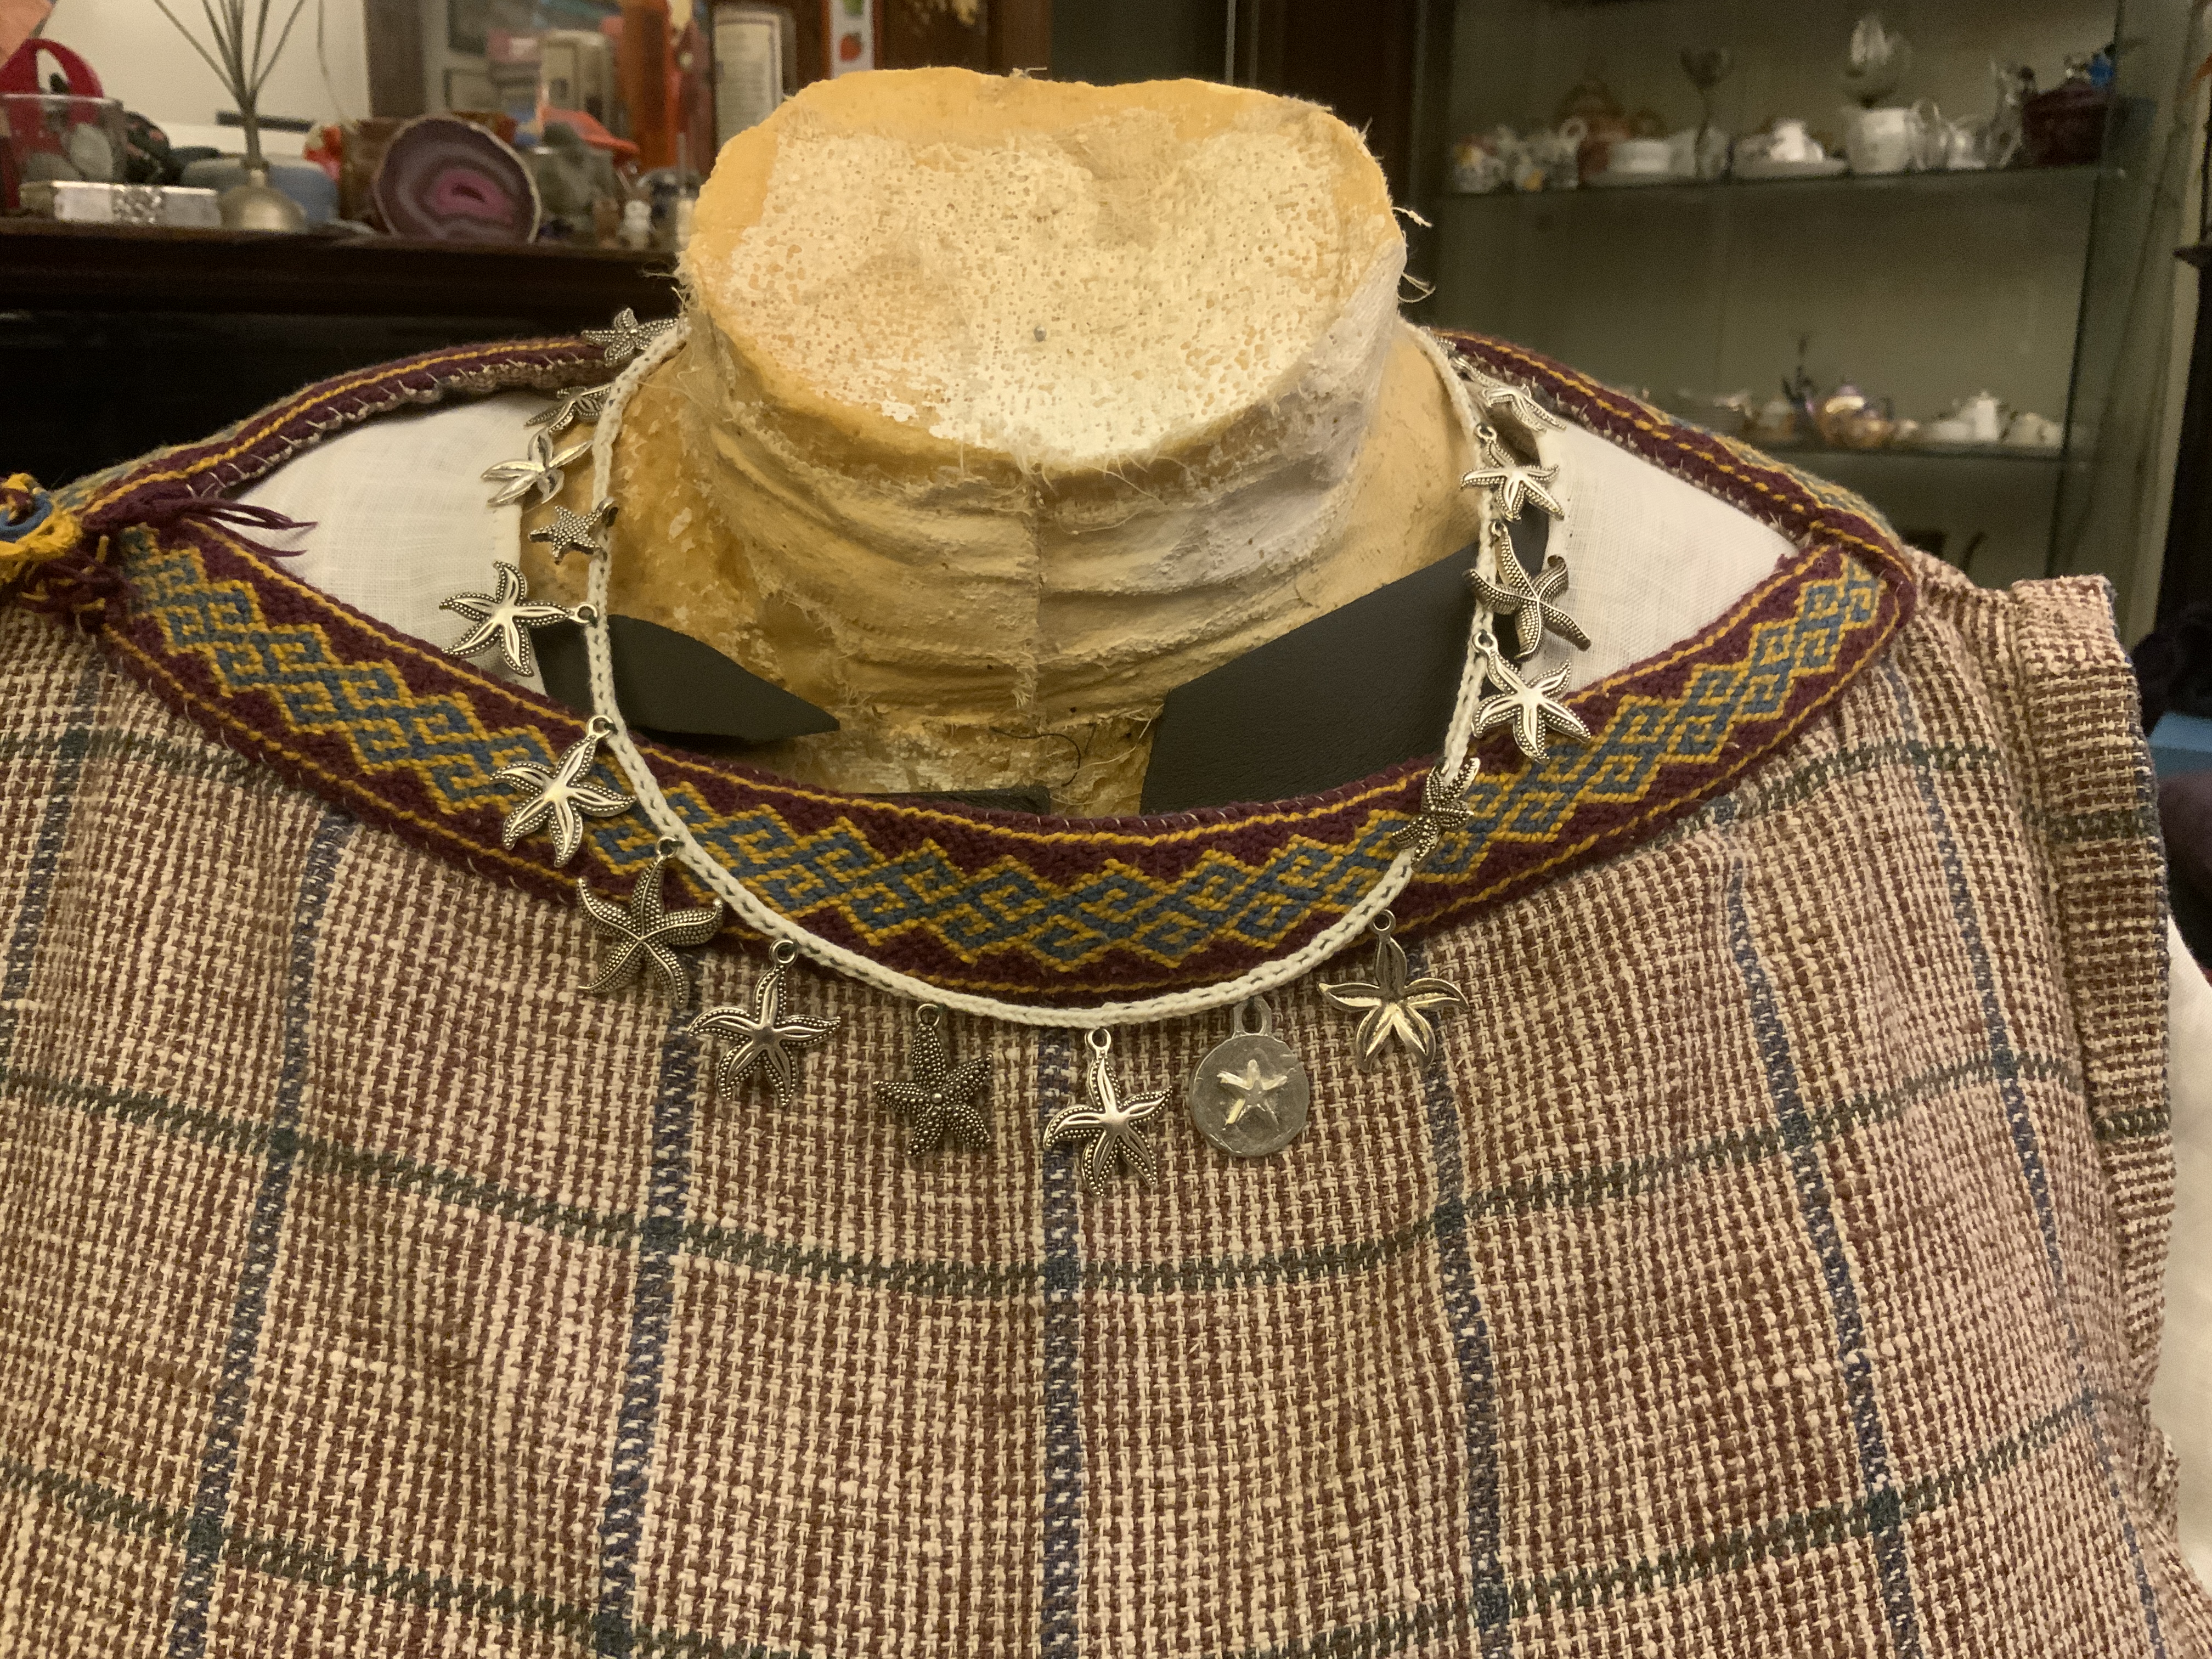
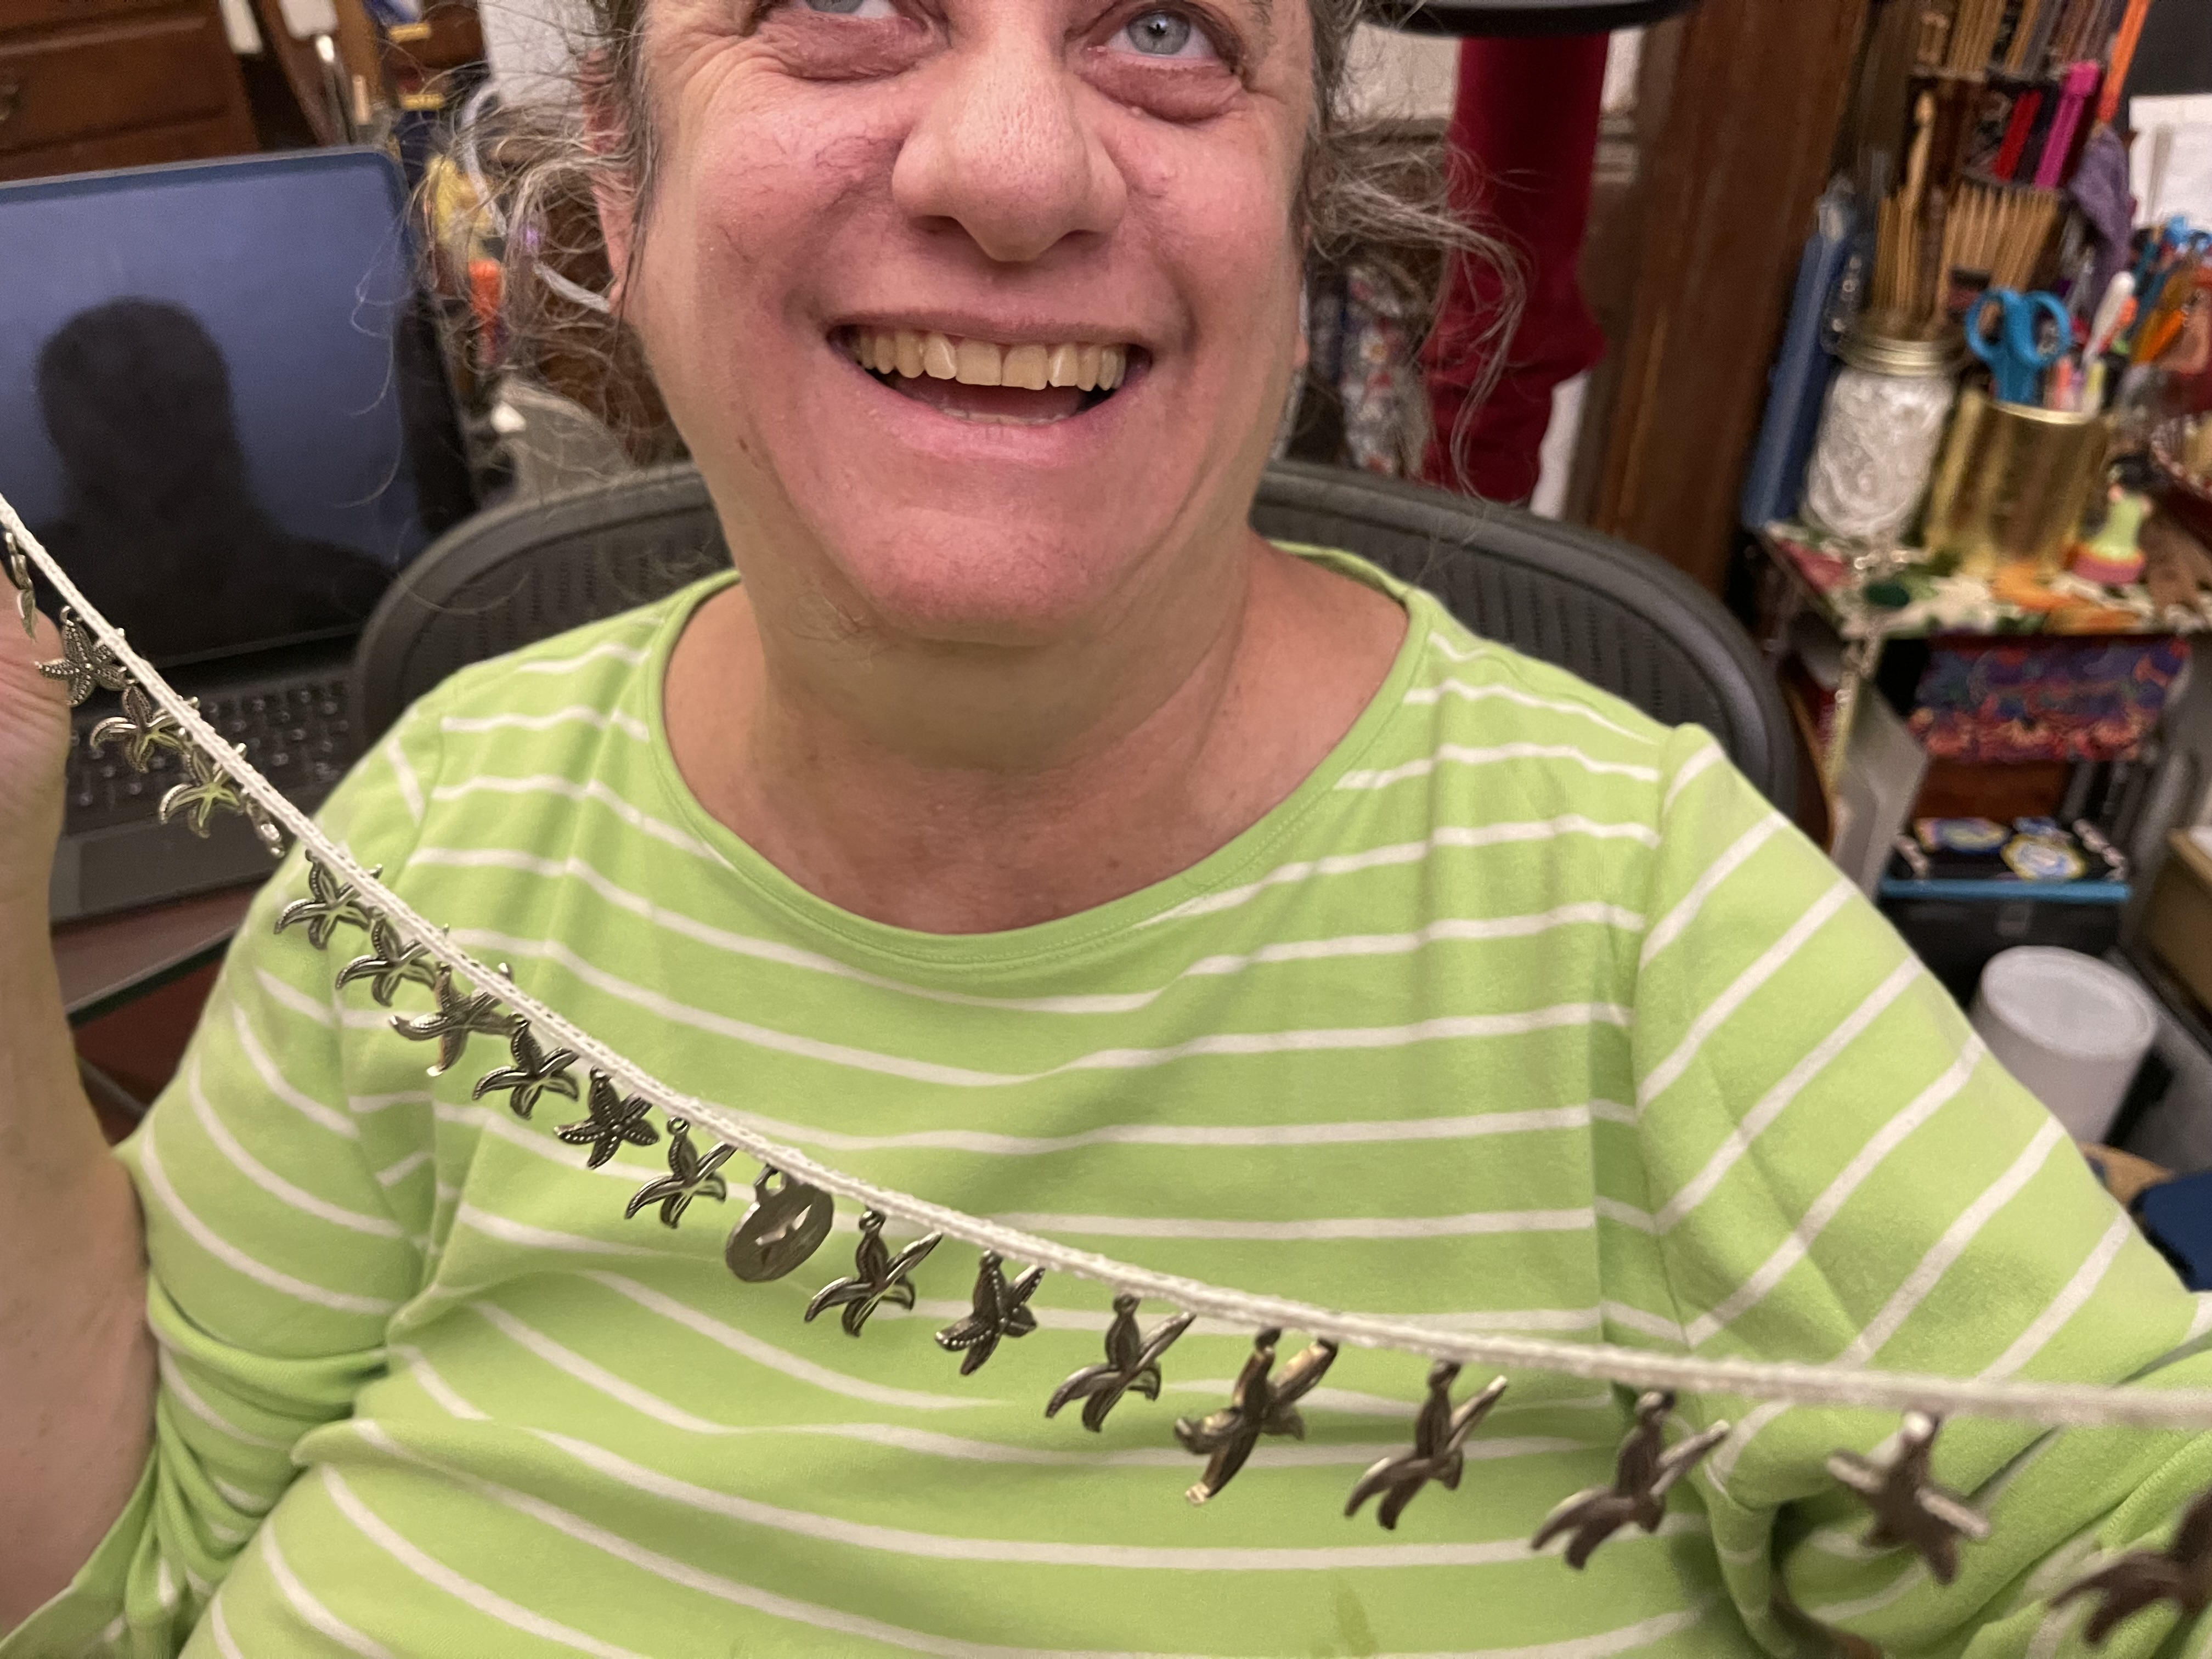
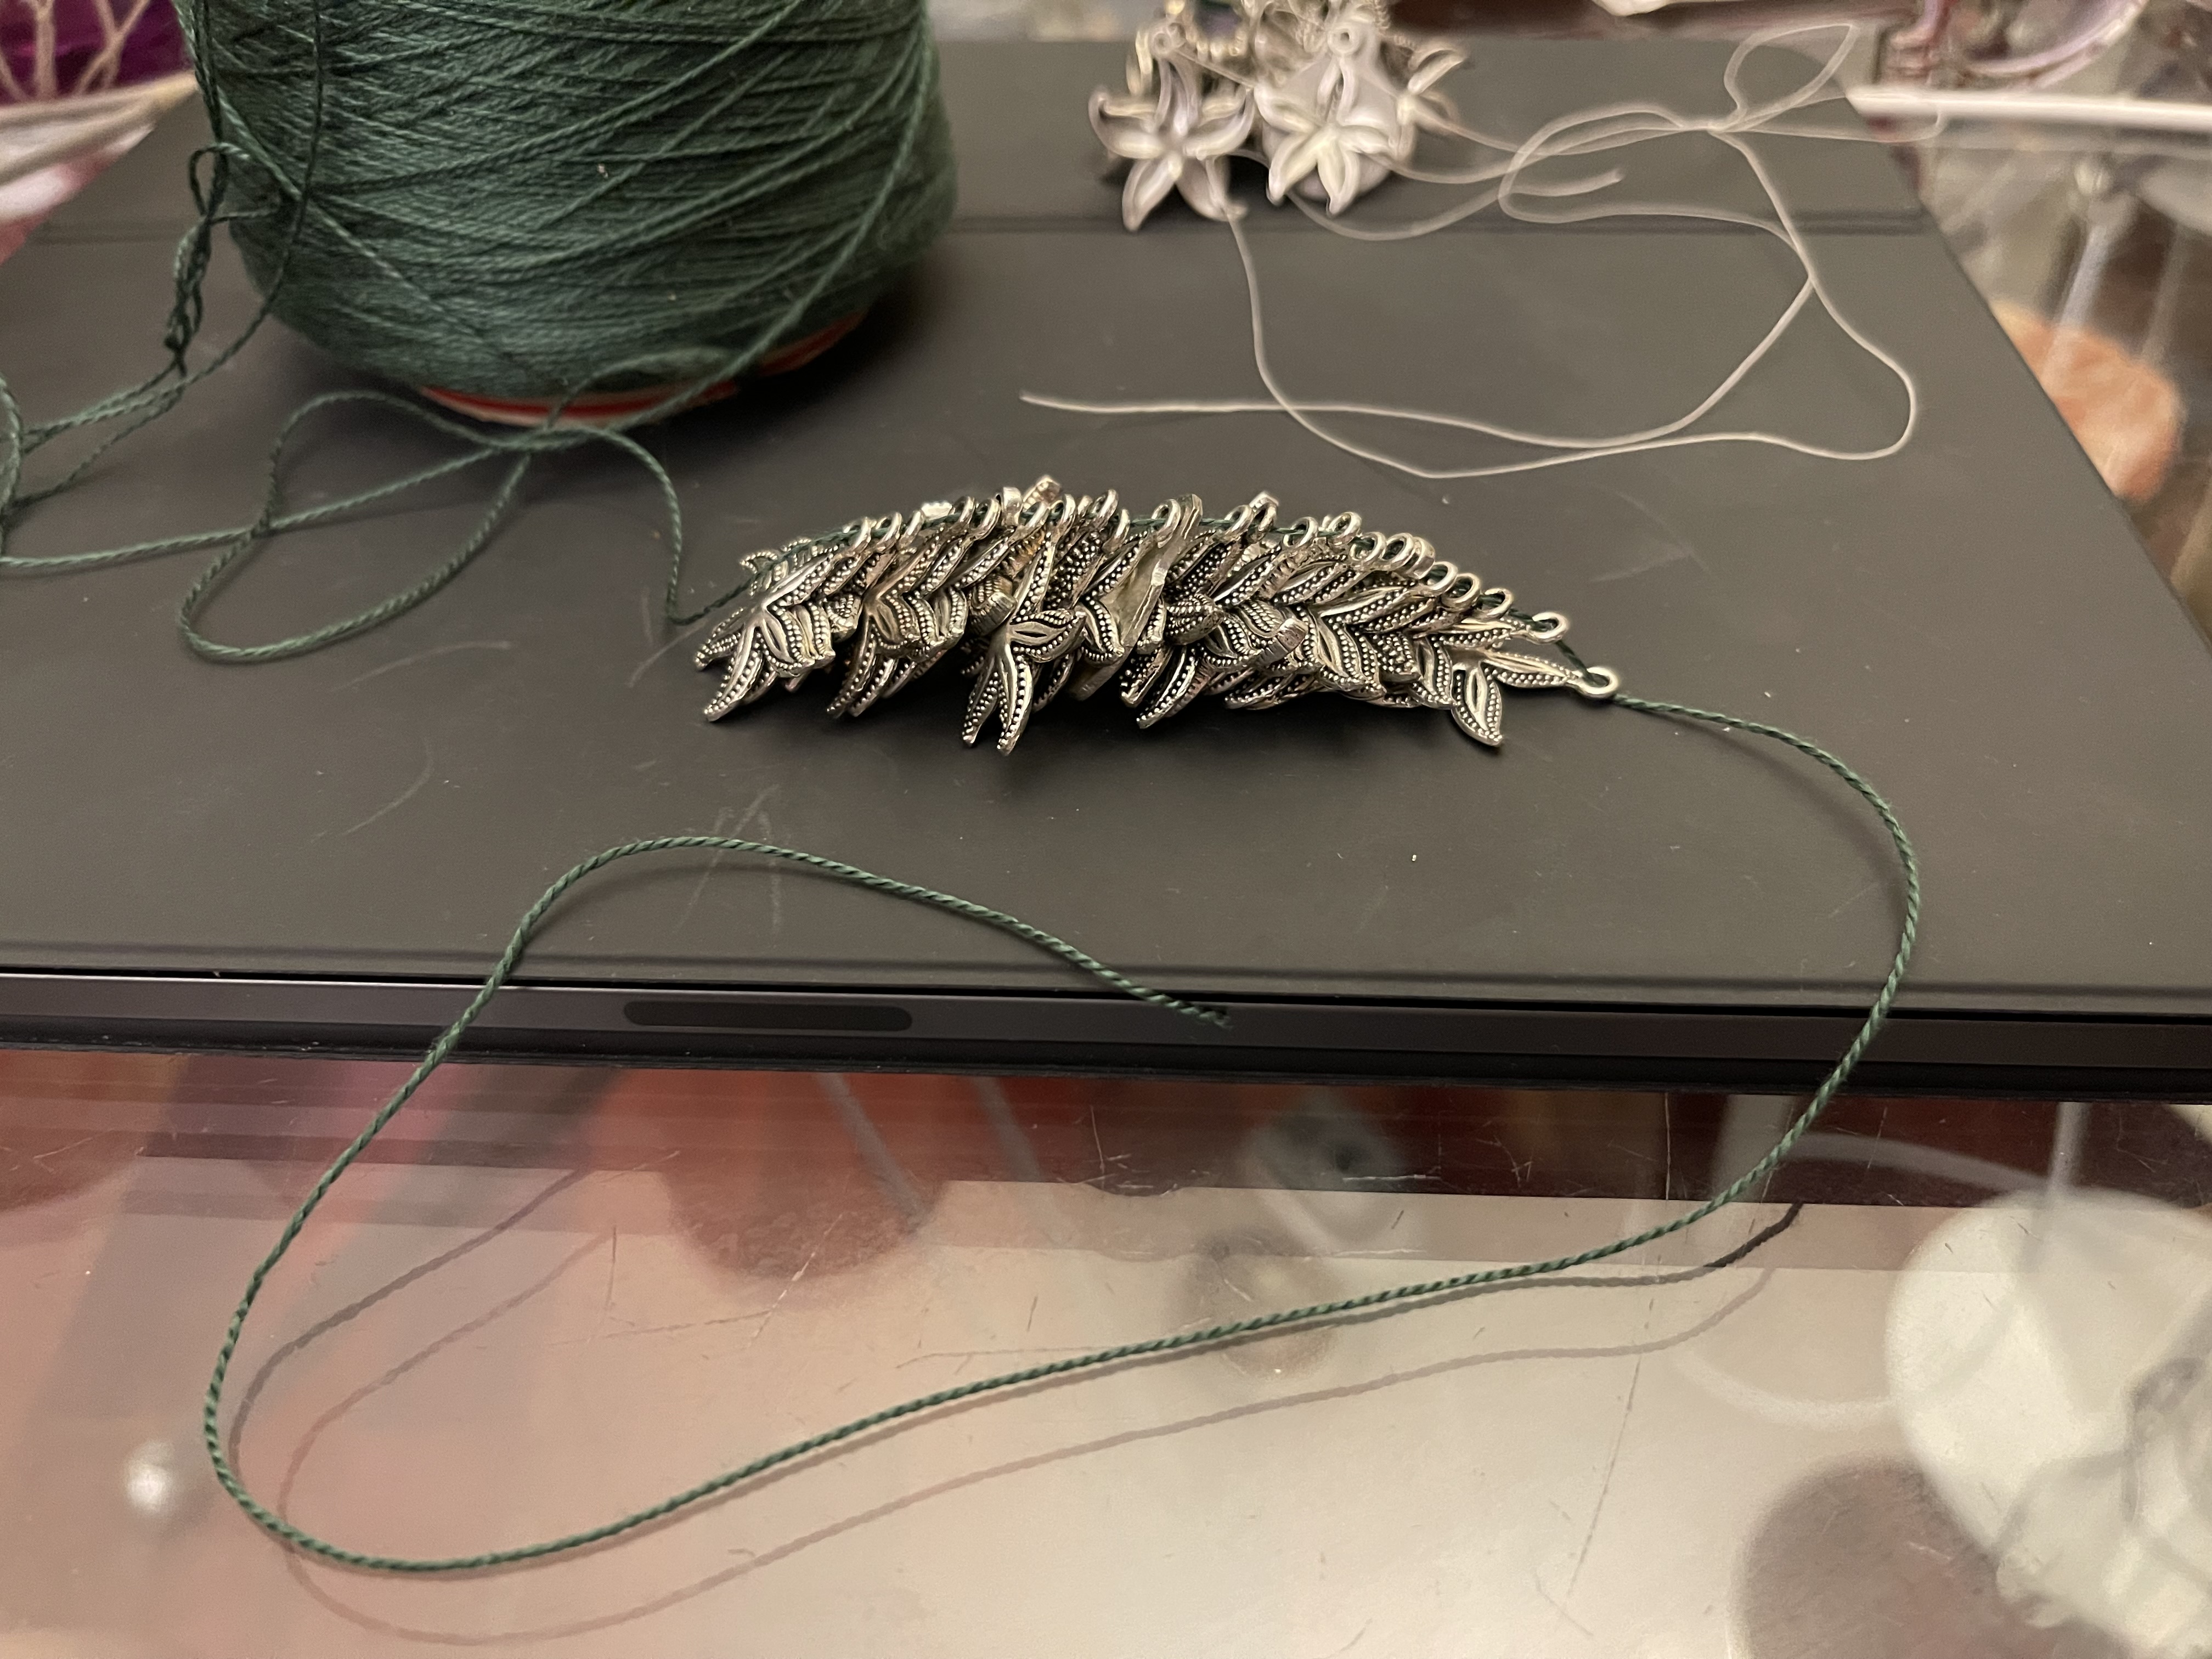
Here’s how the lucet cord turned out:
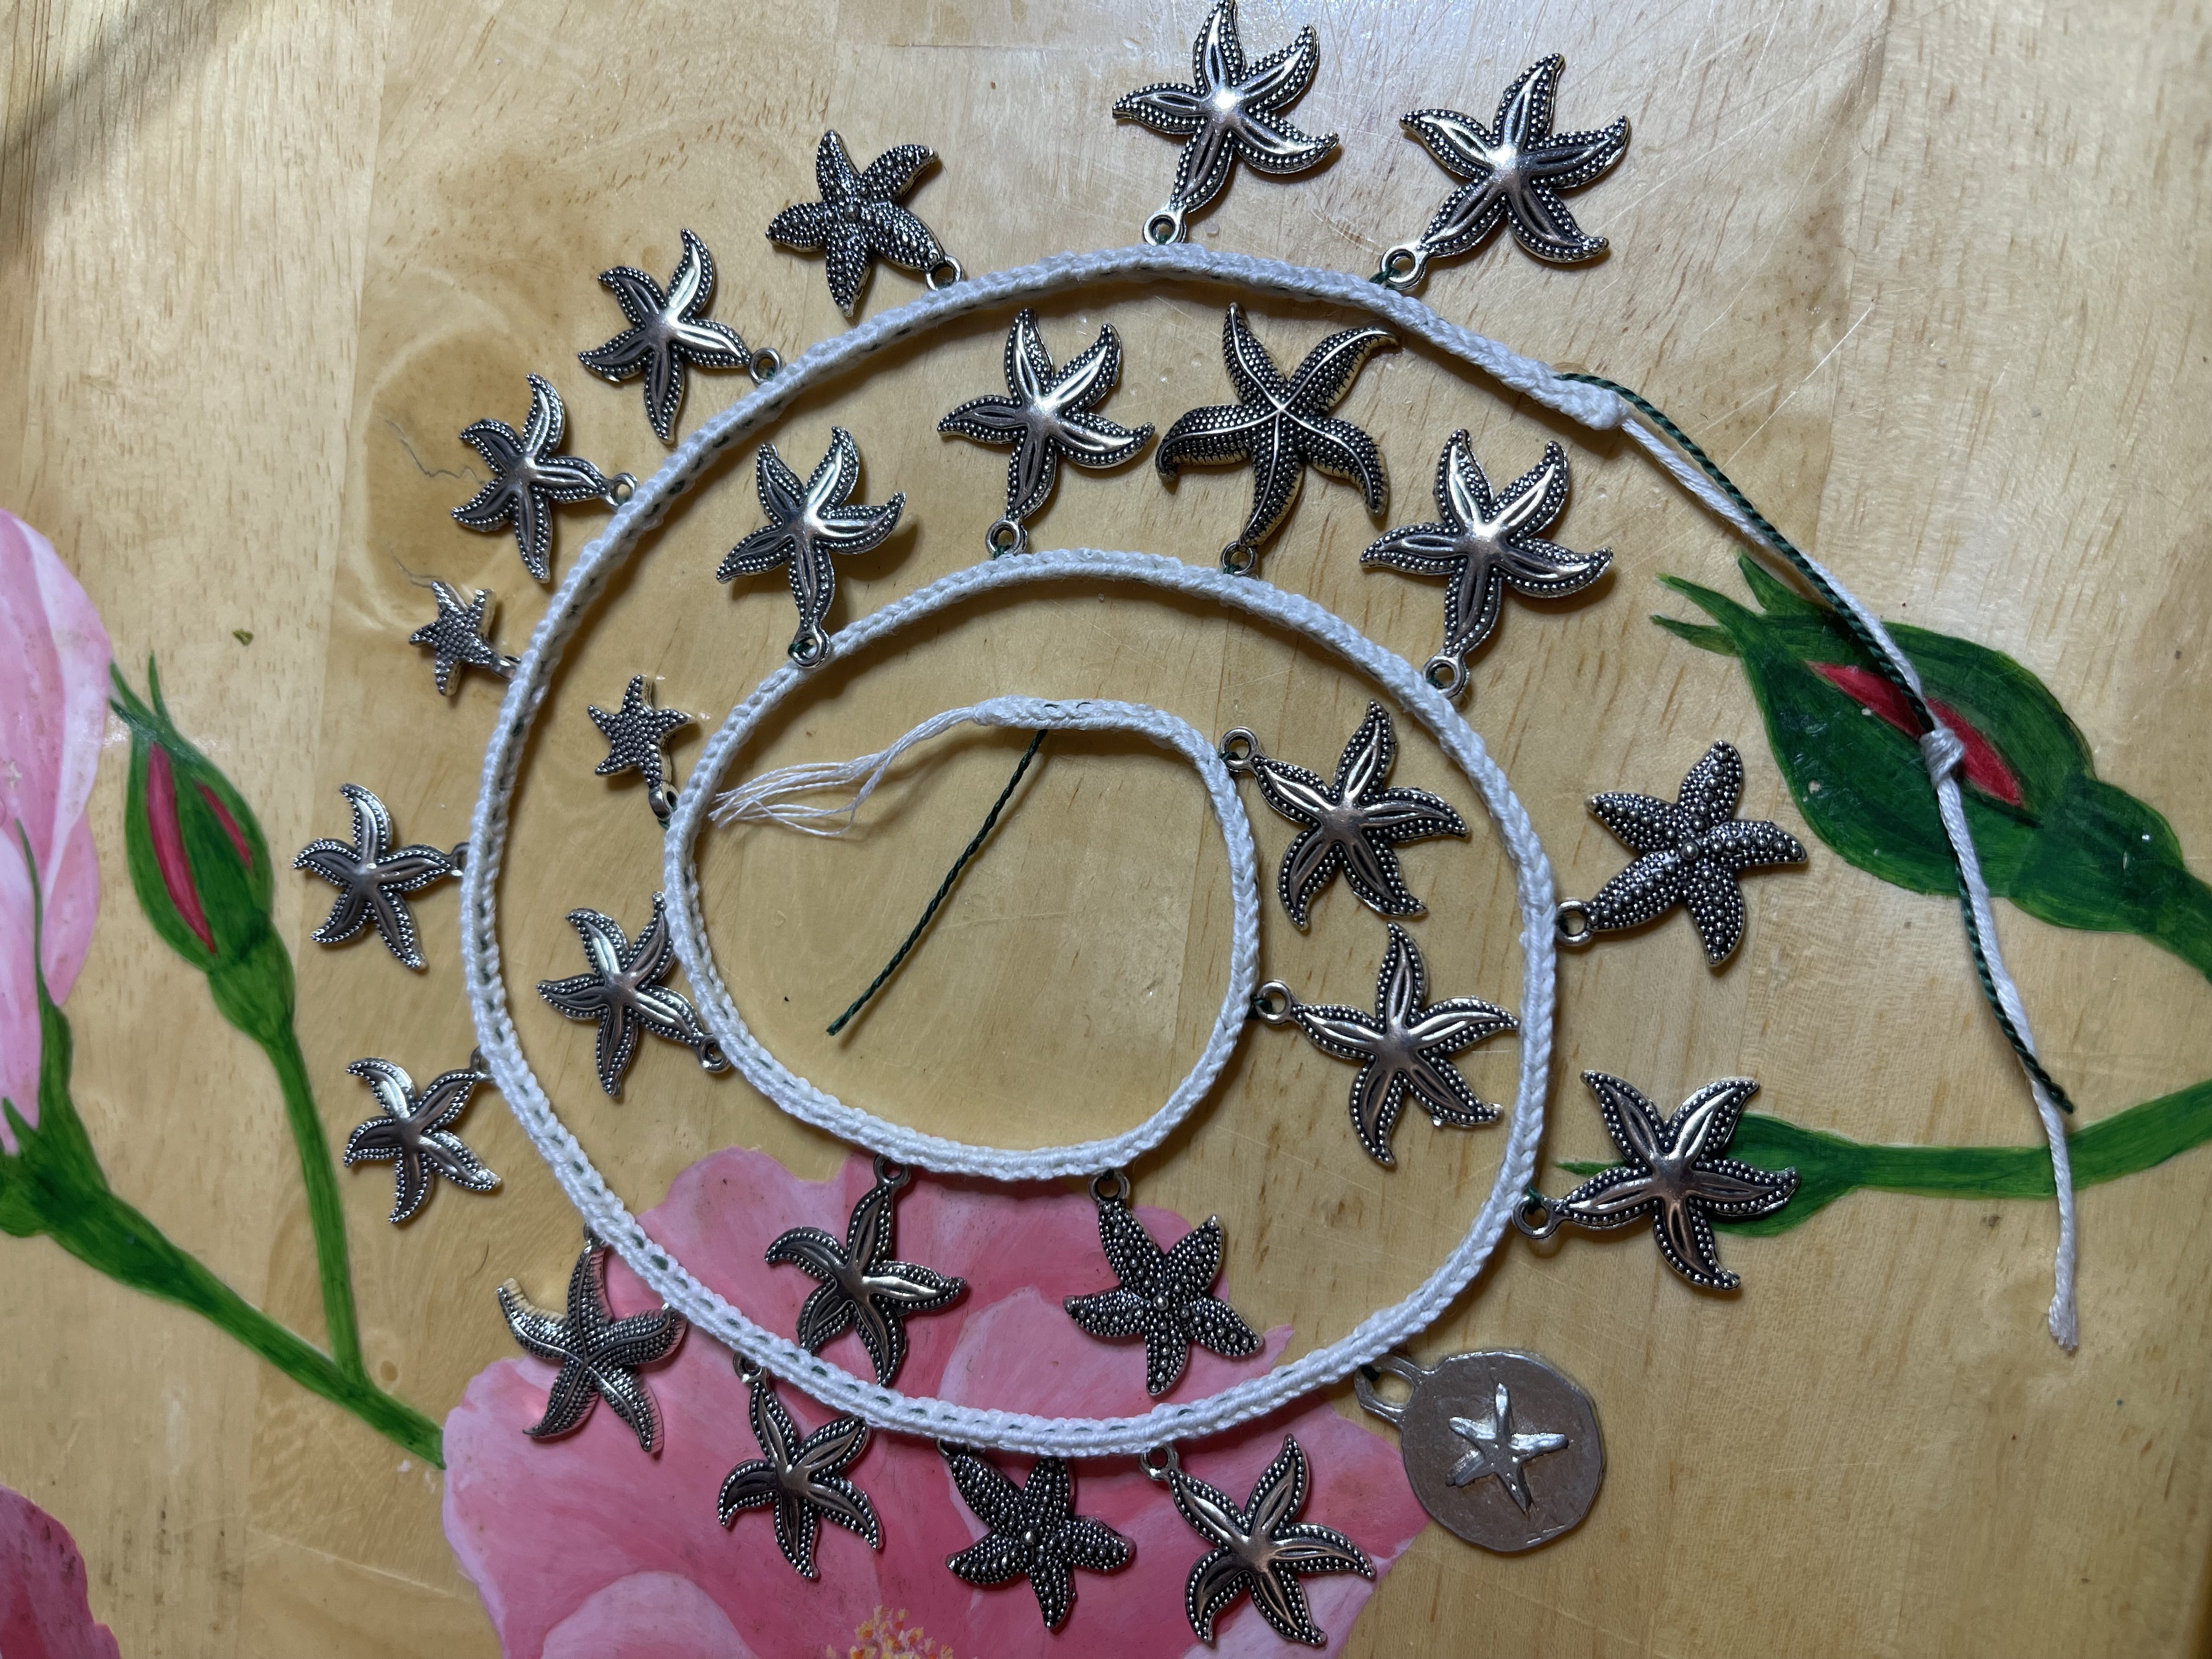

And here is how you do it! You will making a lucet cord with one ball of thread, and incorporating the charms using a different thread, which will show as dots on two sides of your square cord.
Advantages/characteristics of working with lucet cord: the square cord is easy to stitch to things, your tension is not distorted by the weight of the charms, the pattern is easy to count & maintain spacing. Infinite lengths are possible, you do not have to cut to length but can work from the balls (base cord thread and gimp). The base and gimp can be different fiber types / thicknesses. Only the gimp thread needs to fit through the seastar hole.
This particular pattern took 3.5 minutes per segment as worked (5 dots in between seastars). I worked the entire cord in about 2 hours total.

Begin working your lucet cord in the usual fashion, then start incorporating your gimp. You will need to make several passes with the gimp to lock it in place before you start moving your charms into position. For this pattern, I chose to make 2 lucet stitches, and then pass the gimp across the worked section to the other side, work 2 stitches, pass the gimp back, continue.
Because I don’t turn my lucet, my cord handling is simplified. I work the upper and lower arms of the lucet, drop the base cord, pass the gimp from front to back, pick up the base cord and wrap it over the upper and lower arms, work those 2 stitches, drop the base cord, and then pass the gimp from back to front.

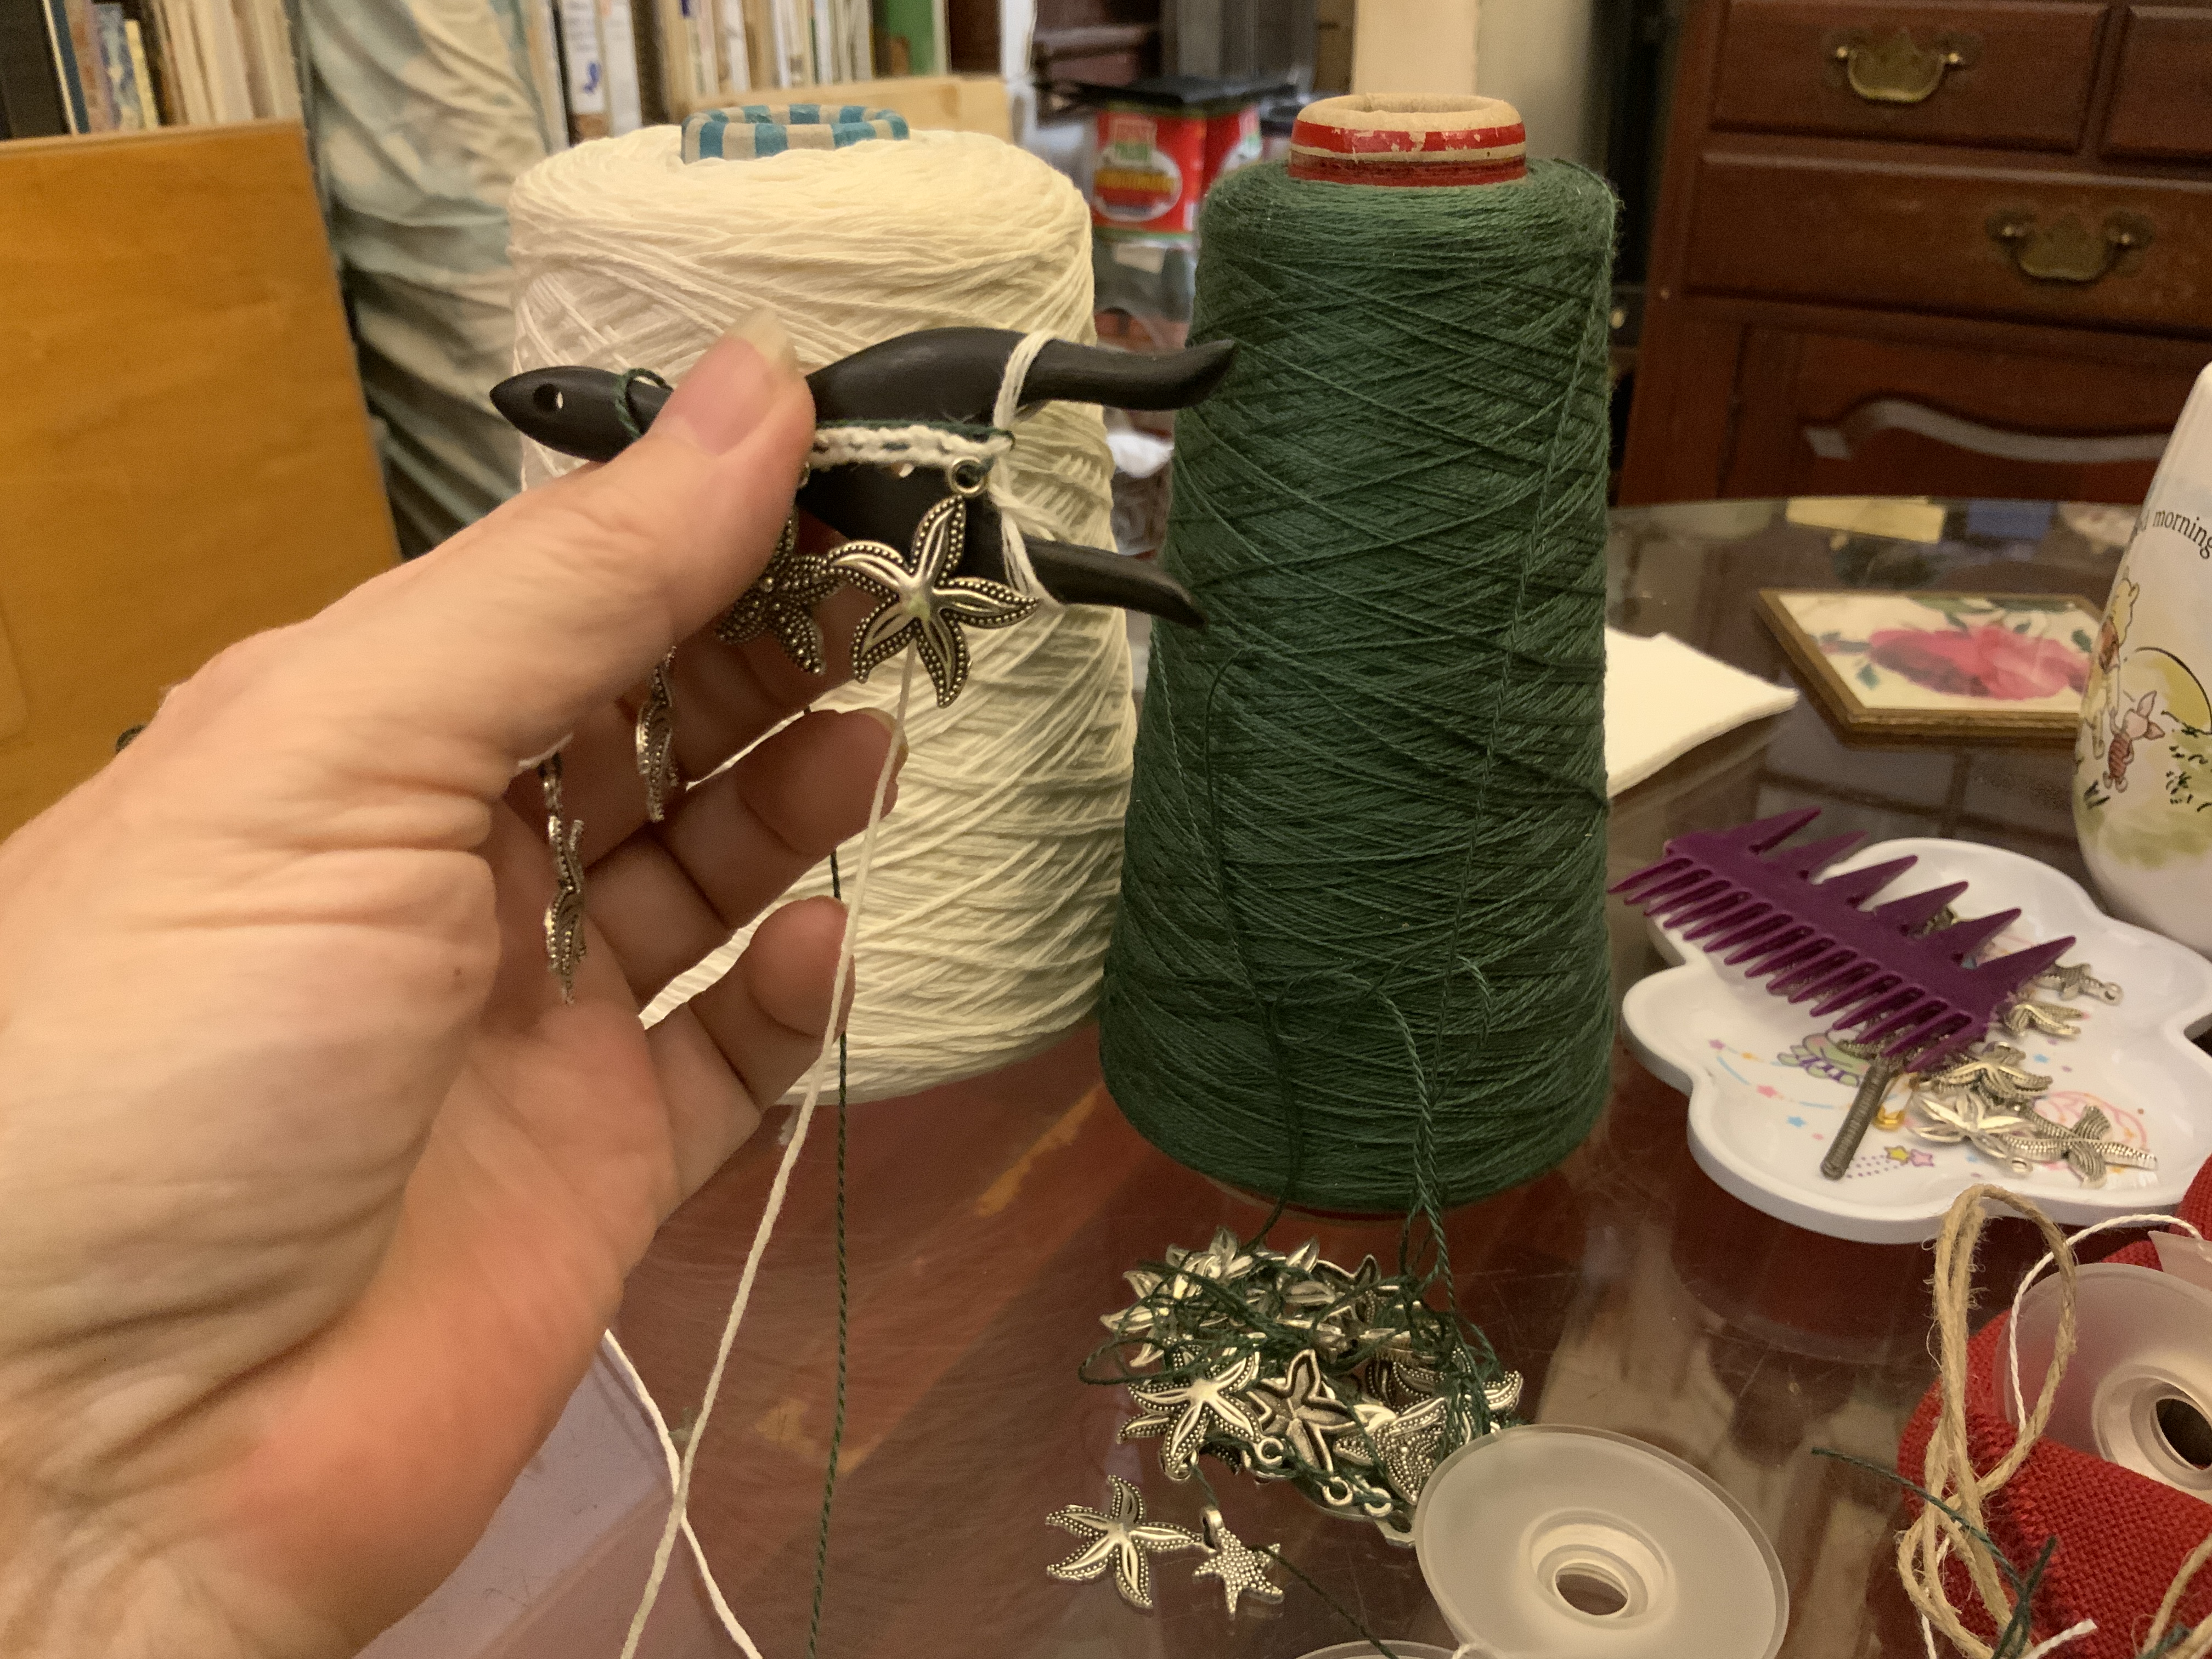


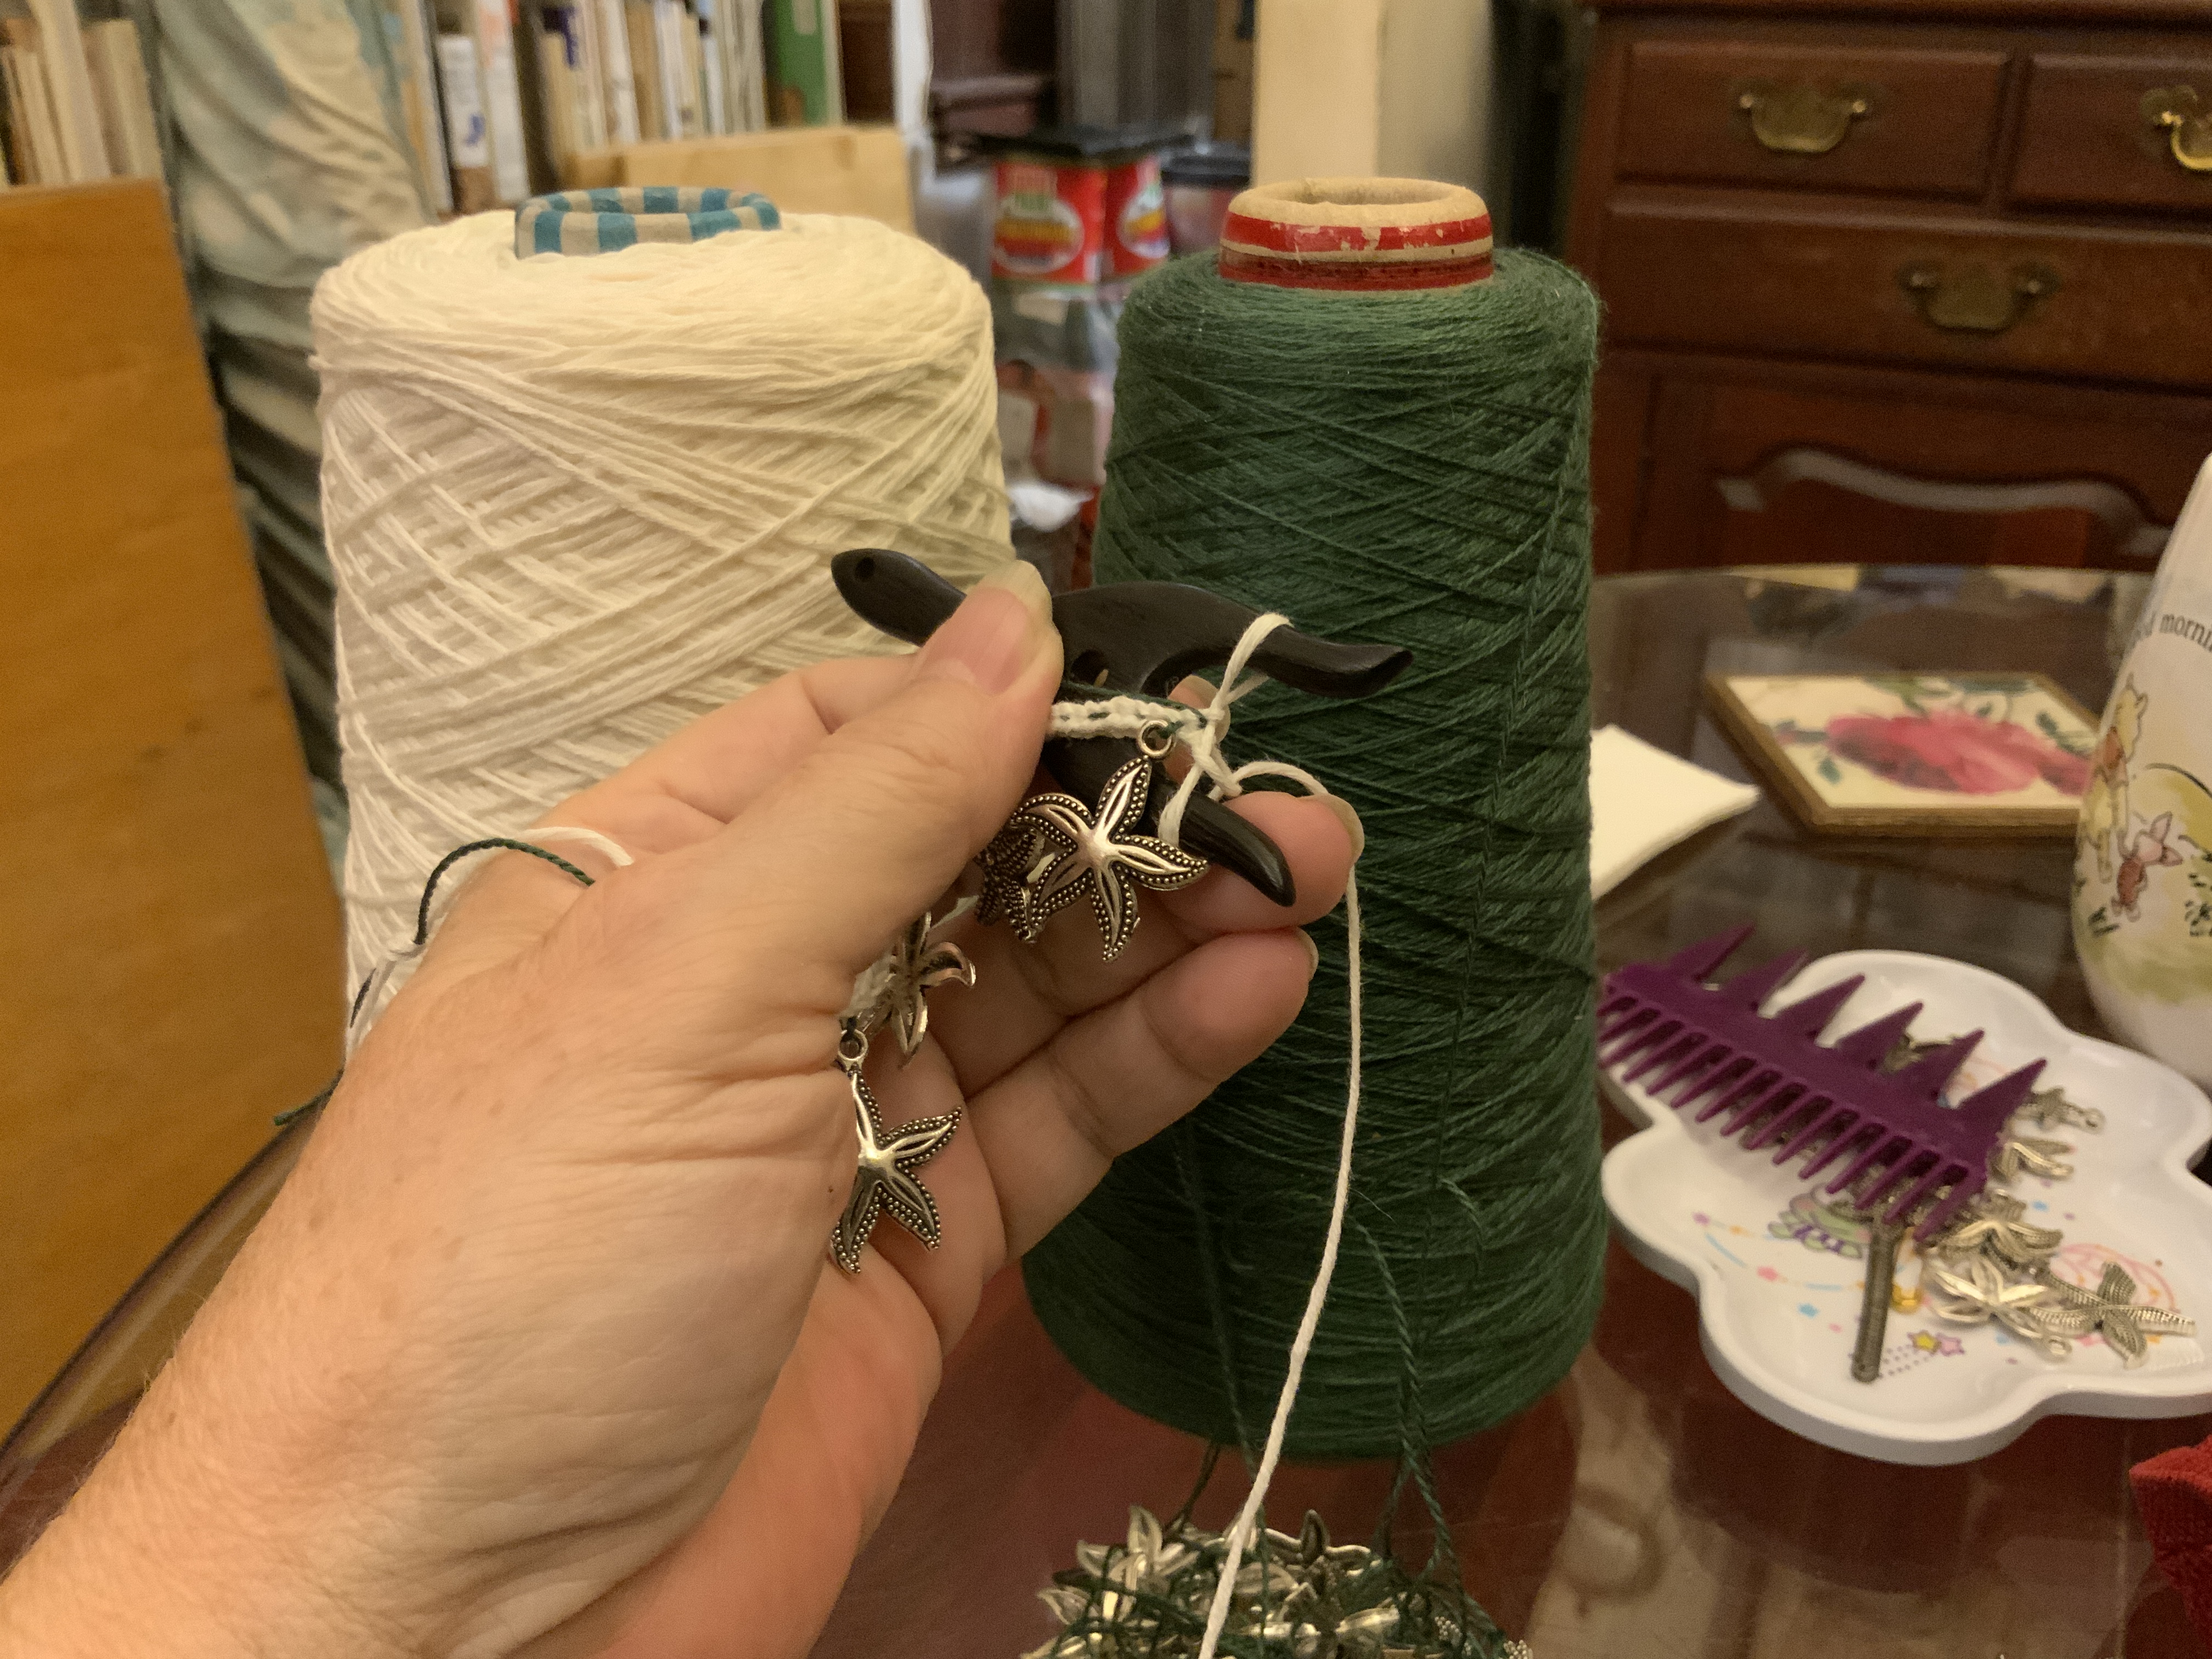
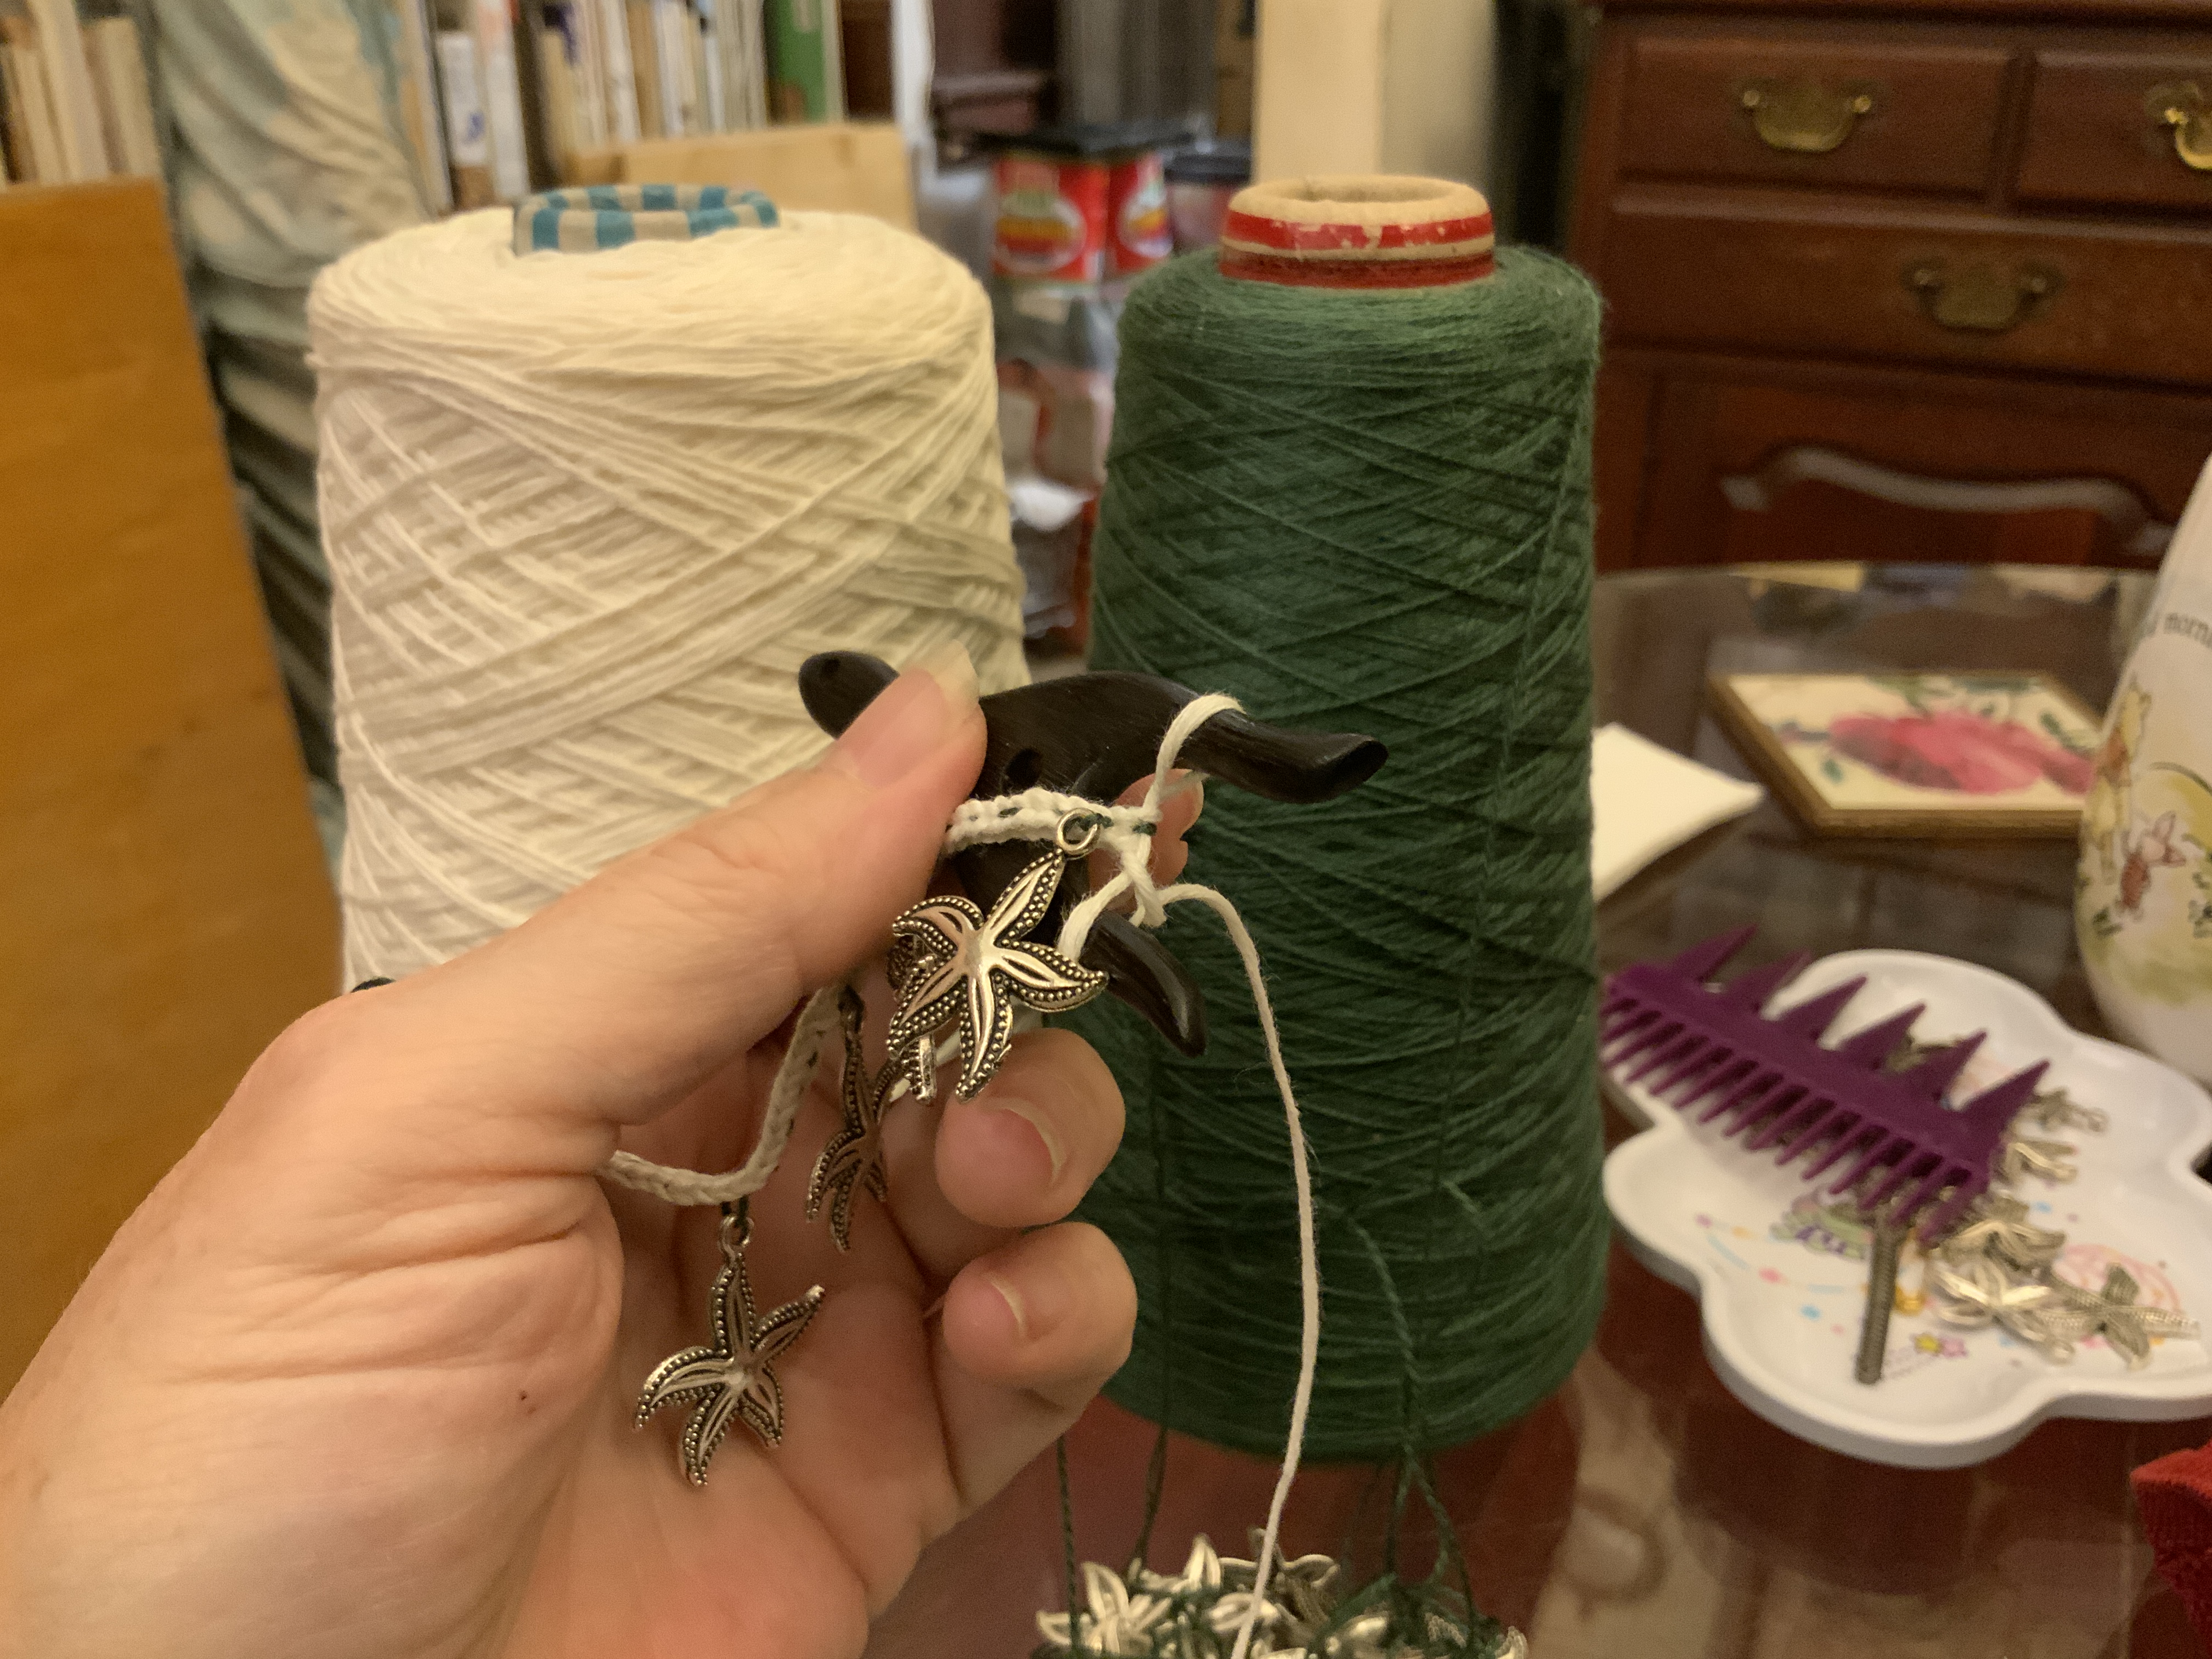
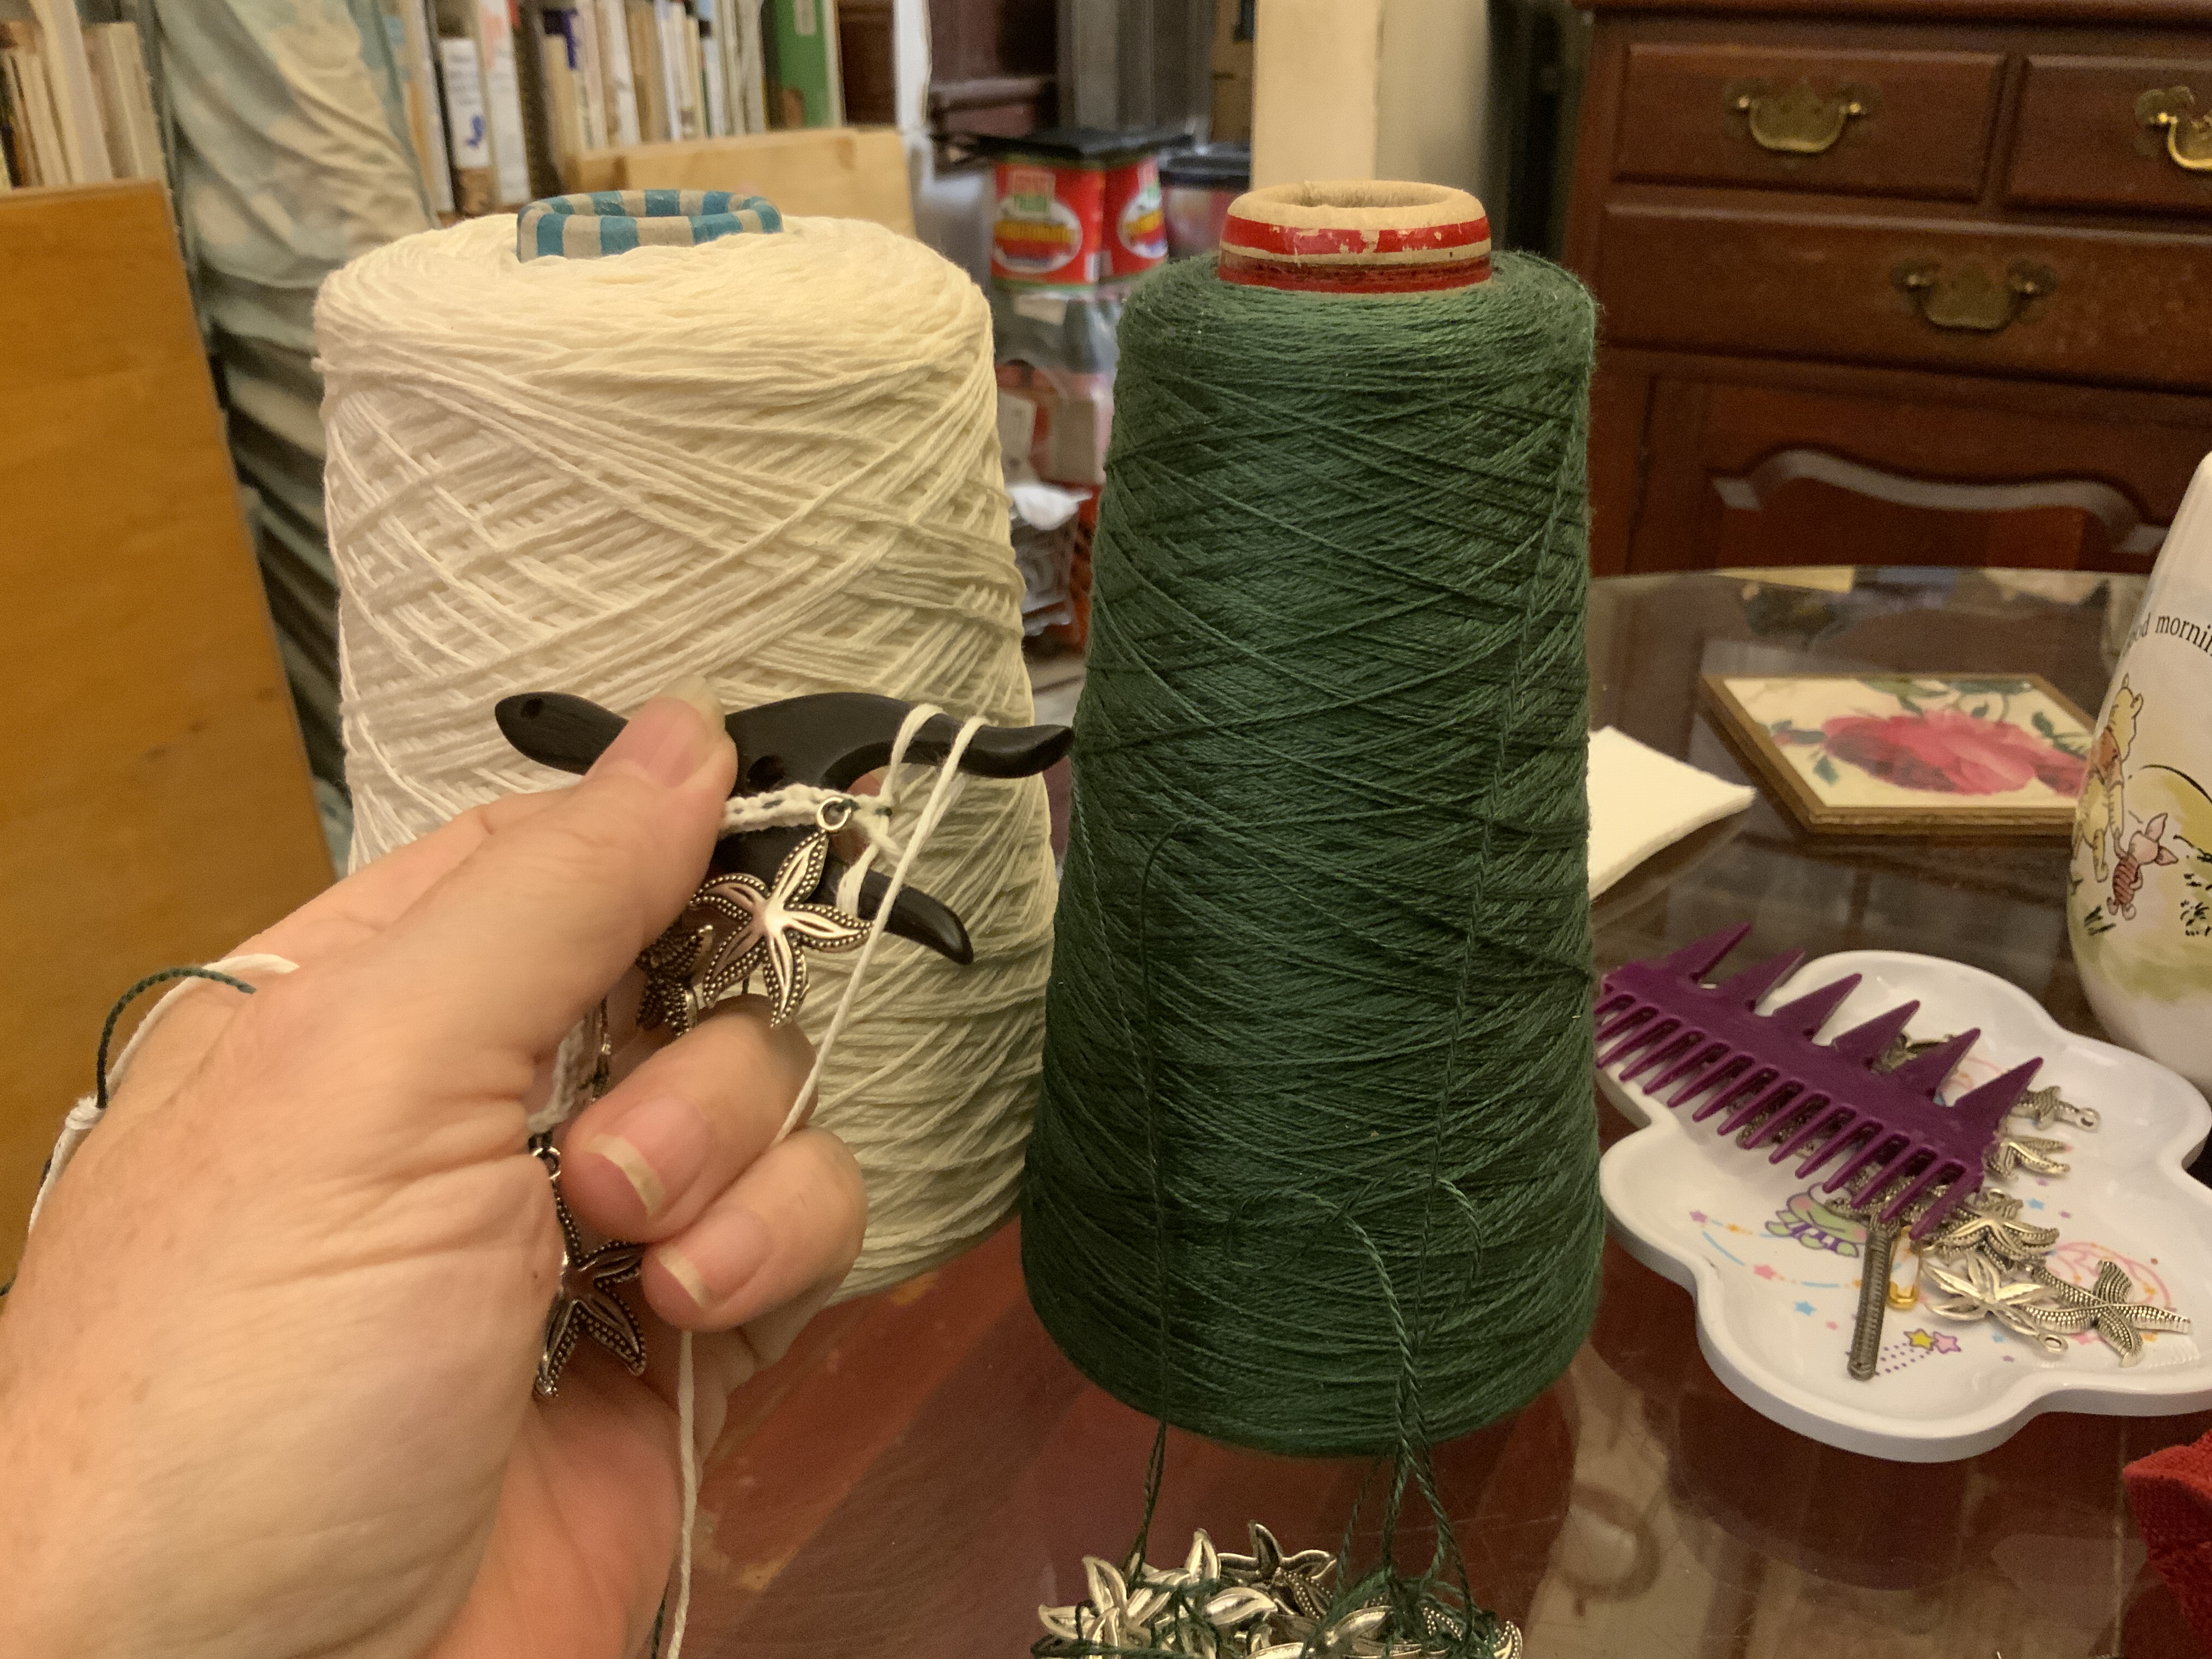
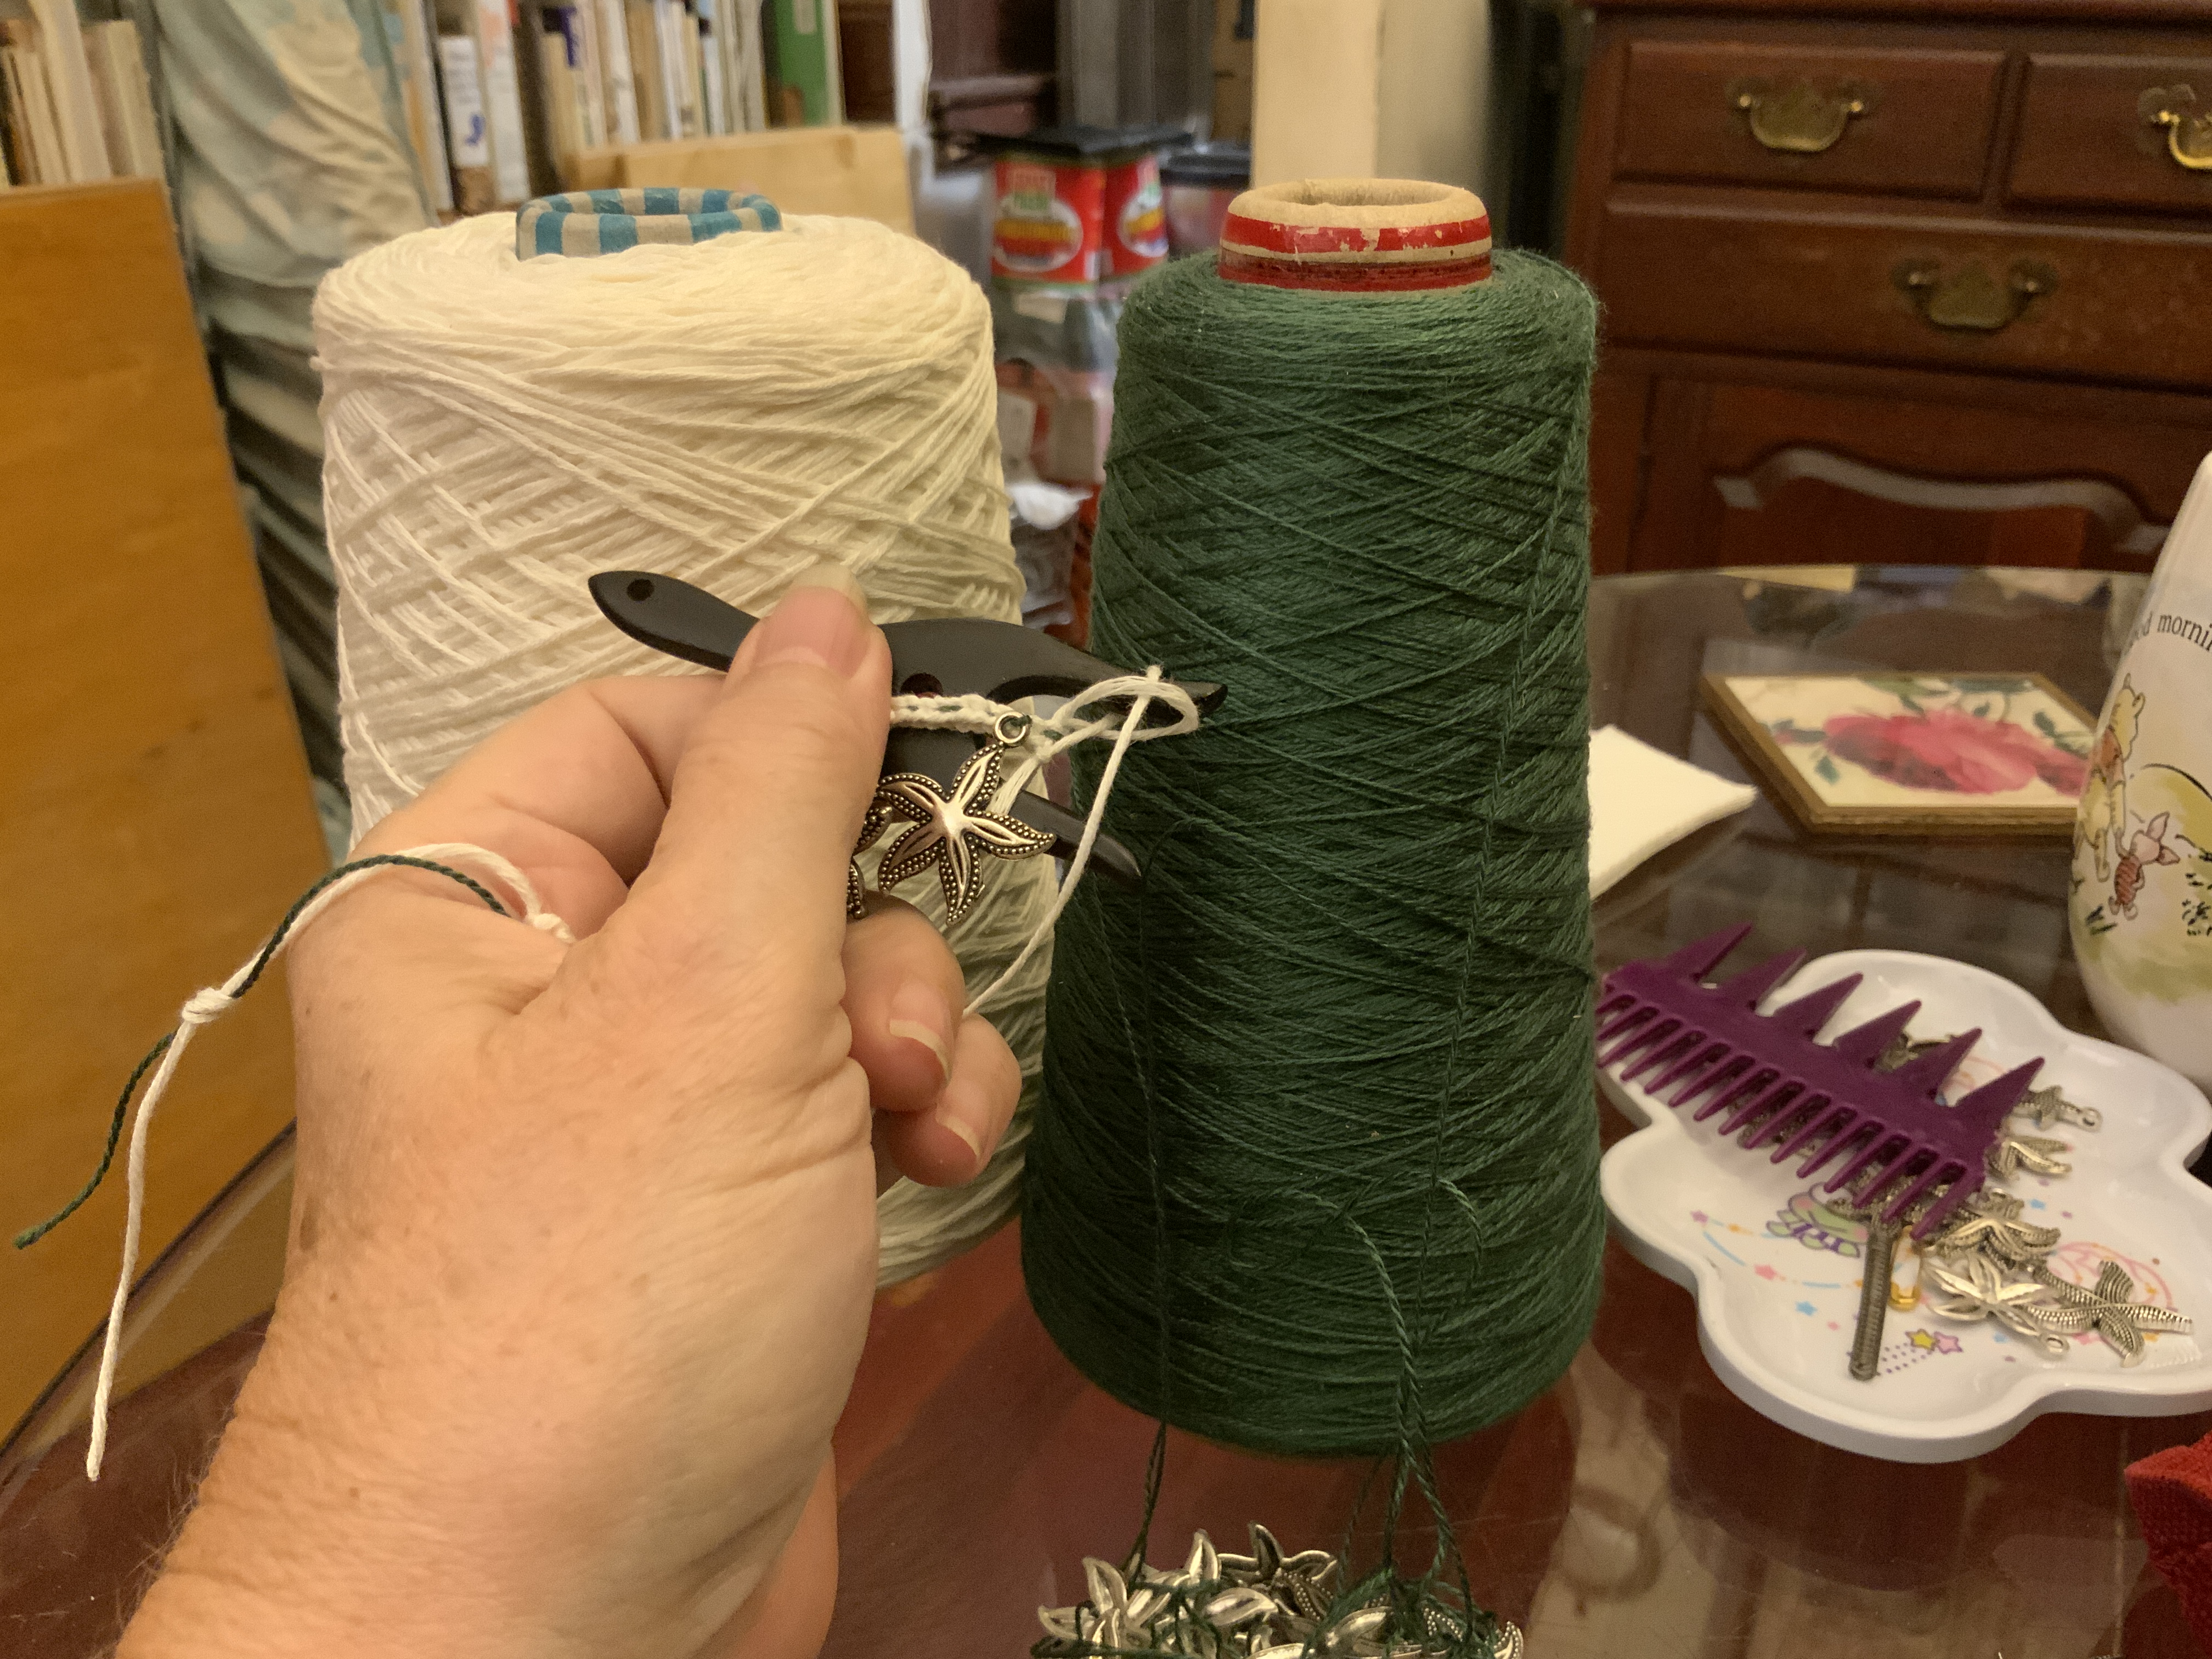
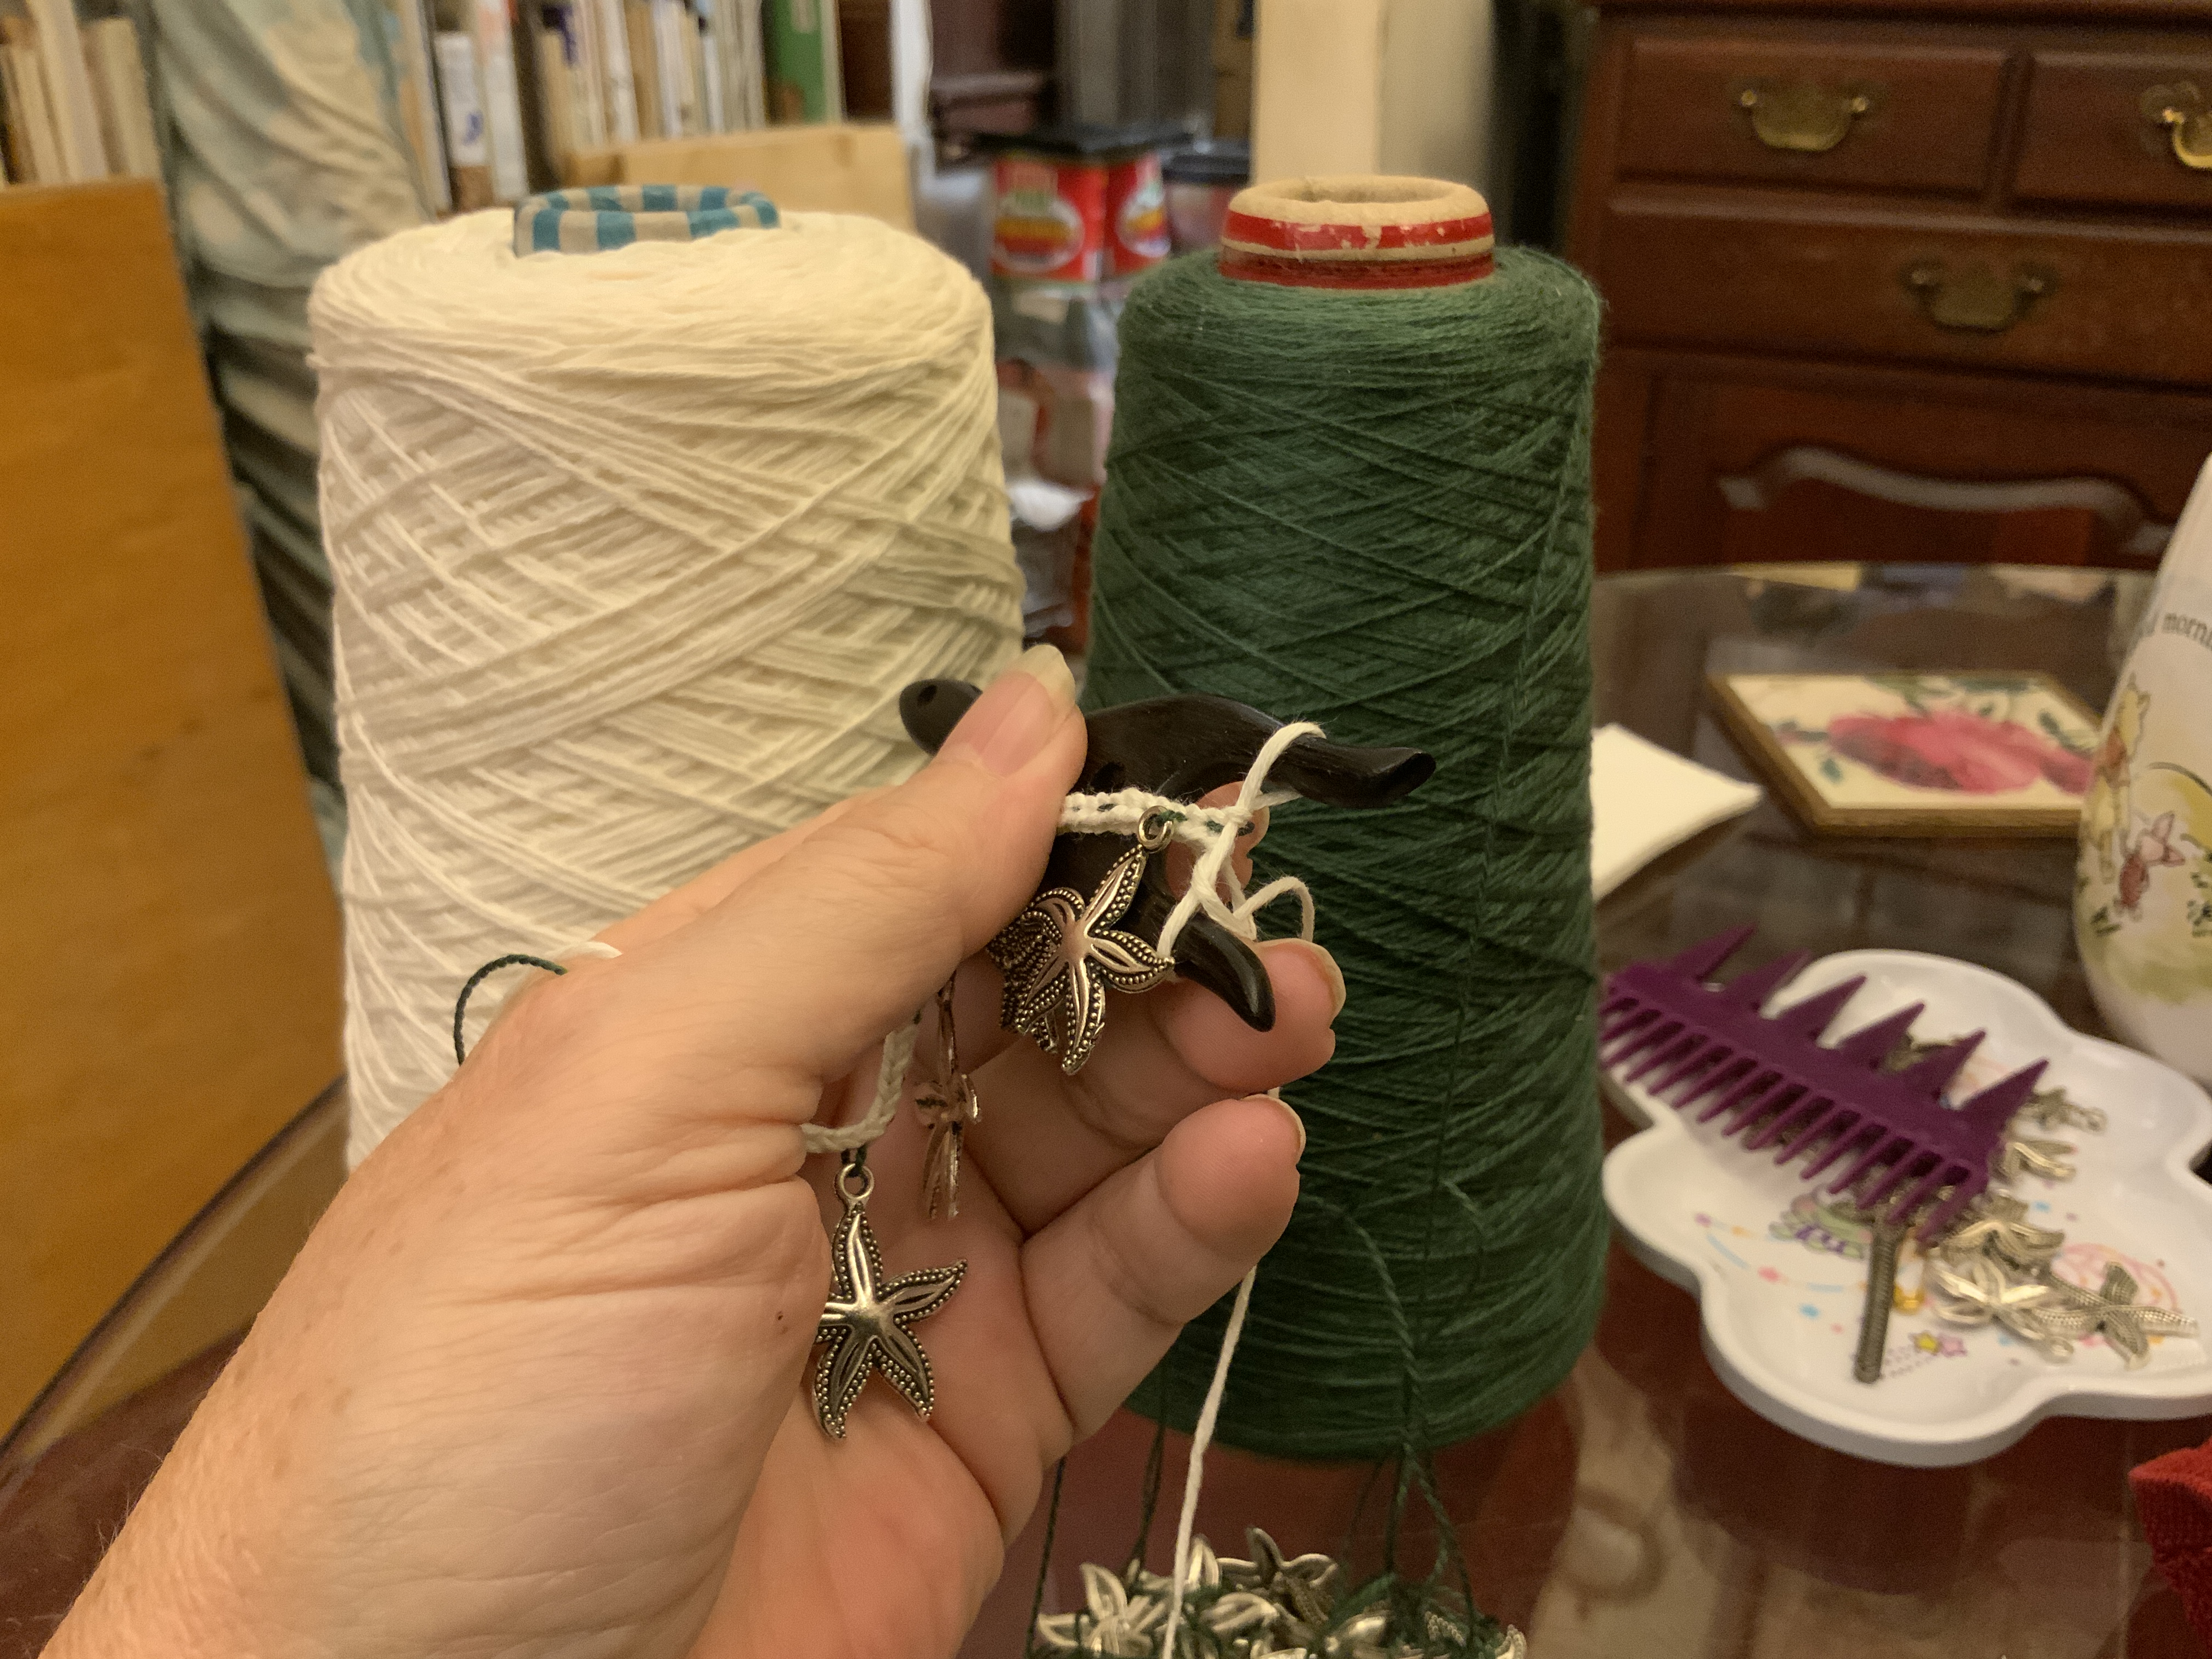
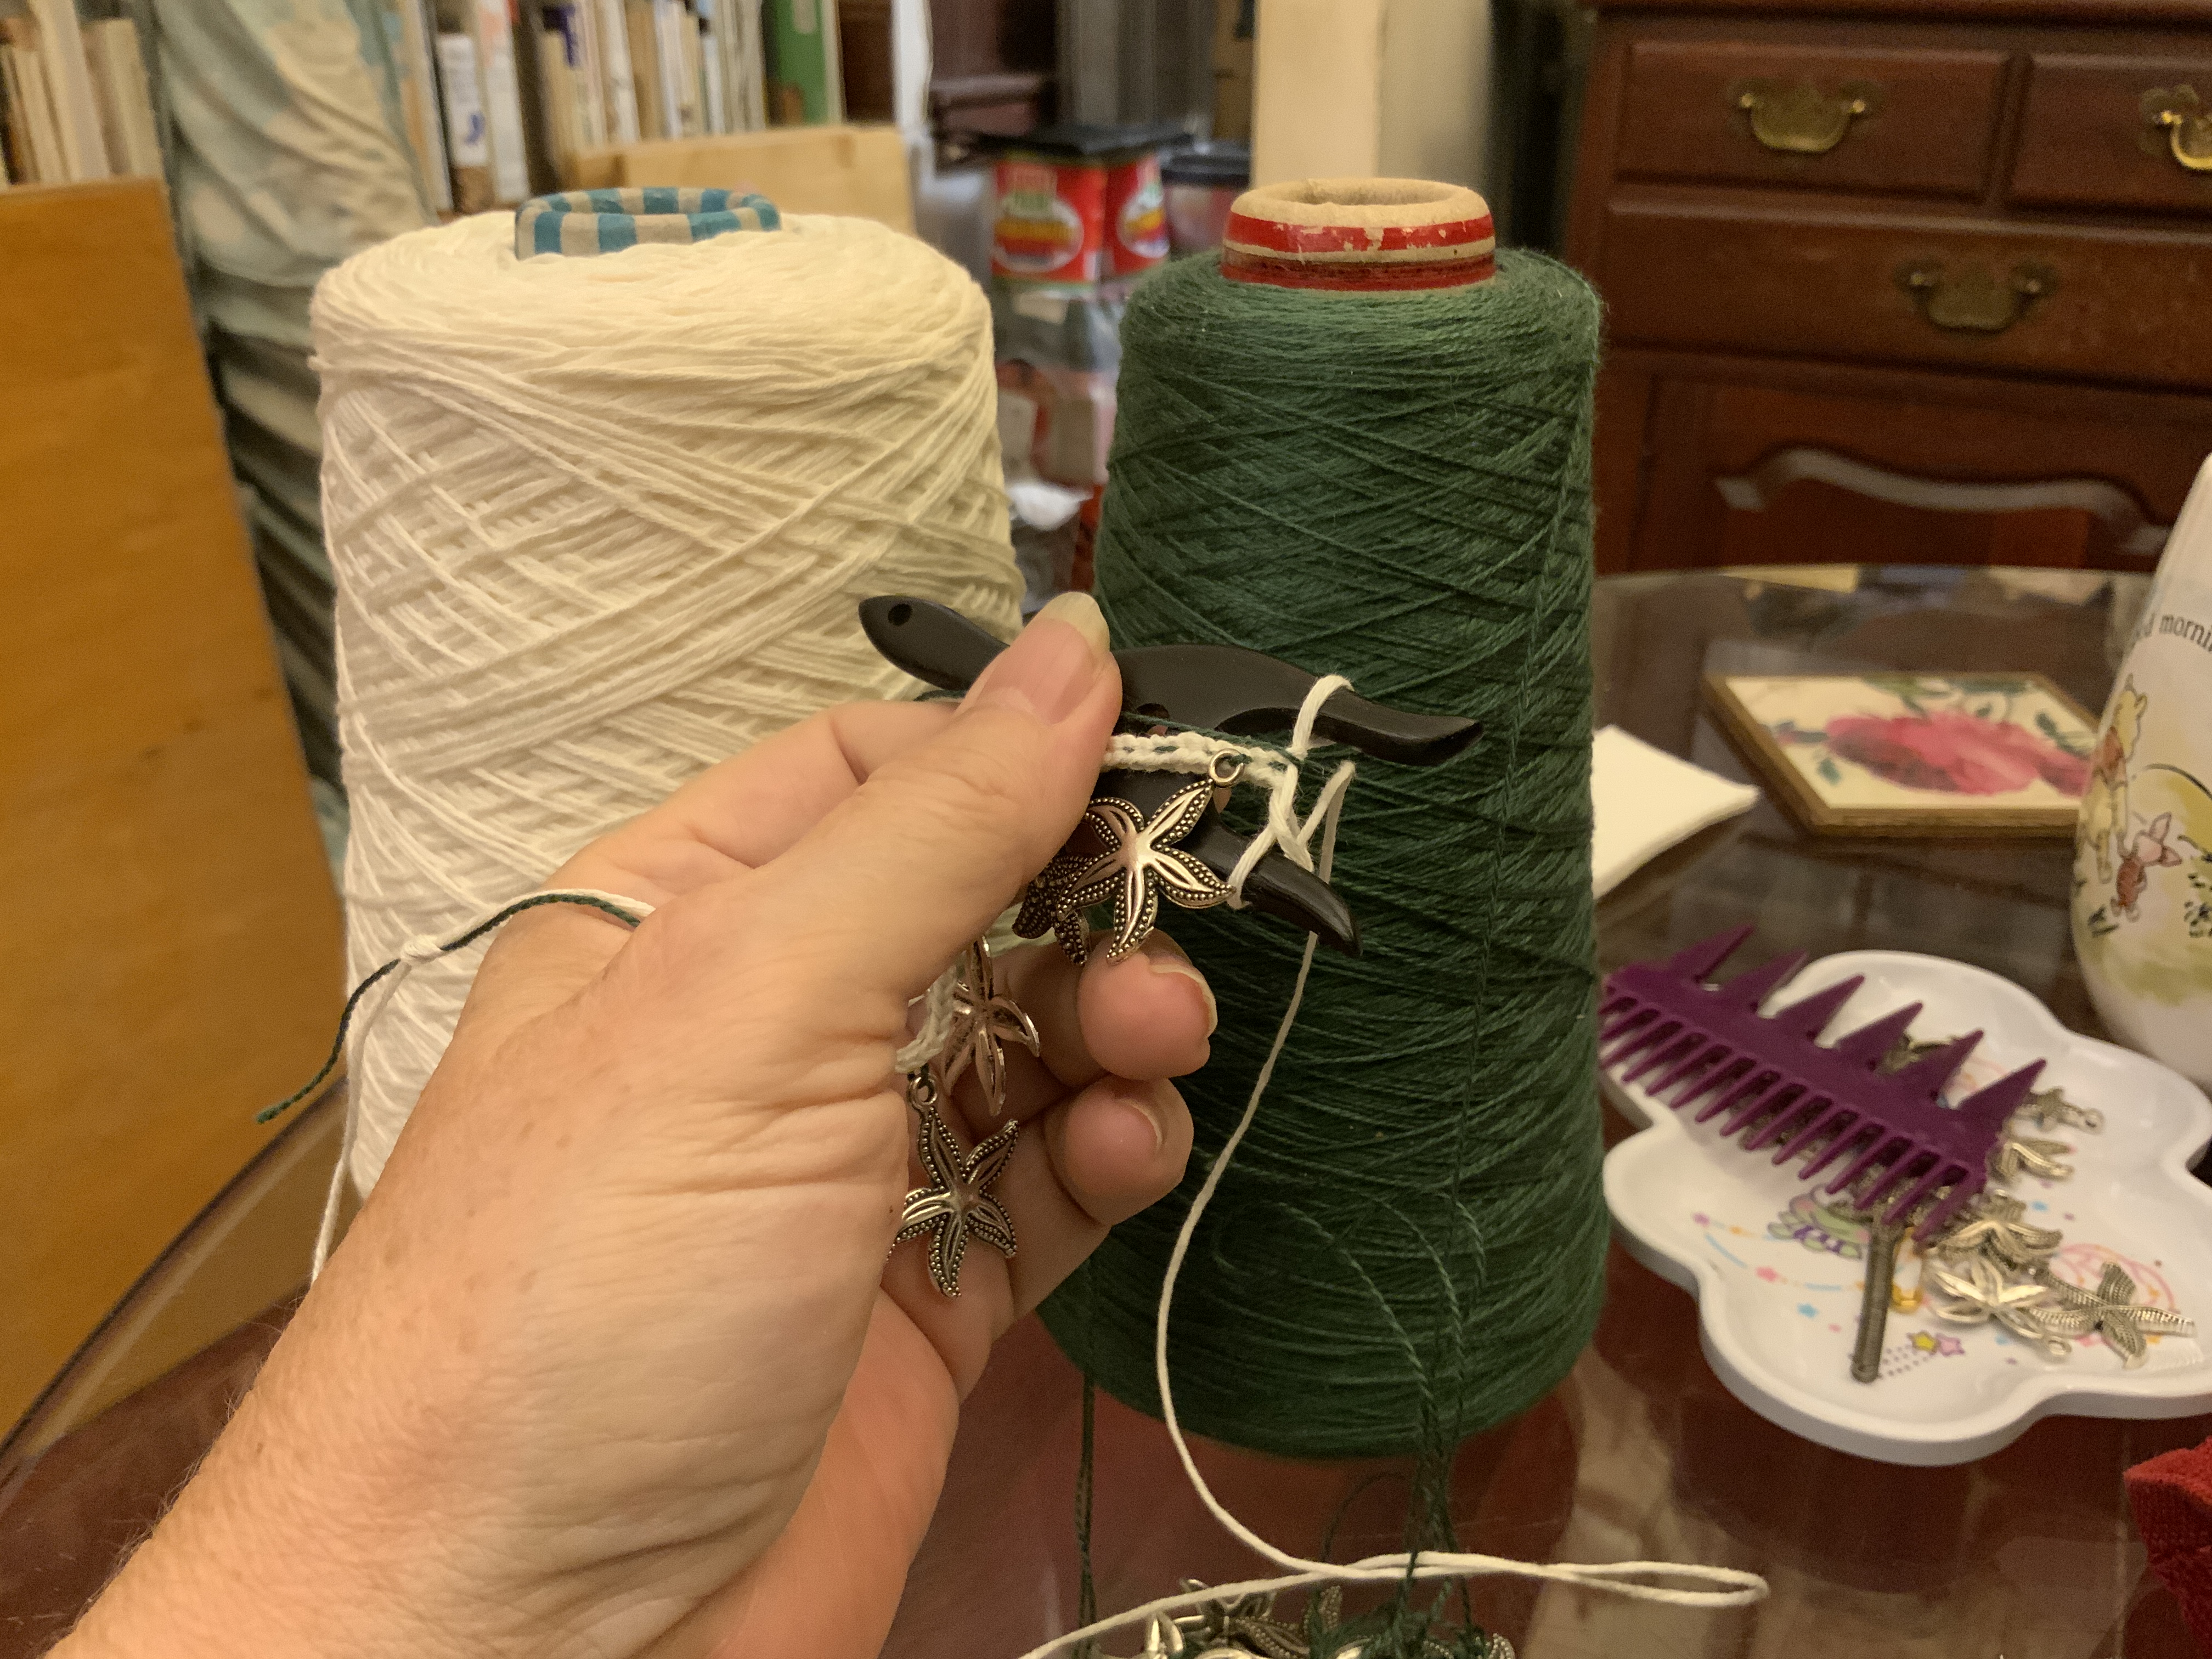
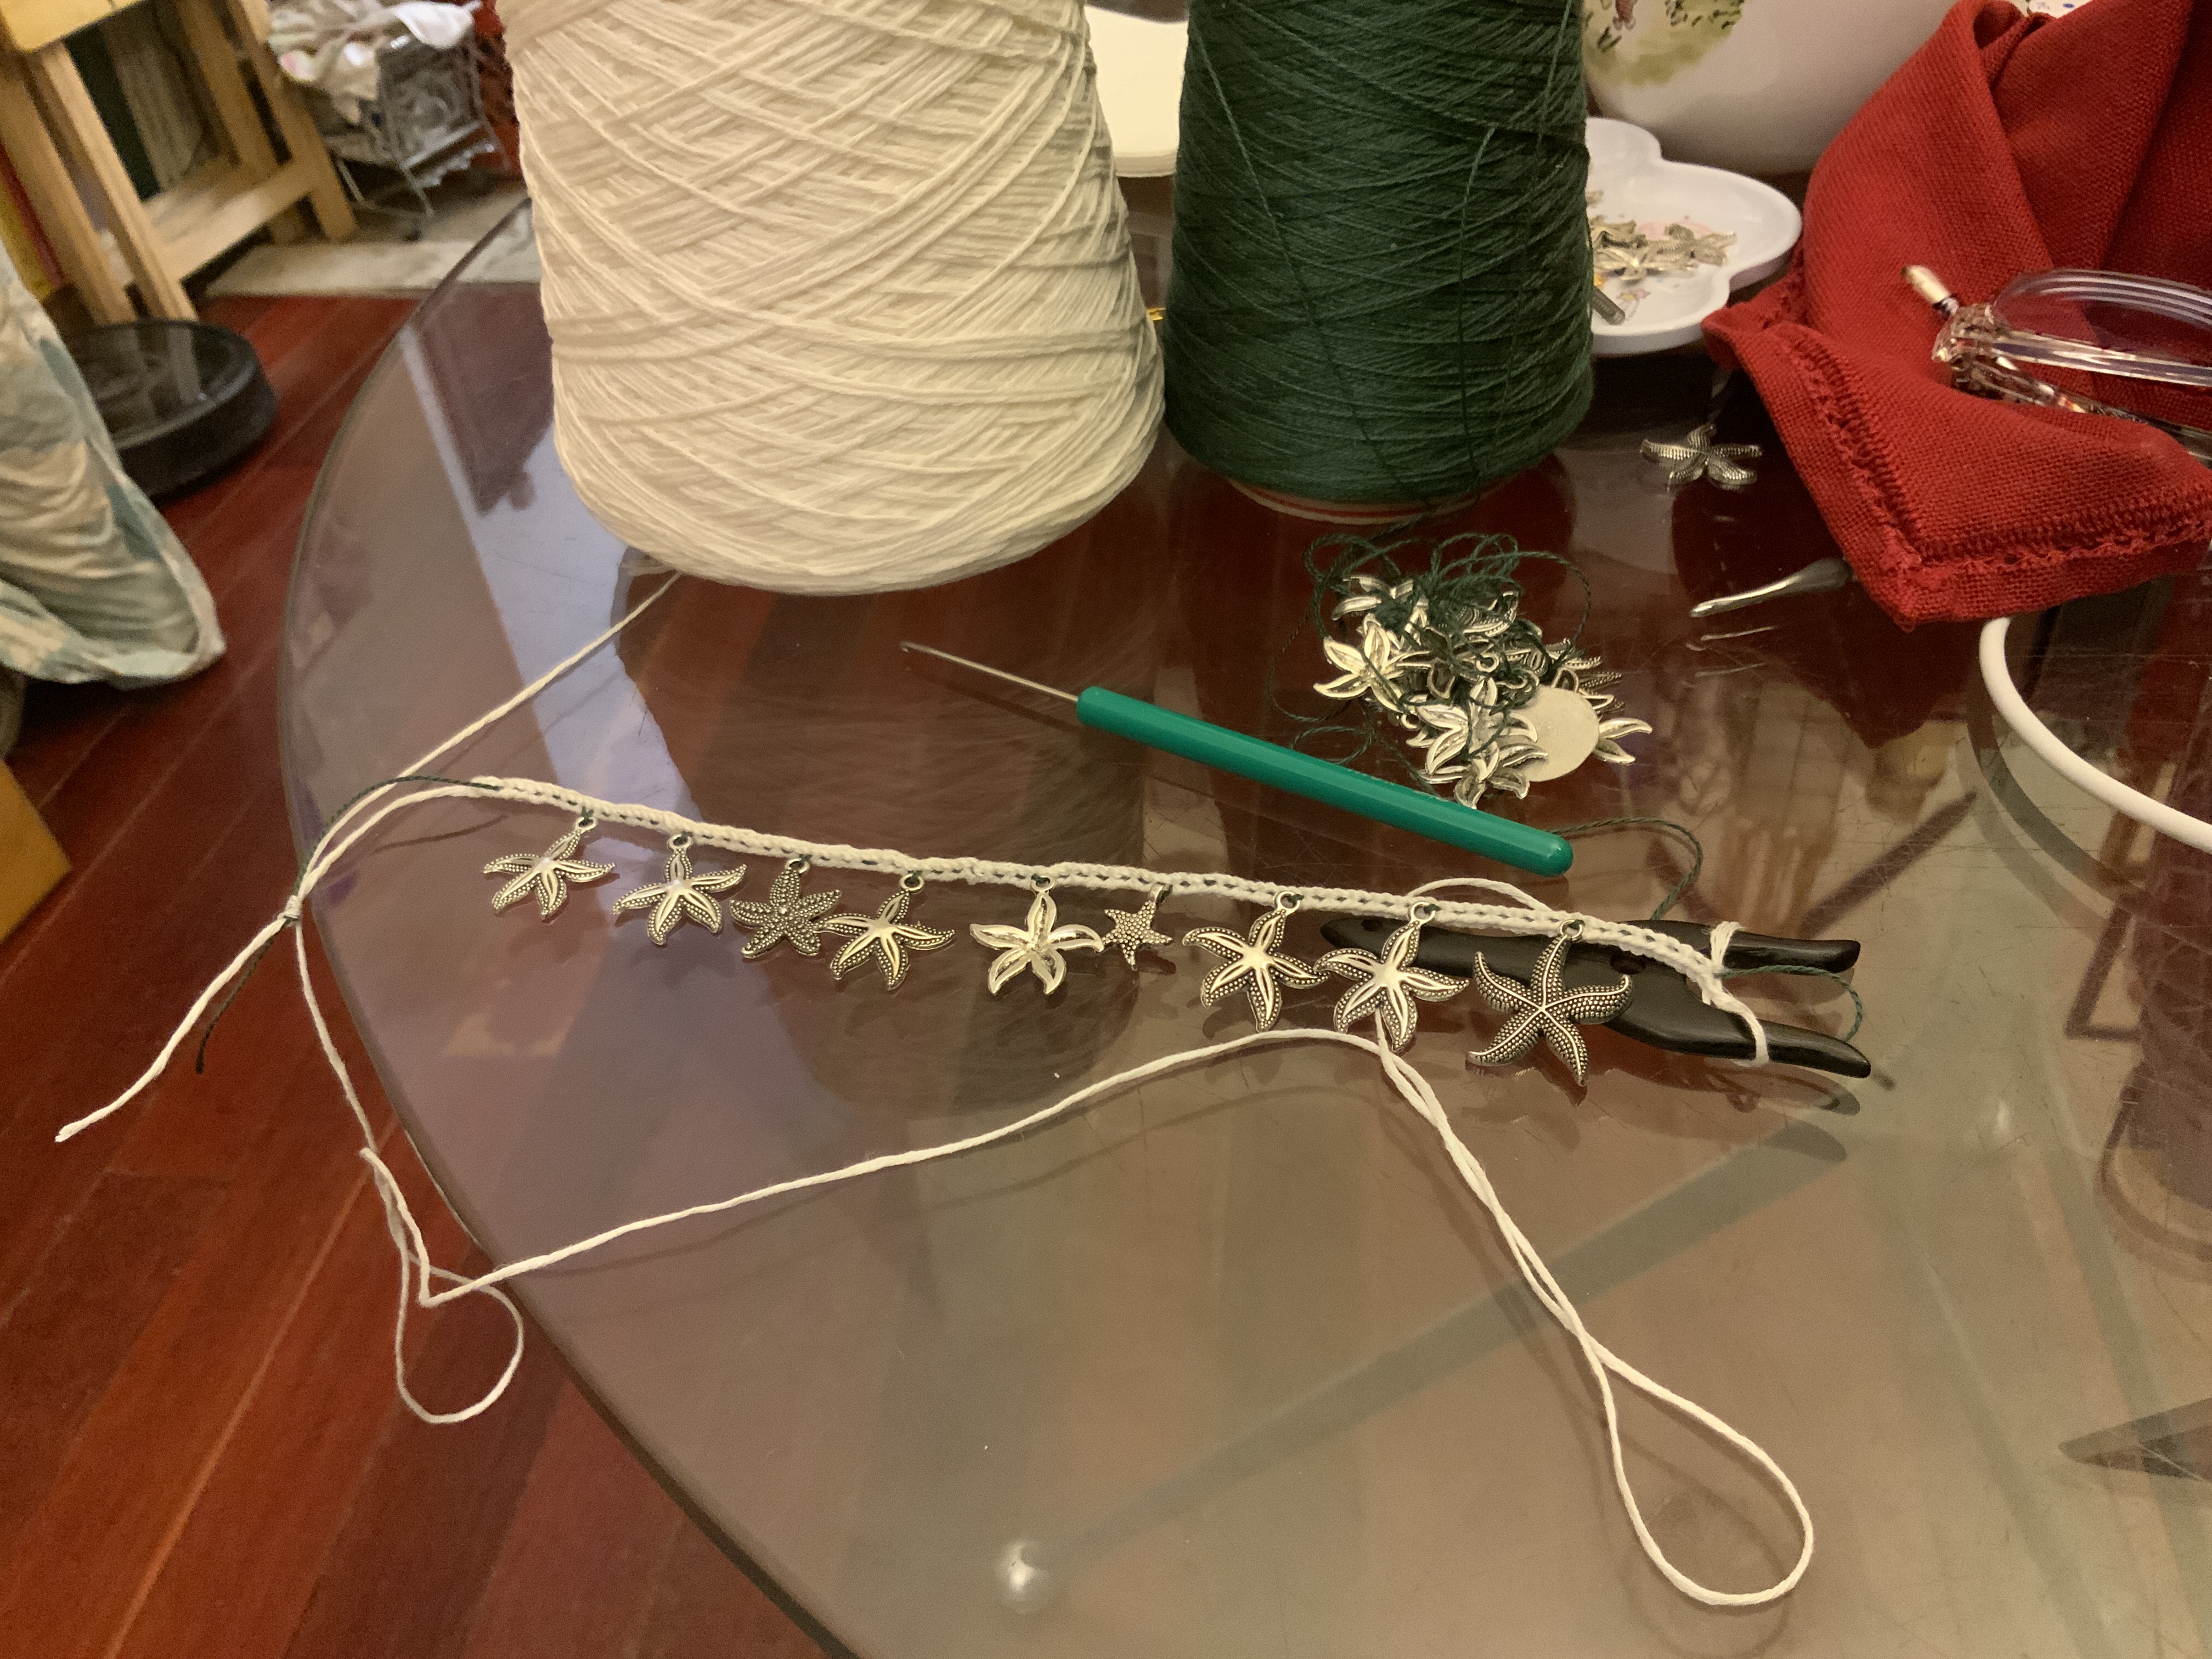
On every 6th pass from front to back, slide a pre-threaded charm along your gimp to the cord in progress. Hold it in place with your thumb. Make your upper and lower stitches to lock it in place.
Gorgeous!